 by
by Here is a clear, beginner-friendly, detailed guide you can use for a blog post, class handout, or video description.
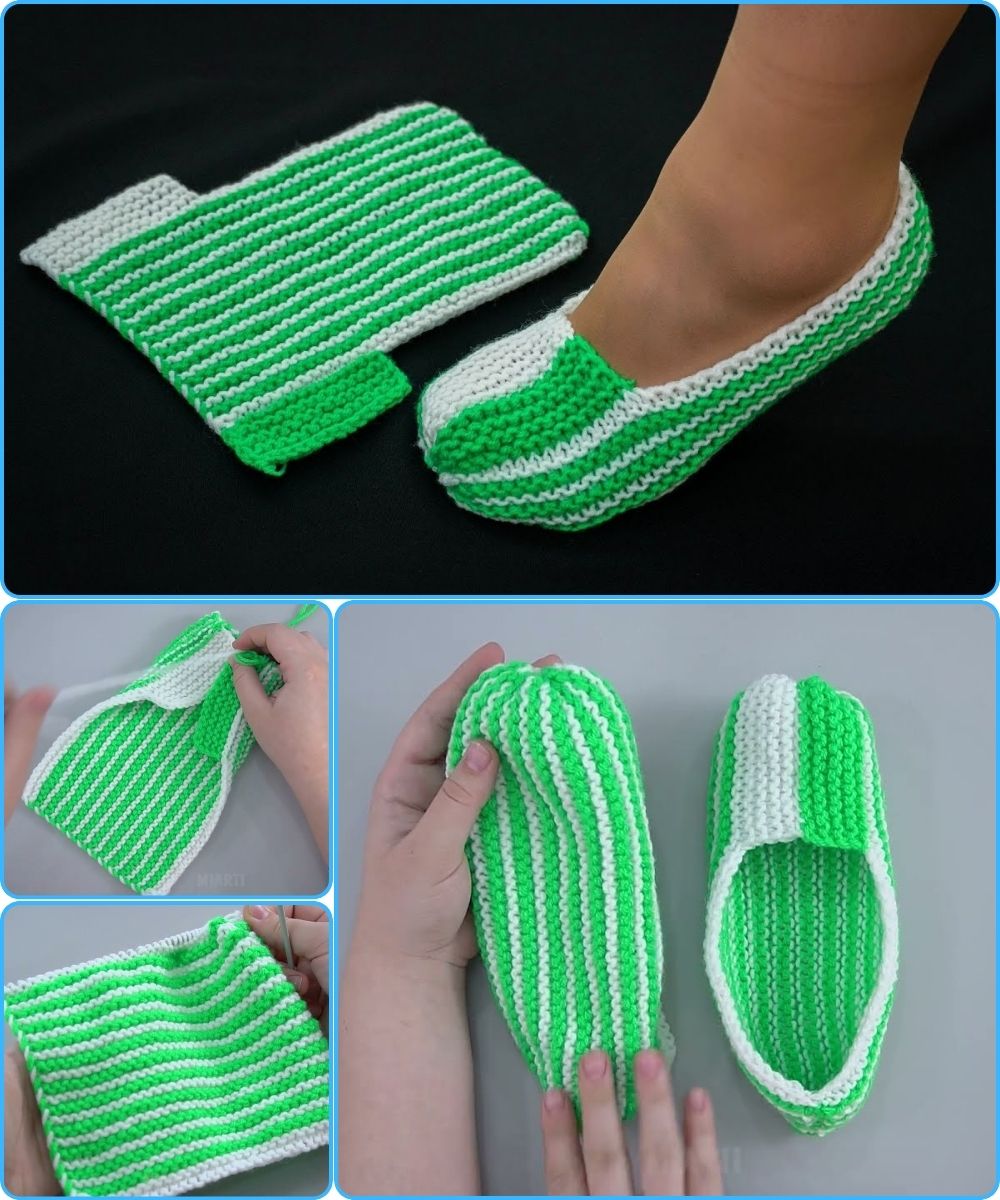
How to Make Simple Slippers on 2 Knitting Needles in an Hour
A Beginner-Friendly Step-by-Step Guide
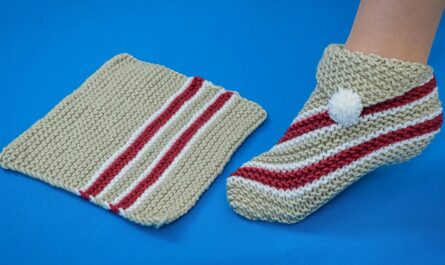
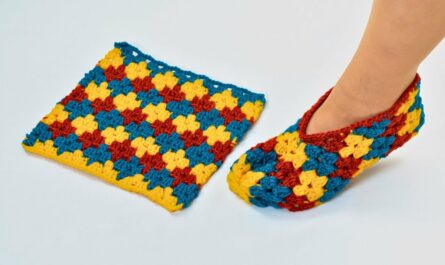
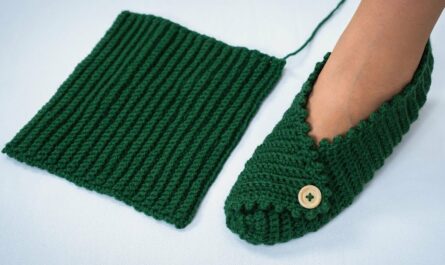
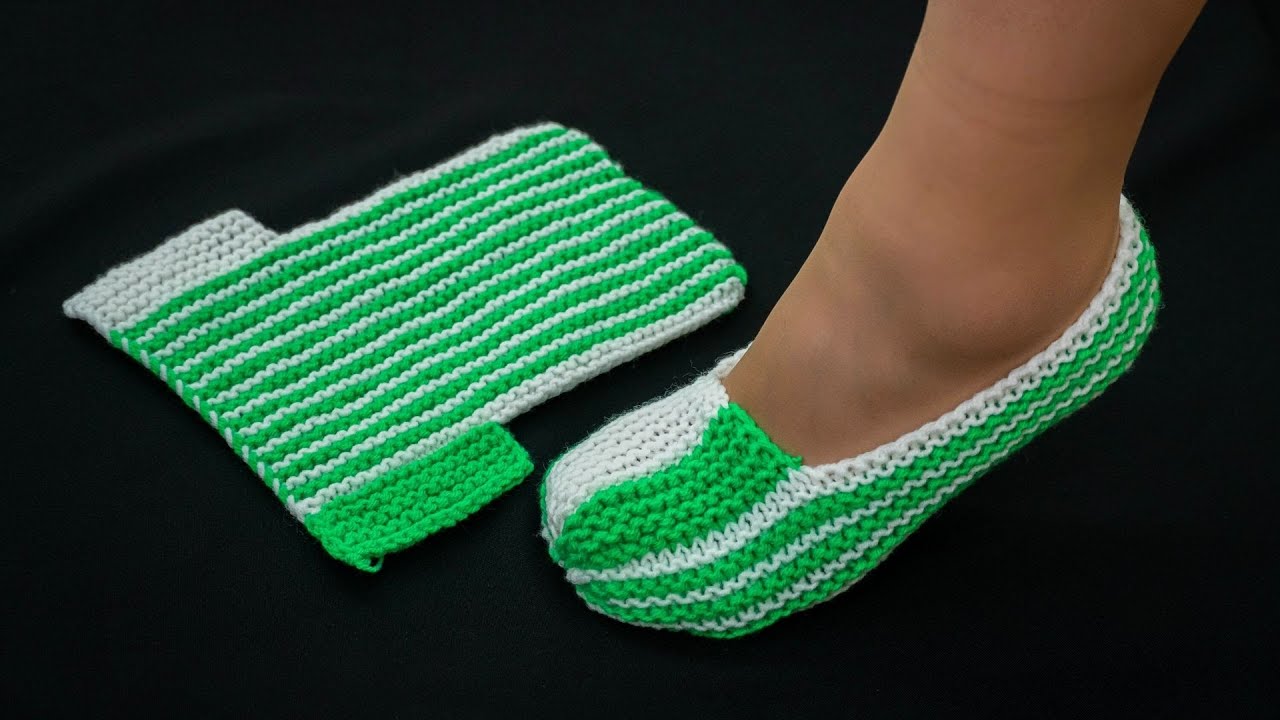
Knitting slippers is a perfect project for beginners because it is quick, practical, and requires only basic skills. With just two knitting needles, simple yarn, and about one hour, you can create cozy handmade slippers for yourself or as a gift.
Materials You Will Need
-
Yarn: Medium or bulky weight yarn (acrylic or wool blend works best)
-
Knitting needles: Size 5–6 mm (US 8–10), straight needles
-
Tapestry needle: For sewing seams
-
Scissors
-
Measuring tape (optional)
Tip for beginners: Choose light-colored yarn so you can clearly see your stitches.
Basic Skills Required
This project is perfect if you know:
-
How to cast on
-
How to knit stitch
-
How to purl stitch
-
How to bind off
No advanced techniques are needed.
Step 1: Cast On Stitches
Cast on 36 stitches (fits an average adult foot).
-
For smaller feet: cast on 32 stitches
-
For larger feet: cast on 40 stitches
Use a comfortable cast-on method, such as the long-tail cast on.
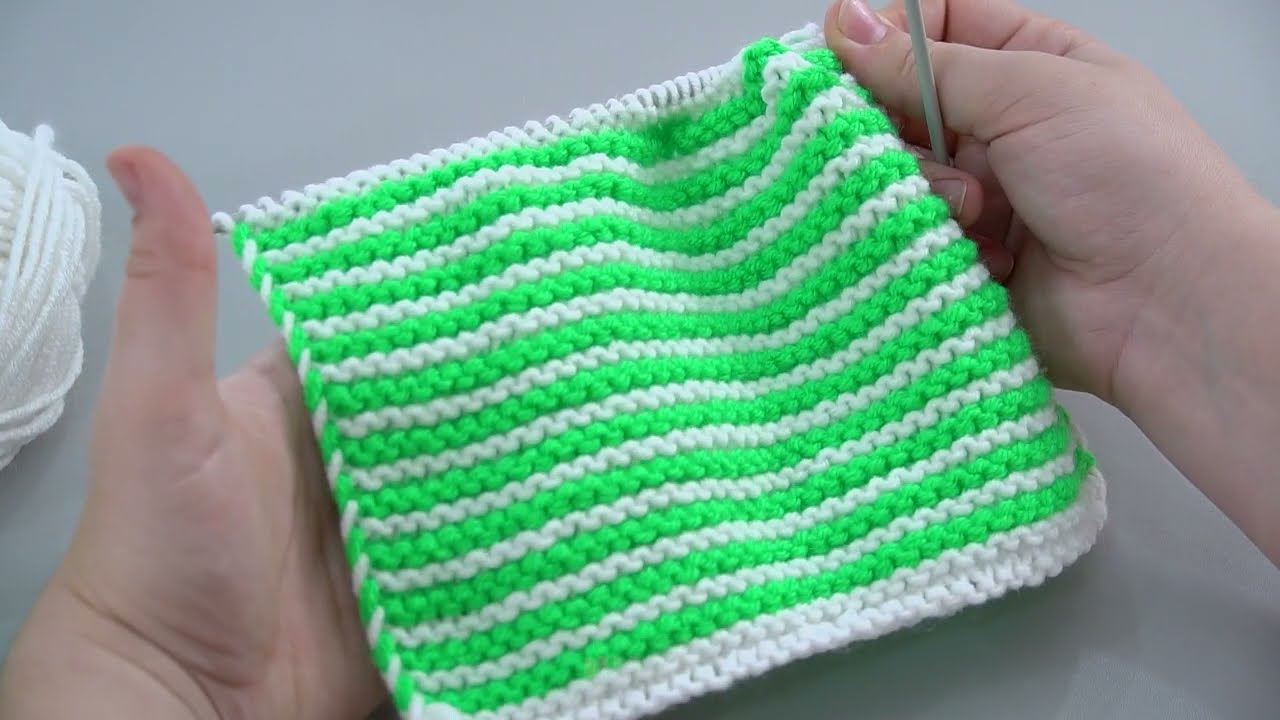
Step 2: Knit the Sole
-
Knit every row (garter stitch) for about 20–22 cm (8–9 inches).
-
This rectangle will form the sole of the slipper.
Keep knitting until the piece is approximately the length of your foot from heel to toes.
Step 3: Shape the Top of the Slipper
-
Knit 18 stitches
-
Bind off the middle 10 stitches
-
Knit the remaining 8 stitches
This creates an opening for the top of the foot.
Step 4: Knit the Upper Part
-
On the next row, knit the first 8 stitches
-
Cast on 10 new stitches over the bound-off section
-
Knit the last 18 stitches
Now you are back to 36 stitches.
Continue knitting in garter stitch for 5–6 cm (2–2.5 inches) to form the upper part of the slipper.
Step 5: Bind Off
Bind off all stitches loosely to keep the slipper comfortable and flexible.
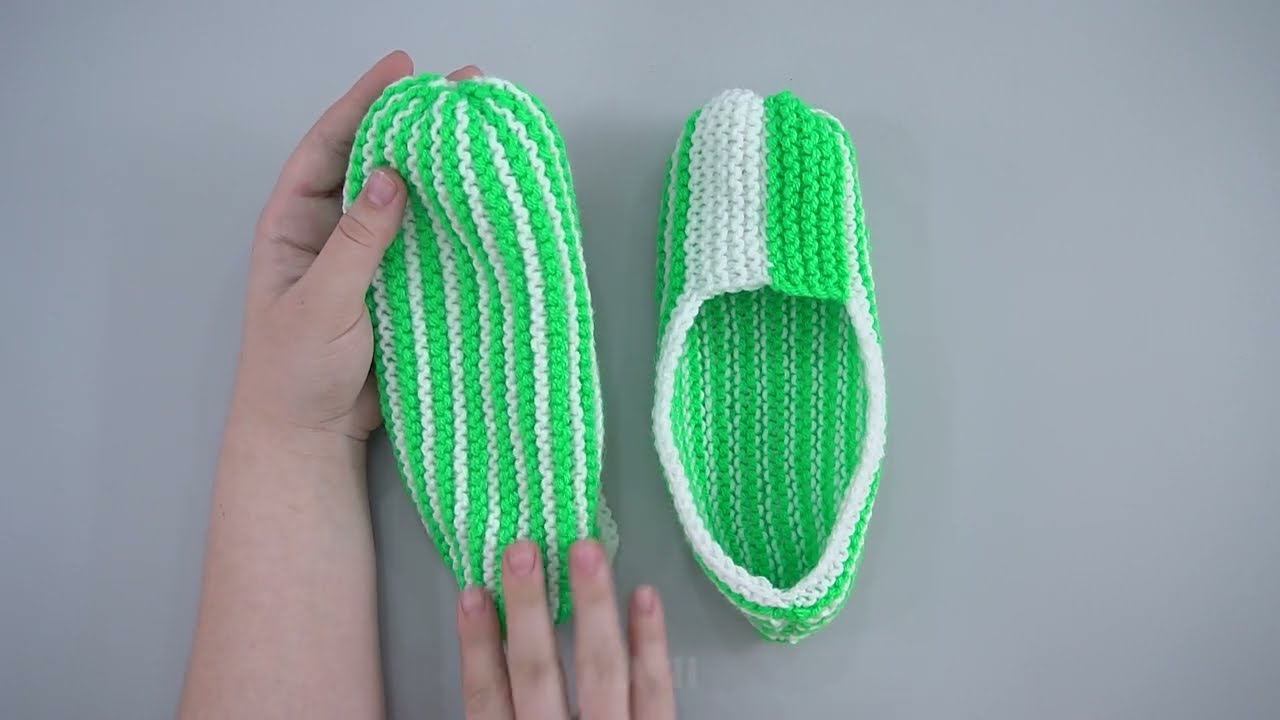
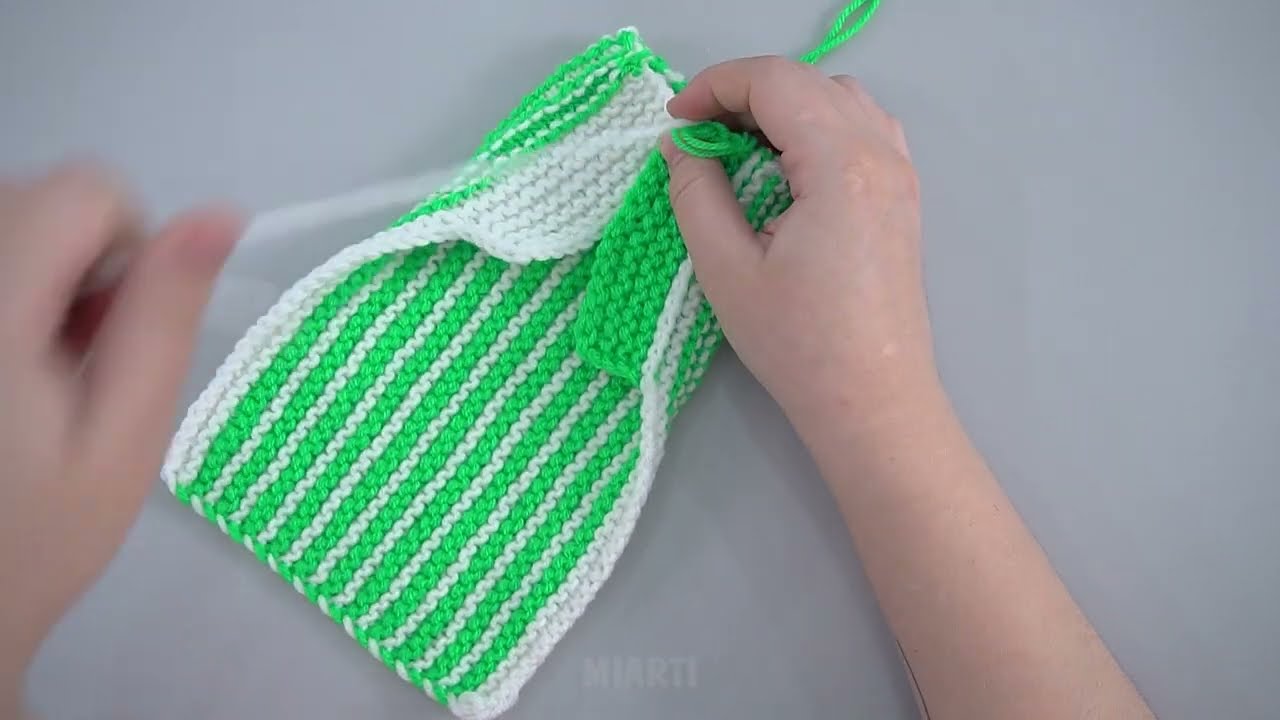
Step 6: Assemble the Slipper
-
Fold the knitted piece in half lengthwise
-
Sew the toe seam
-
Sew the heel seam
-
Turn the slipper right side out
Use a tapestry needle and mattress stitch or whip stitch.
Optional Finishing Touches
-
Add a crochet edge or knitted border
-
Sew on buttons or bows
-
Attach a non-slip sole or fabric lining
Time Required
-
Knitting: 45–60 minutes
-
Sewing: 10 minutes
Perfect for a quick beginner project!
Why This Slipper Pattern Is Great for Beginners
✔ Uses only knit and purl stitches
✔ No circular needles required
✔ Quick results build confidence
✔ Easy to customize sizes and colors
Final Tip for Success
Don’t worry about small mistakes—handmade slippers are meant to be cozy, not perfect. The more you practice, the better your stitches will look!
If you’d like, I can also:
-
Simplify this into a one-page pattern
-
Adjust it for kids or men
-
Write it as a YouTube video script
-
Add photos or stitch diagrams (descriptions)
Just tell me 😊
Watch video: