 by
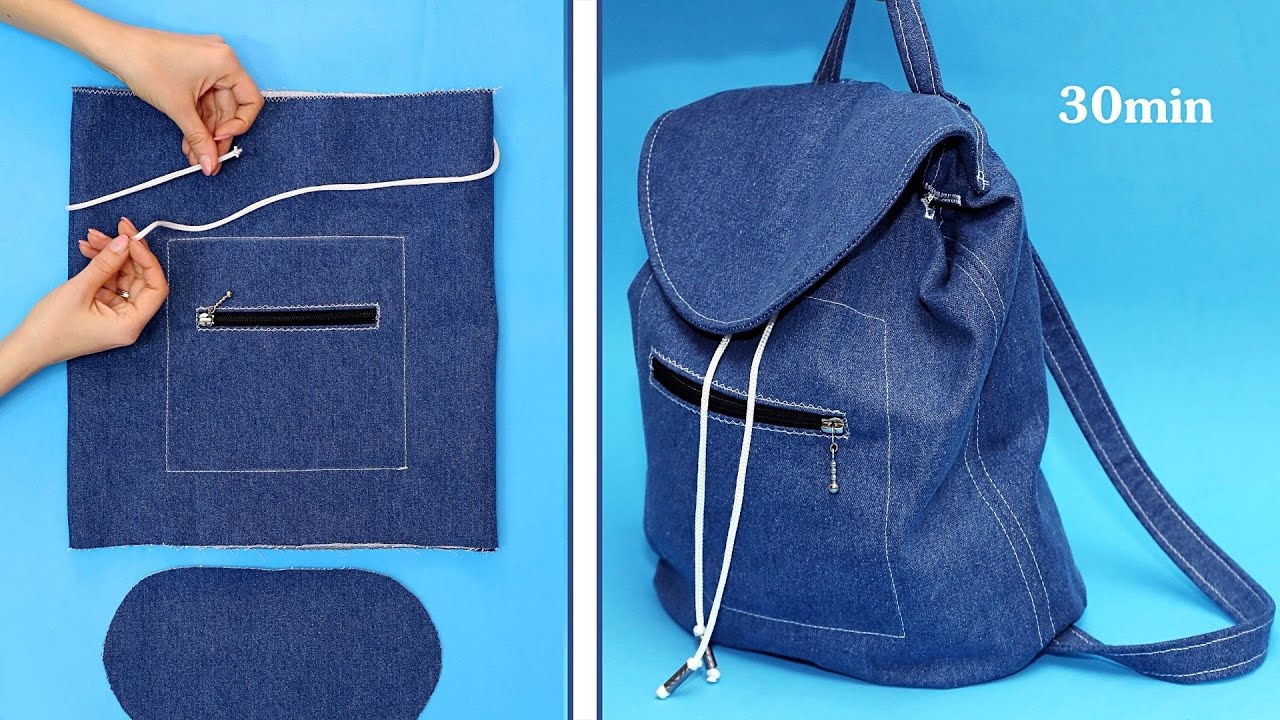
by Imagine transforming an old pair of denim jeans into a structured, functional backpack that ingeniously incorporates the jeans’ original back pockets onto the front panel. This design not only celebrates sustainable upcycling but also provides built-in, easily accessible external storage. This detailed tutorial, inspired by the creative “The idea of recycling old jeans in a cute backpack – a detailed tutorial!” video from Miarti – Reuse, will guide you through creating this charming, custom-look accessory.
Get ready to turn textile waste into a unique, durable backpack that is perfect for daily use, short trips, or as a personalized school bag!

Why This “Pocket-Front Upcycle” Backpack Will Be Your New Favorite
This pattern is an exceptional example of combining upcycling ingenuity with smart design, offering several compelling reasons to make it your next sewing project:
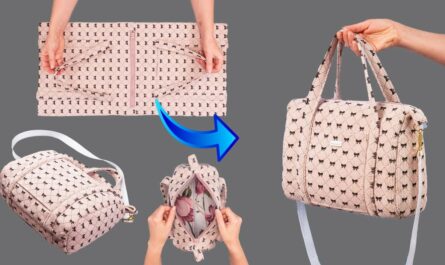
- Integrated Storage: The use of the original jeans back pockets on the exterior provides instant, secure storage without having to sew new pockets.
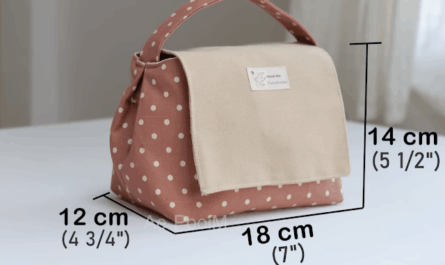
- Structured Boxy Shape: The design uses a continuous side/base panel and boxing techniques to ensure the bag stands freely and holds its shape, even when full.
- Ultimate Upcycling: Give a beloved (but retired) pair of jeans a durable second life as a highly functional backpack.
- Secure Closure: Features a drawstring top closure under a protective flap, maximizing security.
- Personalized Look: The natural fading and seams of the denim create a unique aesthetic that changes with every pair of jeans.
Materials & Cutting List:
The key to this project is strategically harvesting fabric from one to two pairs of old jeans. Choose a contrasting lining fabric for a finished look.
| Piece | Fabric | Dimensions | Notes | Video Ref. |
| Main Body Front/Back | Denim (From Jeans Legs) | 2 pieces, 30 cm x 40 cm | Rectangular panels. | |
| Side/Base Panel | Denim (Pieced) | 1 piece, 120 cm x 12 cm | The continuous strip for the perimeter. | |
| Lining Fabric | Contrasting Cotton/Poly | 2 pieces, 30 cm x 40 cm | For Front and Back Lining. | |
| Side/Base Lining | Contrasting Cotton/Poly | 1 piece, 120 cm x 12 cm | ||
| Exterior Flap | Denim | 1 piece, 30 cm x 15 cm | The top covering flap. | |
| Pocket Panel | Denim (Original Pockets) | 1 piece | Harvested directly from the back of the jeans, including pockets. | |
| Shoulder Straps | Webbing or Sturdy Denim | 2 pieces, 80 cm long x 3 cm wide | ||
| Drawstring/Cord | Rope/Cord | 1 piece, 140 cm long | ||
| Interfacing/Wadding | Medium-Heavy Fusible | Matches Exterior Pieces | Essential for structure. | |
| Hardware: 2 D-rings, 1 magnetic snap (for flap). | ||||
| Basic Tools: Sewing machine, heavy-duty denim needle, ruler, fabric marker, pins/clips, and iron. |
Step-by-Step Tutorial: Crafting Your “Pocket-Front Upcycle” Backpack
This tutorial is broken down into four key phases: preparation and pocket integration, constructing the exterior and lining, installing the drawstring channel and flap, and the final assembly. All seam allowances are 1 cm unless otherwise stated.
Phase 1: Preparation and Pocket Integration
The foundation is built by stabilizing the panels and applying the distinctive pocket feature.
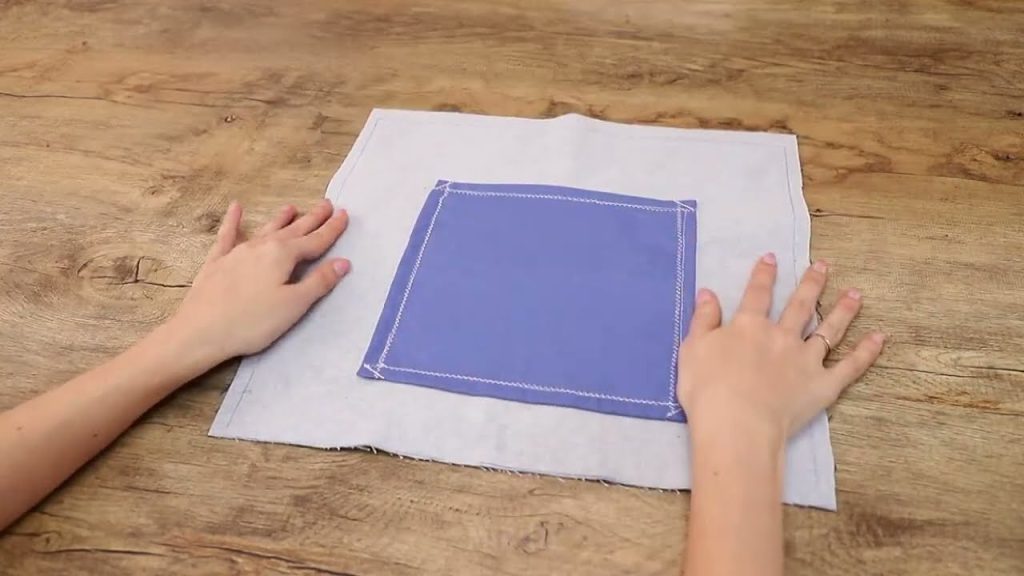
- Harvest Pockets: Carefully cut the entire back yoke section from the jeans, keeping the two back pockets intact on a single panel of denim. Trim this panel to fit neatly onto the Main Body Front Panel.
- Stabilize Panels: Iron the Medium-Heavy Fusible Interfacing onto the wrong side of ALL Exterior denim pieces (Front/Back, Side/Base, Flap).
- Attach Pockets: Center the Harvested Pocket Panel onto the Main Body Front Exterior piece (30 cm x 40 cm). Topstitch around all raw edges of the pocket panel to secure it firmly to the front of the backpack.
Phase 2: Constructing the Exterior and Lining Bodies
The two main shells (exterior and lining) are created, preparing for the 3D shape.
- Sew Side/Base Loops: Stitch the two 12 cm ends of the Exterior Side/Base Panel together to form a loop. Repeat for the Lining Side/Base Panel, but leave a 15 cm turning opening along the bottom seam of the loop.
- Sew Exterior Body: Pin the Exterior Side/Base Loop to the perimeter of the Exterior Front Panel (the pocket panel), right sides together. Stitch around the entire perimeter, easing the corners. Repeat to attach the loop to the Exterior Back Panel. This creates the full 3D exterior shell.
- Sew Lining Body: Repeat the process (step 2) using the Lining Fabric pieces.
Phase 3: Installing the Drawstring Channel and Flap
The top closure mechanisms are created and attached to the exterior shell.
- Prepare Drawstring Channel: Cut two strips of denim (30 cm x 8 cm). Fold the long edges inward and topstitch to create two finished, 3 cm wide casings.
- Attach Channel to Exterior: Pin one Drawstring Channel horizontally across the top of the Exterior Front Panel, approximately 5 cm down from the top raw edge. Stitch along both long edges to create a tube. Repeat for the Exterior Back Panel.
- Prepare Flap: Take the Exterior Flap (30 cm x 15 cm) and a corresponding lining piece. Sew them right sides together, trim the corners, and turn right side out, leaving the top 30 cm edge open. Install the magnetic snap onto the bottom center of the flap now. Topstitch the flap edges.
- Attach Flap and Straps:
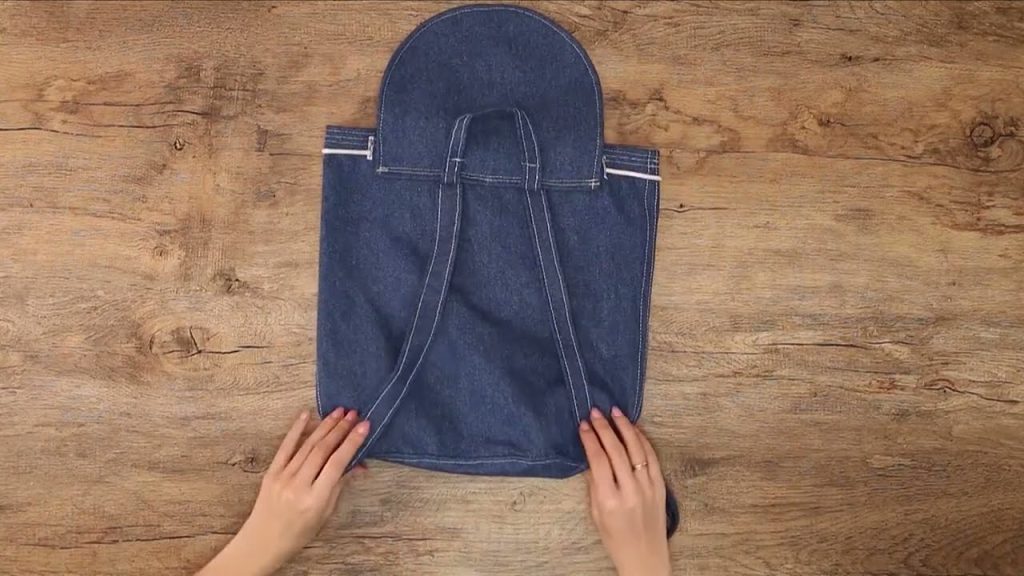
- Position the Shoulder Straps and the raw edge of the Flap onto the top raw edge of the Exterior Back Panel, ensuring the straps are centered and facing inward. Baste them in place.
Phase 4: Final Assembly and Drawstring Integration
The bag is joined, turned, and the final closure is installed.
- Join Exterior and Lining: Turn the Exterior Bag wrong side out (with straps/flap basted). Turn the Lining Bag right side out.
- Slide the lining bag into the exterior bag. Align the top raw edges of the exterior and lining perfectly, and pin all around the top.
- Stitch Top Perimeter: Stitch all around the top raw edge to join the exterior and lining.
- Turn and Close: Pull the entire bag right side out through the 15 cm turning hole left in the lining side/base loop. Stitch the lining hole closed. Push the lining neatly inside the exterior bag.
- Topstitch: Press the top edge flat and topstitch all around the top opening, reinforcing the flap and strap anchors.
- Install Drawstring: Thread the 140 cm Drawstring/Cord through the channels, starting and ending on the same side. The two ends can be tied or secured to a small loop on the backpack’s side to allow the top to cinch closed.
- Attach Snap: Position the second half of the magnetic snap onto the center of the backpack front, making sure it aligns perfectly with the snap on the flap.

Your unique “Pocket-Front Upcycle” Backpack is complete! This durable, structured, and stylish bag is ready for its new adventure.
Video tutorial: