 by
by Below is a clear, detailed, beginner-friendly guide on how to make simple crochet slippers with no seam on the sole, using only a rectangular piece. This classic method works for any yarn and any foot size.
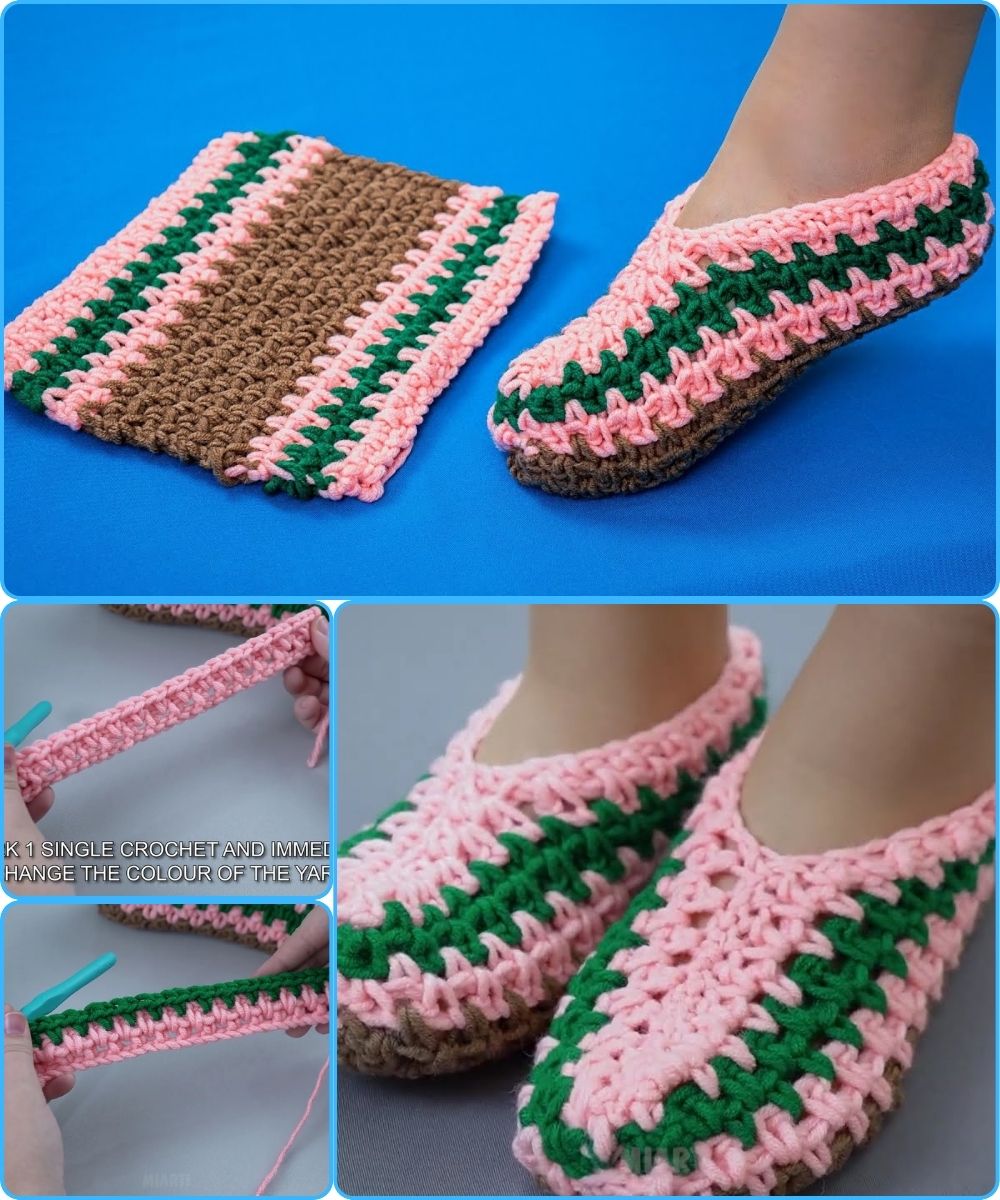
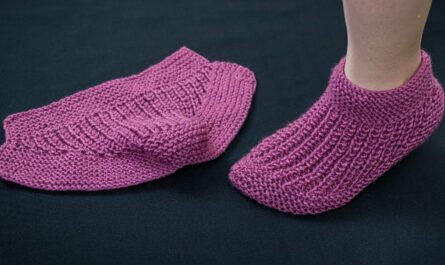
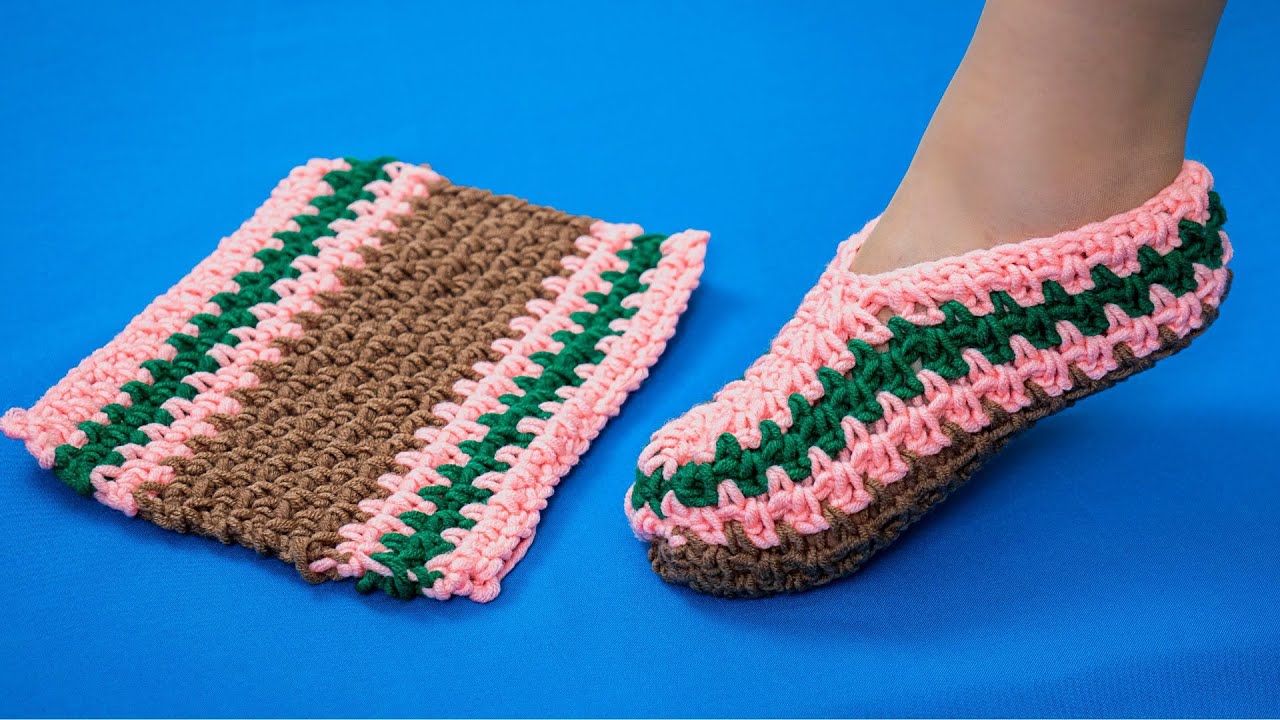
🧶 How to Make Simple Crochet Slippers (No-Seam Sole) From a Rectangle
These slippers are created from a single rectangle that folds around the foot—no sole seam and almost no shaping. Great for beginners!
⭐ Materials
-
Worsted-weight yarn (or any yarn you like)
-
Crochet hook that matches your yarn (commonly 4.5–5.5mm)
-
Yarn needle
-
Scissors
-
Tape measure
🧵 Basic Skills Needed
-
Chain (ch)
-
Single crochet (sc) or half double crochet (hdc)
(You can use any stitch you prefer; hdc makes a softer, stretchier fabric.) -
Slip stitch (sl st) for joining at the end
-
Sewing with a yarn needle
📏 Step 1: Measure Your Foot
You need two measurements:
1. Foot length
Measure from toe to heel.
2. Foot circumference
Measure around the ball of your foot (widest part).
Your rectangle size will be:
-
Width = foot length
-
Height = foot circumference × 2/3
(Usually 6–8 inches tall for adults)
This ensures the slipper hugs the top of the foot but stays stretchy.
🪢 Step 2: Crochet the Rectangle
Foundation Chain
Chain enough stitches to equal your foot circumference × 2/3 (or desired height).
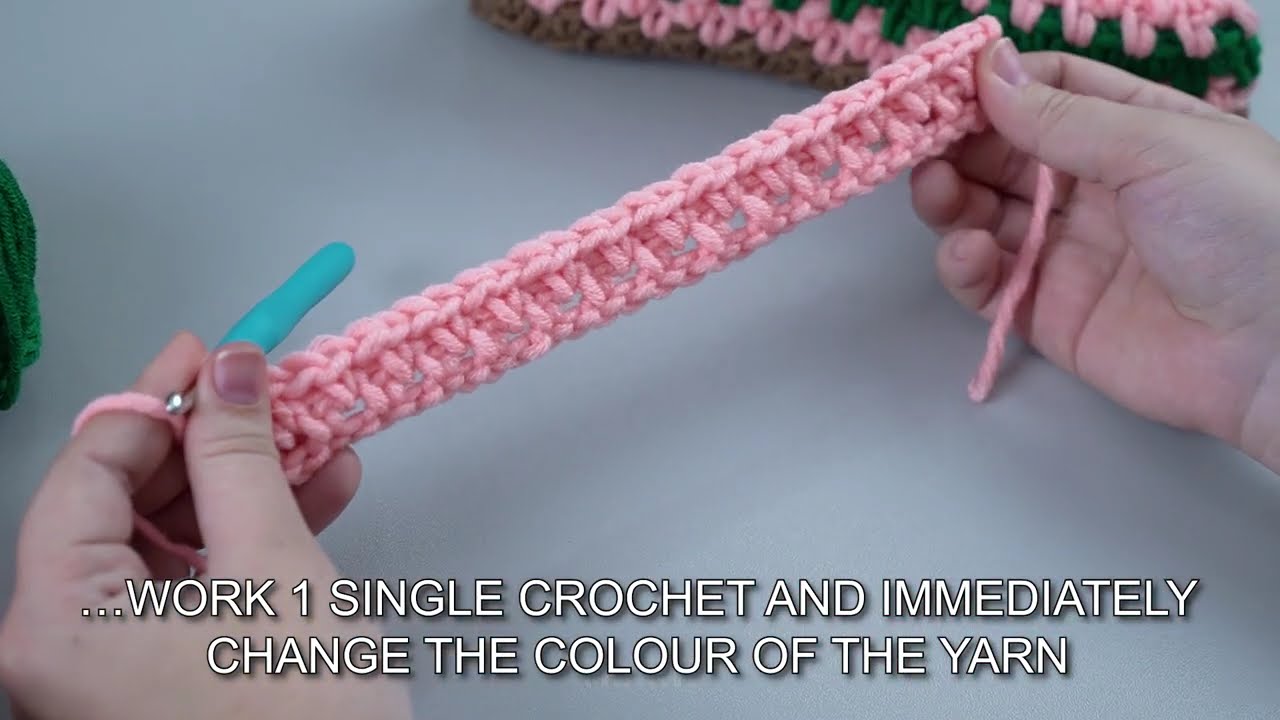
Row Pattern (choose one stitch)
Option A (firm): single crochet back and forth
Option B (stretchy and soft): half double crochet back and forth
Rows
Work rows until the length of the work equals your foot length.
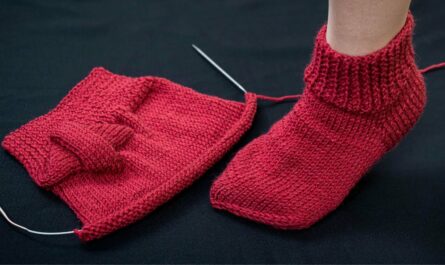
Target Shape
You should now have a simple rectangle.
🥿 Step 3: Form the Toe (No-Sole-Seam Method)
This is the magic part!
-
Fold the rectangle in half widthwise (height becomes top opening).
-
Sew the short end closed using whip stitch or mattress stitch.
This closes the toe.
Optional shaping for rounder toe:
-
When sewing, gradually curve your stitching to form a rounded toe instead of a straight fold.
Important:
You are sewing ONLY the top edge together, not the bottom—this is why there’s no seam on the sole.

🦶 Step 4: Form the Heel
-
With the toe closed and the slipper wrapped around your foot shape, go to the opposite end of the rectangle.
-
Fold the heel section the same way.
-
Sew the heel closed about halfway up.
-
Stop when the opening feels comfortable around your ankle.
This creates a heel pocket while keeping the ankle opening flexible.
🎀 Step 5: Finishing (Optional)
-
Add a row of single crochets around the ankle opening for a neat edge.
-
Add a pom-pom, bow, or button.
-
Add non-slip dots on the sole (fabric puff paint works great).
📌 Size Adjustments
-
Wider foot: Add more chains to create a taller rectangle.
-
Longer foot: Add more rows.
-
Tighter slippers: Use a smaller hook.
-
Looser slippers: Use a larger hook or add more height to the rectangle.
🧦 Quick Pattern Example (Adult Medium)
-
Yarn: worsted weight
-
Hook: 5mm
-
Chain 28 (≈ 7″ height)
-
Work 40 rows of hdc (≈ 10″ length)
-
Sew short side for toe
-
Sew heel 2–3″ up
-
Add edging if desired
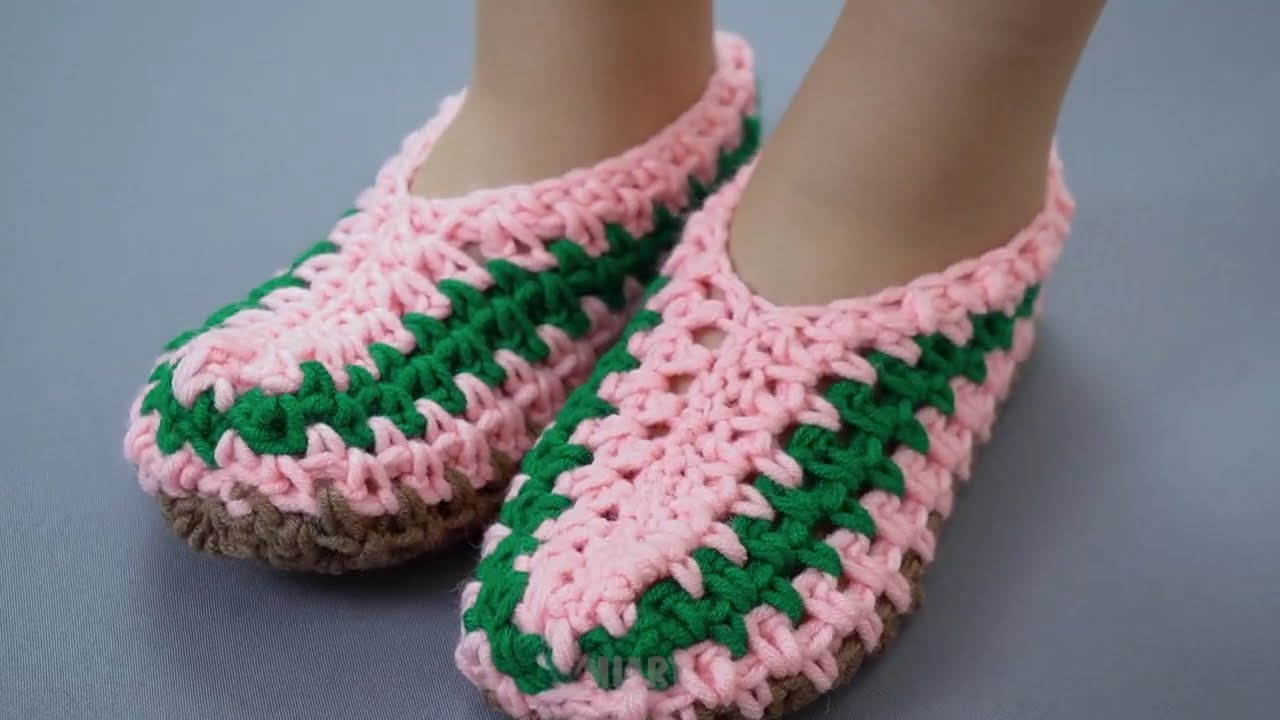
✨ Done!
You now have simple, seamless-sole crochet slippers from one rectangle—easy, customizable, and fast to make.
If you want, I can make:
-
A printed-style pattern version
-
A photo diagram / ASCII diagram
-
Instructions for child, men’s, or extra-large sizes
-
A chunky-yarn 1-hour version
Just tell me!
Watch video: