 by
by Below is a clear, friendly, and detailed guide on how to crochet granny square slippers easily. I’ve broken it down step-by-step so beginners can follow along without getting overwhelmed.
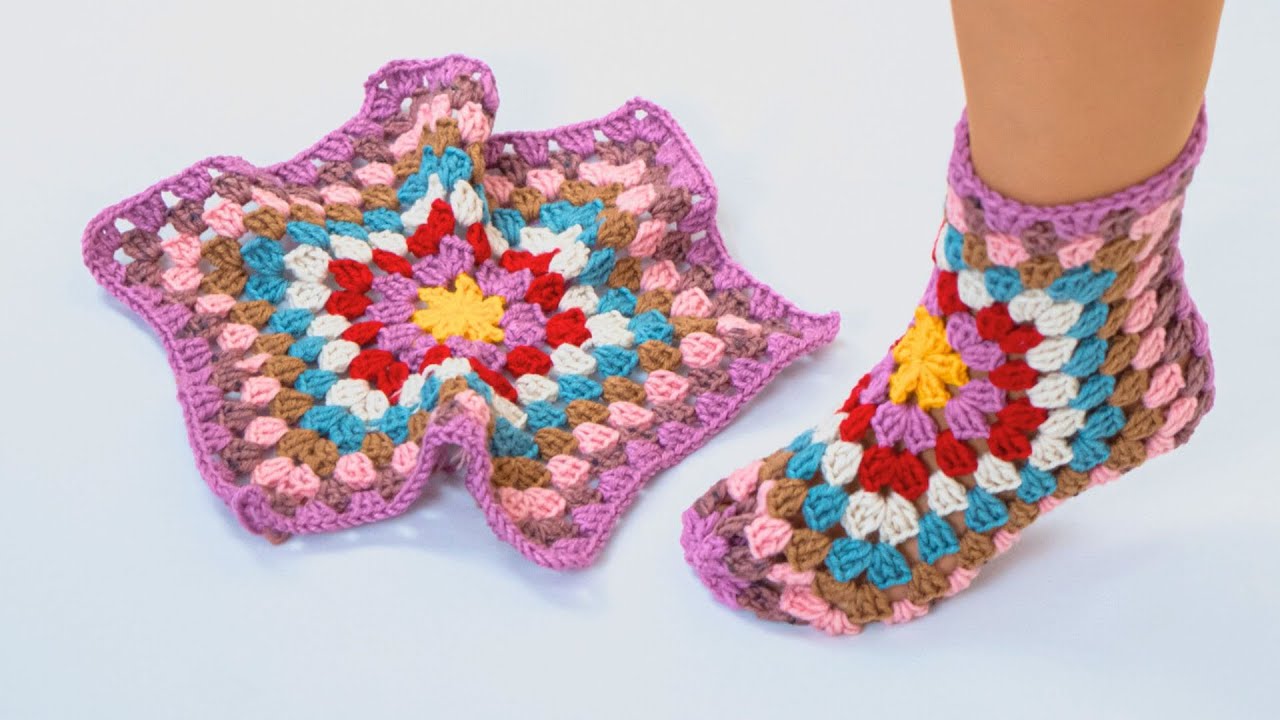
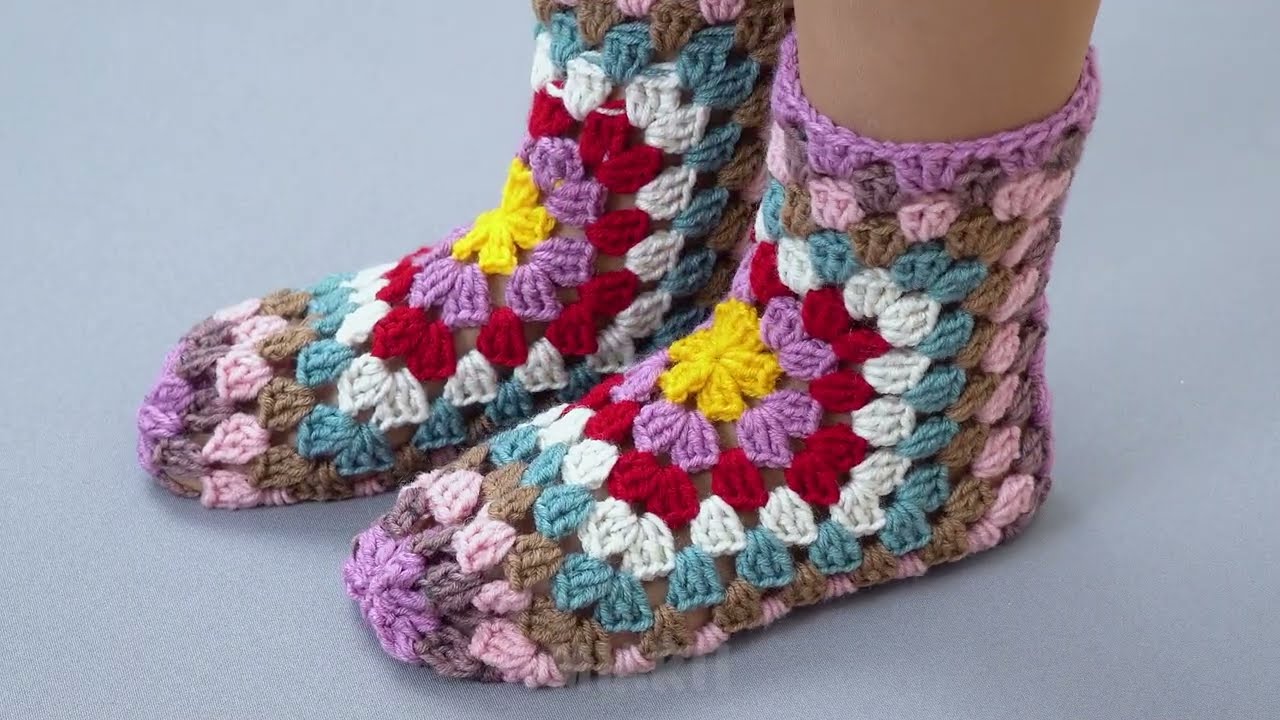
🧶 How to Make Crochet Granny Square Slippers (Easy Step-by-Step)
Crocheted granny square slippers are one of the easiest wearable crochet projects. If you can make a basic granny square, you can make slippers! They are cozy, customizable, and work up quickly—perfect for gifts or relaxing crafting.
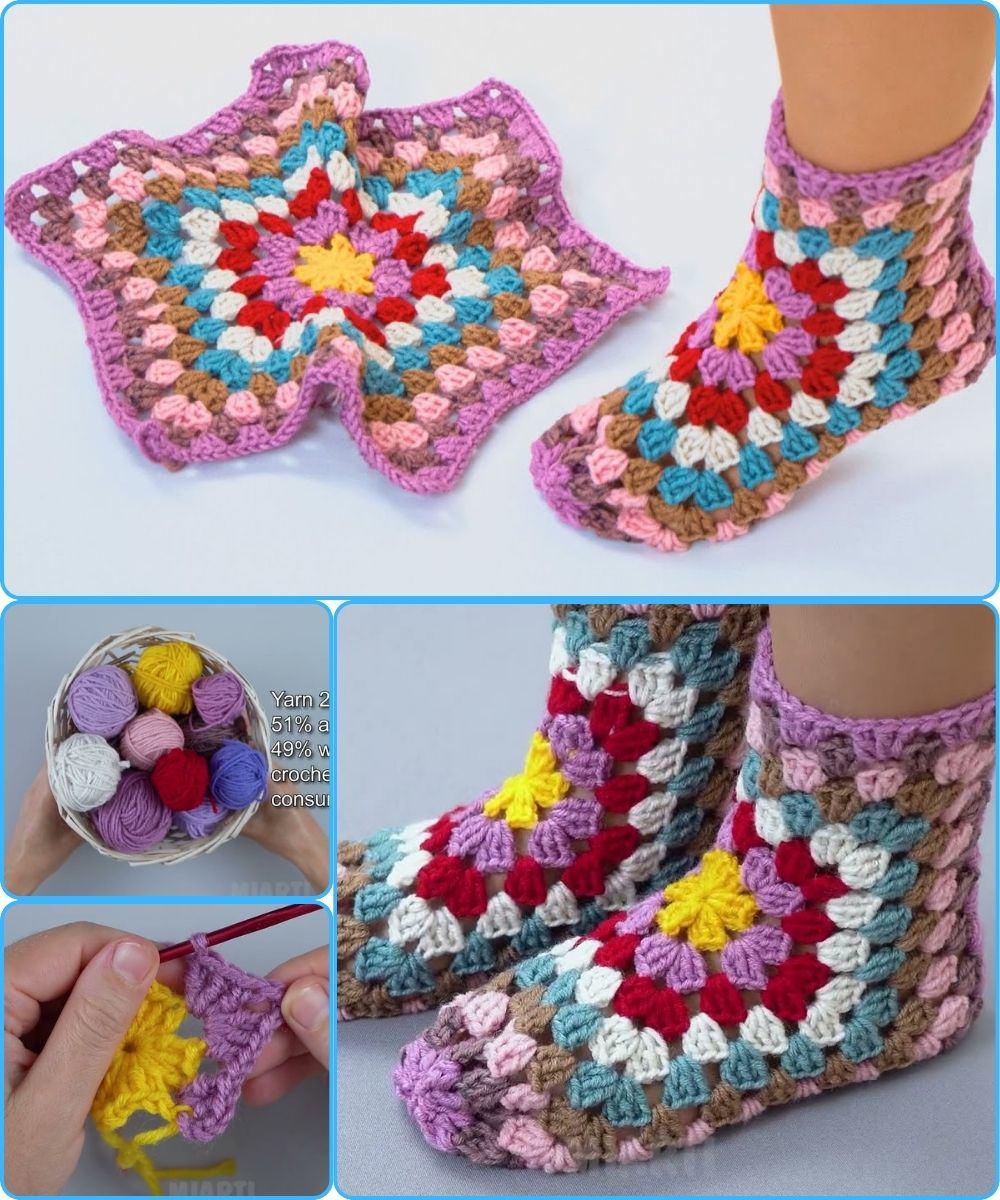
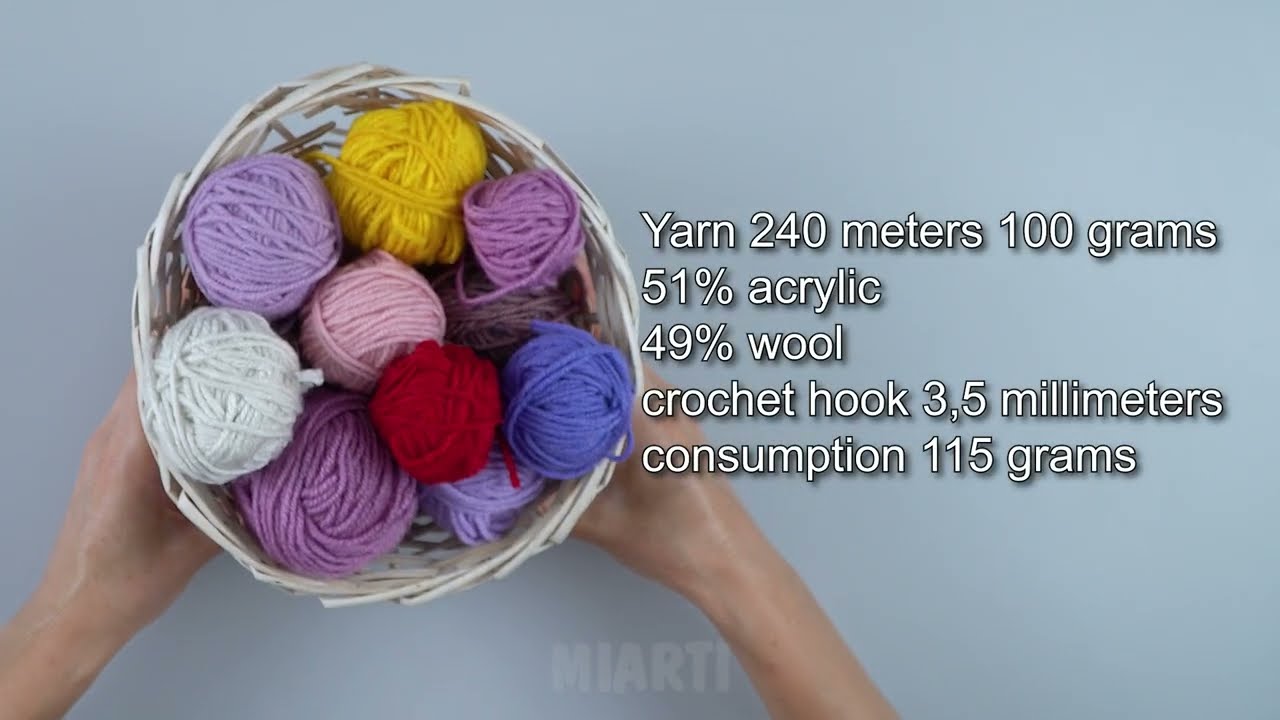
✅ Materials You’ll Need
-
Medium weight yarn (size 4) – about 150–200 yards
(Acrylic or wool blends work great) -
Crochet hook (usually 5.0 mm / H-8, or size recommended on yarn)
-
Scissors
-
Yarn needle for sewing squares together
-
Optional: stitch markers
🧵 Skill Level
Beginner / Easy
Required stitches:
-
Chain (ch)
-
Slip stitch (sl st)
-
Double crochet (dc)
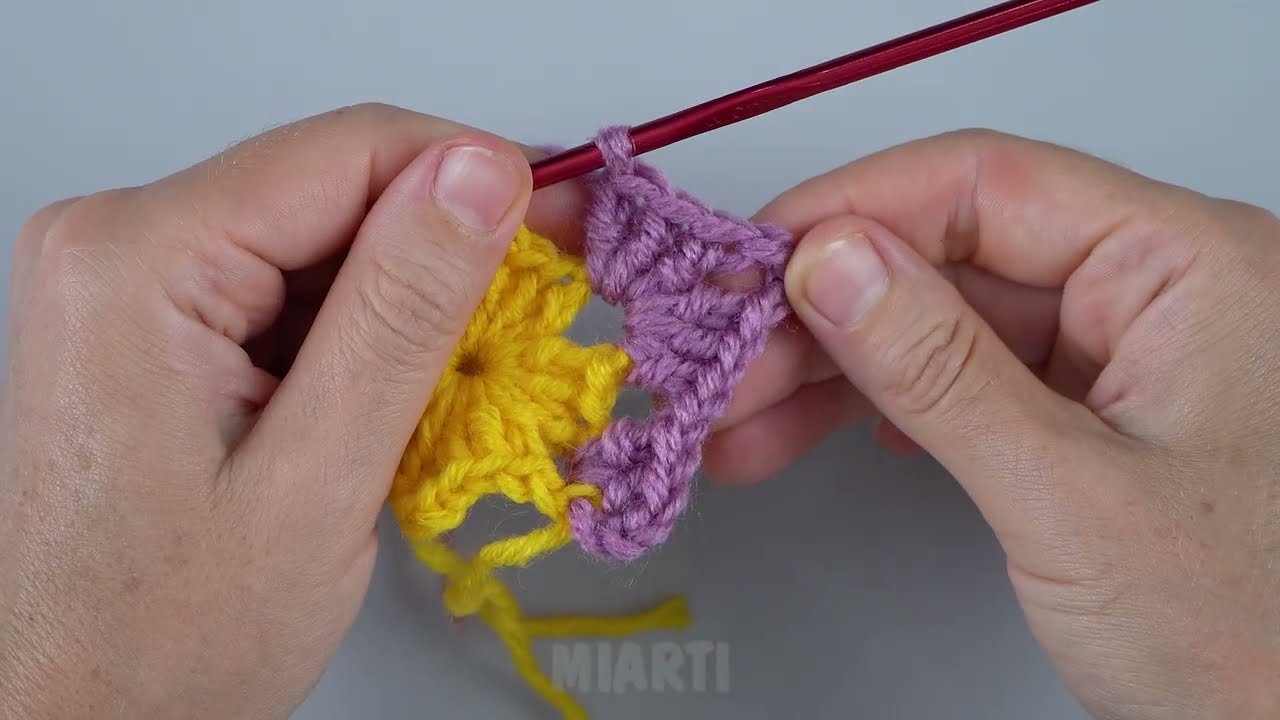
🟩 Step 1: Make Your Granny Squares
You will need 6 squares for each slipper (12 total) or 3 large squares per slipper, depending on the style you choose.
⭐ Easy Classic 3-Round Granny Square Pattern
Round 1:
-
Ch 4, join to form a ring.
-
Ch 3 (counts as dc), then do 2 dc into the ring.
-
Ch 2, 3 dc into ring — repeat 3 more times.
-
Ch 2, join with sl st to top of ch-3.
Round 2:
-
Sl st into next 2 dc and into the corner ch-2 space.
-
Ch 3 + 2 dc in same space, ch 2, 3 dc in same space (first corner).
-
(3 dc, ch 2, 3 dc) into next corner space — repeat in all corners.
-
Join with sl st.
Round 3:
Repeat Round 2, making 3 dc clusters in each side space and corners as before.
➡️ Make squares about 4–5 inches wide for adult slippers, 3–4 inches for kids.
🧩 Step 2: Layout the Squares
For the easiest slipper assembly, use 3 squares per slipper:
Layout for One Slipper
-
Square A: top of the foot
-
Square B & C: sole and heel area
This creates a simple wrap shape around the foot.
🧵 Step 3: Sew or Crochet Squares Together
Use a yarn needle and whip stitch, or slip stitch crochet them together.
Joining Instructions
-
Attach Square A to Square B along one full edge.
-
Attach Square A to Square C along the opposite edge.
(A now sits centered between B and C like a T-shape.) -
Bring the free sides of B and C together behind the heel and seam them.
-
Seam the sides of Square A to the sides of B and C to form the slipper shape.
At this point, your slippers will look like a little bootie!
🦶 Step 4: Shape the Toe Opening
The front part (Square A) naturally forms the toe.
If the slipper feels too loose, you can:
-
Add a round of single crochet around the opening
-
Add a ribbed cuff (optional)
-
Weave a drawstring through the edge
🎨 Step 5: Customize (Optional)
You can add:
-
Decorative edging
-
Pom-poms
-
Buttons
-
A cuff using half-double crochet
-
Grippy dots on the bottom for safety
📏 Size Adjustments
For Bigger Feet:
-
Use larger granny squares
-
Add an extra granny square at the heel
For Smaller Feet:
-
Use smaller squares
-
Only do 2 rounds instead of 3
🎉 And You’re Done!
Slip your feet in and enjoy your warm and cozy handmade granny square slippers. Once you make one pair, you’ll want to make more—they’re fast, fun, and perfect for using up scrap yarn!
If you’d like, I can also create:
✔ a diagram for the layout
✔ a printable version
✔ a video-style step list
✔ a pattern that uses only 6 small squares per slipper
Watch video: