 by
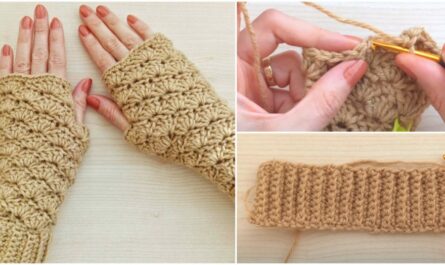
by Absolutely! Let’s go step by step. I’ll give you a detailed beginner-friendly guide for making simple crochet slippers using a single swatch. This method is ideal because you crochet a rectangle (swatch) and then fold and seam it into a slipper—no complex shaping or advanced techniques needed.
Materials Needed
-
Yarn: Medium-weight (worsted, #4) yarn. Acrylic or wool blends work well.
-
Hook: Size recommended on your yarn label, usually 5–6 mm for worsted yarn.
-
Scissors
-
Tapestry needle (for sewing seams)
-
Measuring tape (optional)
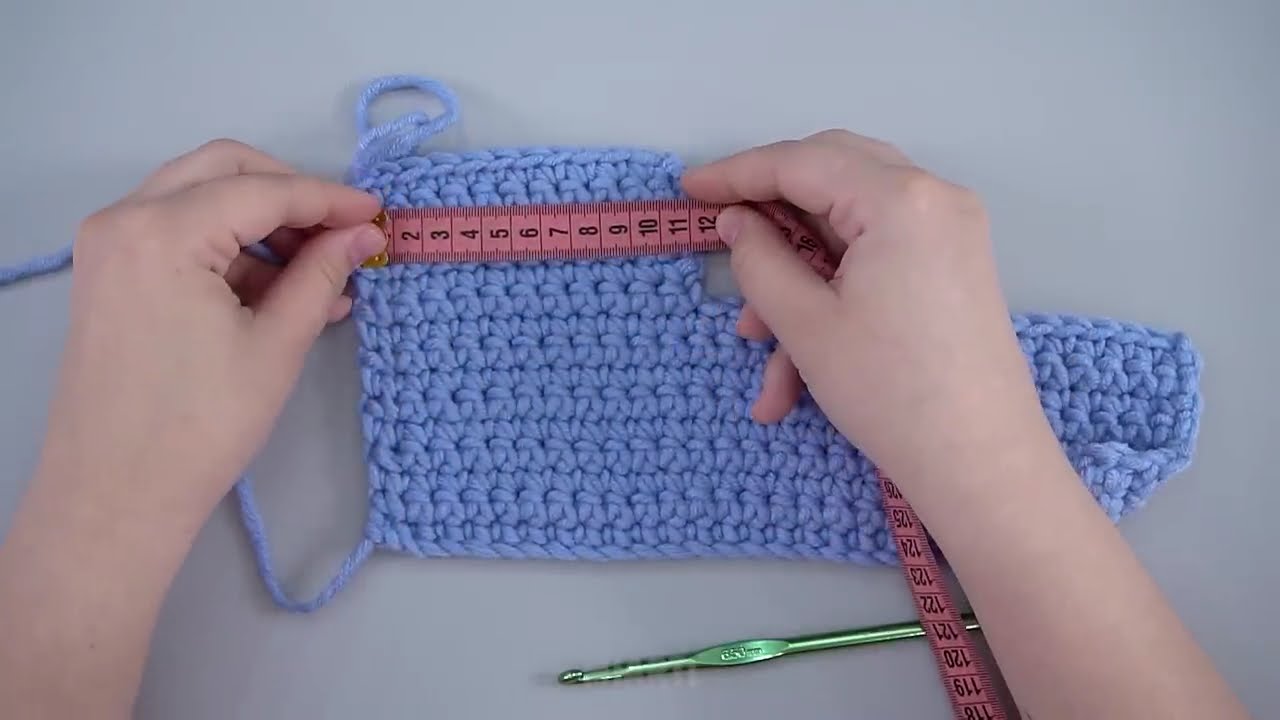
Step 1: Make a Gauge Swatch
Before starting the slipper, make a small test swatch to see how many stitches per inch your yarn and hook give. This helps you size your slipper correctly.
-
Chain 10, work 10–15 rows in single crochet (sc) or half-double crochet (hdc).
-
Measure the width and length to calculate how many stitches you need to reach your foot size.
Tip: If you’re a beginner, stick with single crochet (sc)—it’s simple and sturdy.
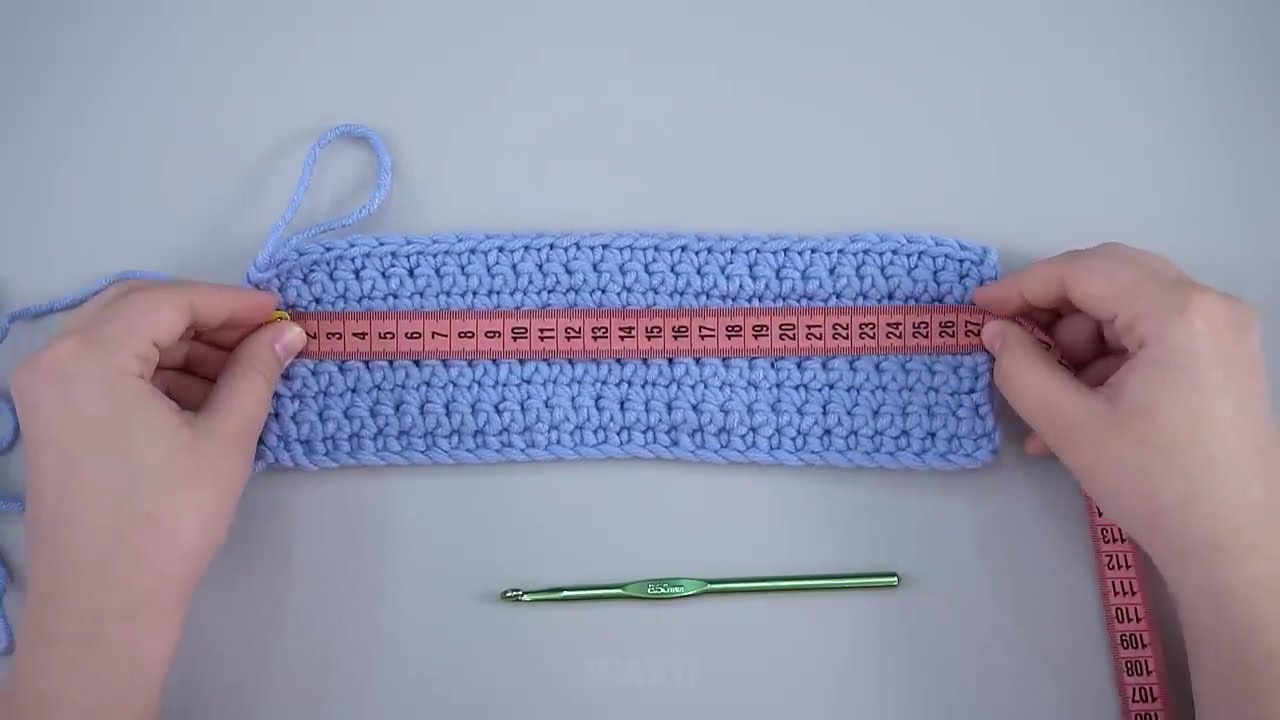
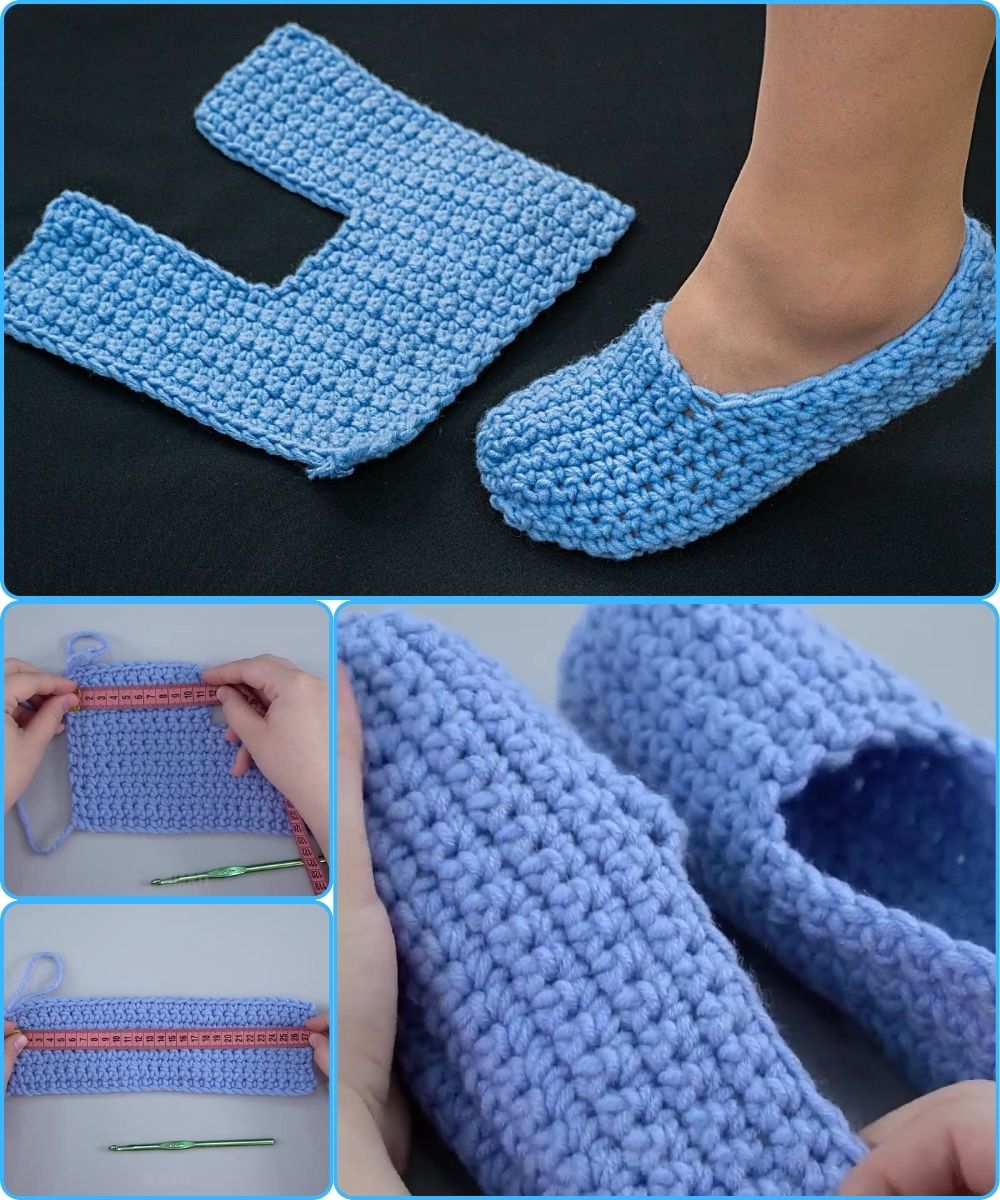
Step 2: Crochet the Swatch
The swatch will become the slipper. It should be long enough to wrap around your foot and wide enough to cover the top.
Measurements
-
Width: From side to side of your foot (usually around 3–4 inches for adults).
-
Length: From heel to toe (usually around 9–10 inches for adults).
Instructions
-
Foundation Chain: Chain the number of stitches equal to the width of your slipper.
Example: For an adult small, chain 12–15 stitches. -
Row 1: Single crochet (sc) in the 2nd chain from hook and across. Turn.
-
Rows 2–X: Continue single crocheting across each row until the swatch length reaches the foot length.
Optional: You can use half-double crochet (hdc) for a slightly taller fabric.
Tip: Keep edges straight. Count stitches each row if needed.
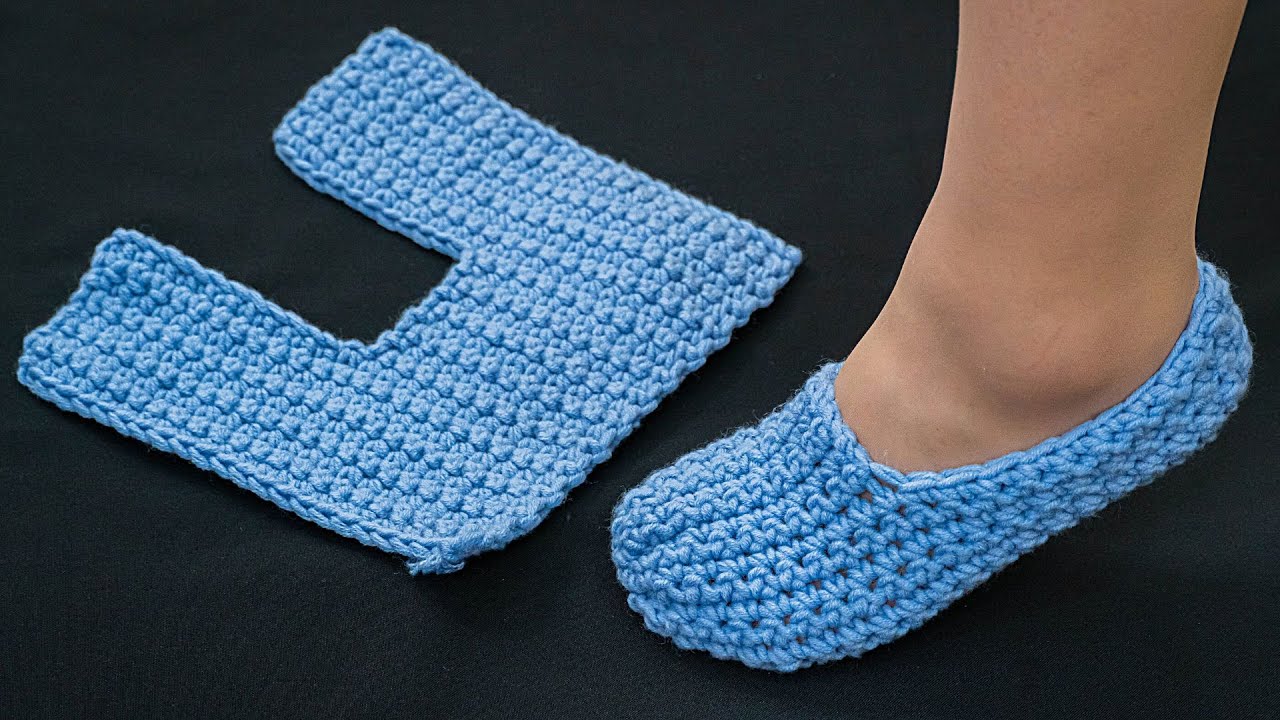
Step 3: Shape and Fold the Slipper
Now you’ll turn your rectangle into a slipper.
-
Lay the swatch flat with the wrong side up (the side you don’t want to show).
-
Fold the rectangle in half widthwise so the short ends meet—this will create the toe seam.
-
Sew the front seam (toe) using whip stitch or single crochet along the edge. Leave the top open for your foot.
-
Fold the sides slightly inward to fit your foot comfortably.

Step 4: Create the Heel
-
With the slipper still flat, fold the back of the rectangle over your heel.
-
Sew along the back edge to close the heel.
-
Check the fit. You can adjust by leaving a slightly open heel for slip-on style or closing it completely for a full slipper.
Step 5: Optional Edging
-
Crochet a row of single crochet around the slipper opening for a neat finish.
-
You can also add a contrasting yarn or a small decorative cuff.
Step 6: Weave in Ends
-
Use a tapestry needle to weave in any loose ends.
-
Trim excess yarn neatly.
Tips for Beginners
-
Tension matters: Don’t crochet too tight or the slipper won’t stretch over your foot.
-
Try it on as you go: Folding and seaming is easier when you check the fit.
-
Yarn choice: Soft but durable yarn works best—avoid very fuzzy or slippery yarns at first.
-
Practice edges: Even edges make sewing easier and the slipper looks nicer.
Summary
-
Crochet a rectangle (width = foot width, length = foot length).
-
Fold and seam the toe.
-
Fold and seam the heel.
-
Optional: Add edging for finishing.
-
Weave in ends and enjoy your cozy slippers!
If you want, I can also draw a simple diagram showing the fold-and-seam method—this makes it super easy to visualize for beginners.
Watch tutorial: