 by
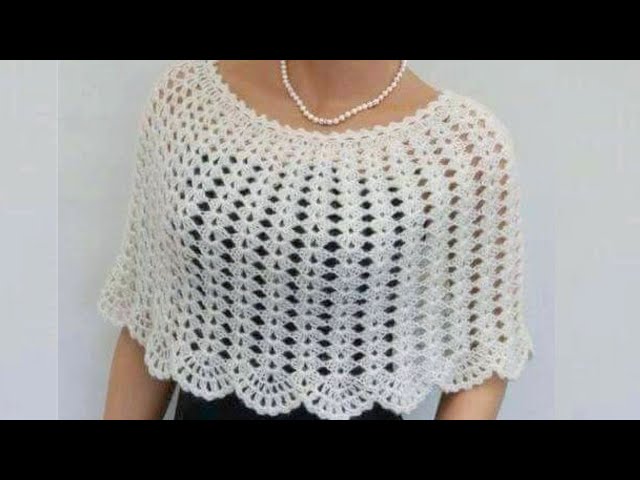
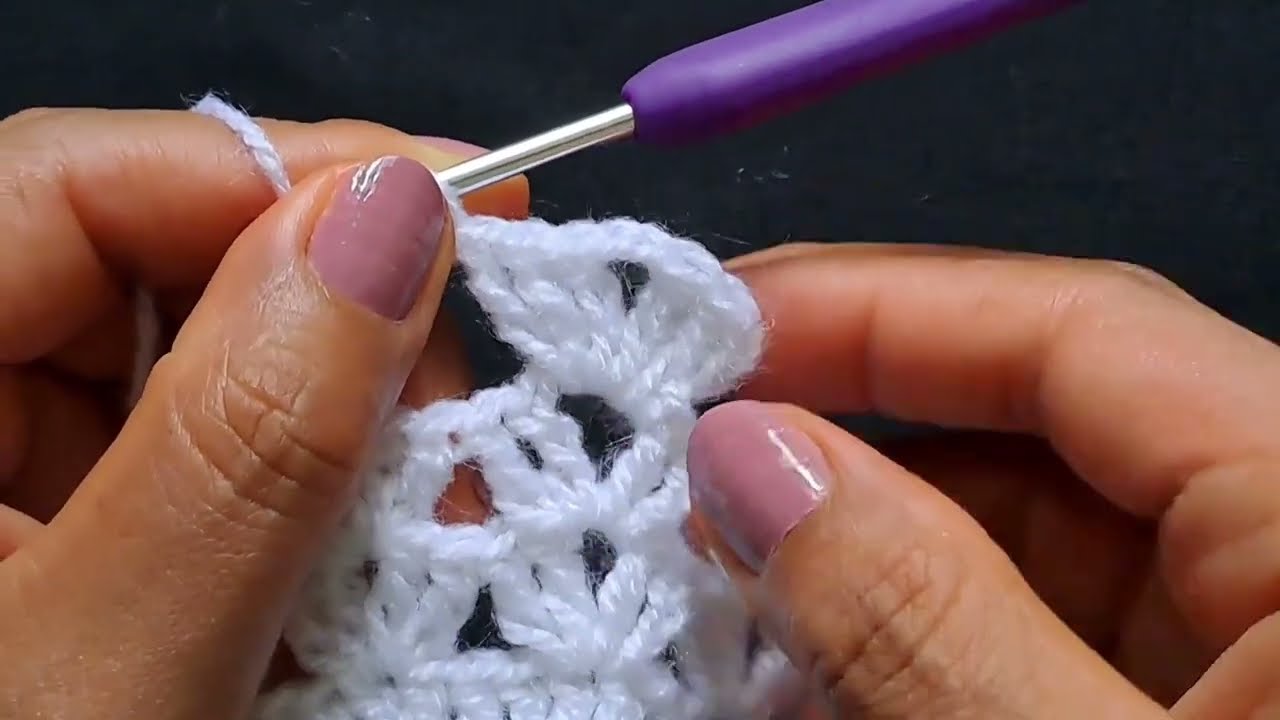
by Sure! Here’s a detailed step-by-step guide on how to crochet a cute cape, especially designed with beginners in mind. We’ll keep it simple, stylish, and easy to follow. At the end, you’ll have a lovely cape that’s perfect for layering in cooler weather or adding a whimsical touch to your wardrobe.
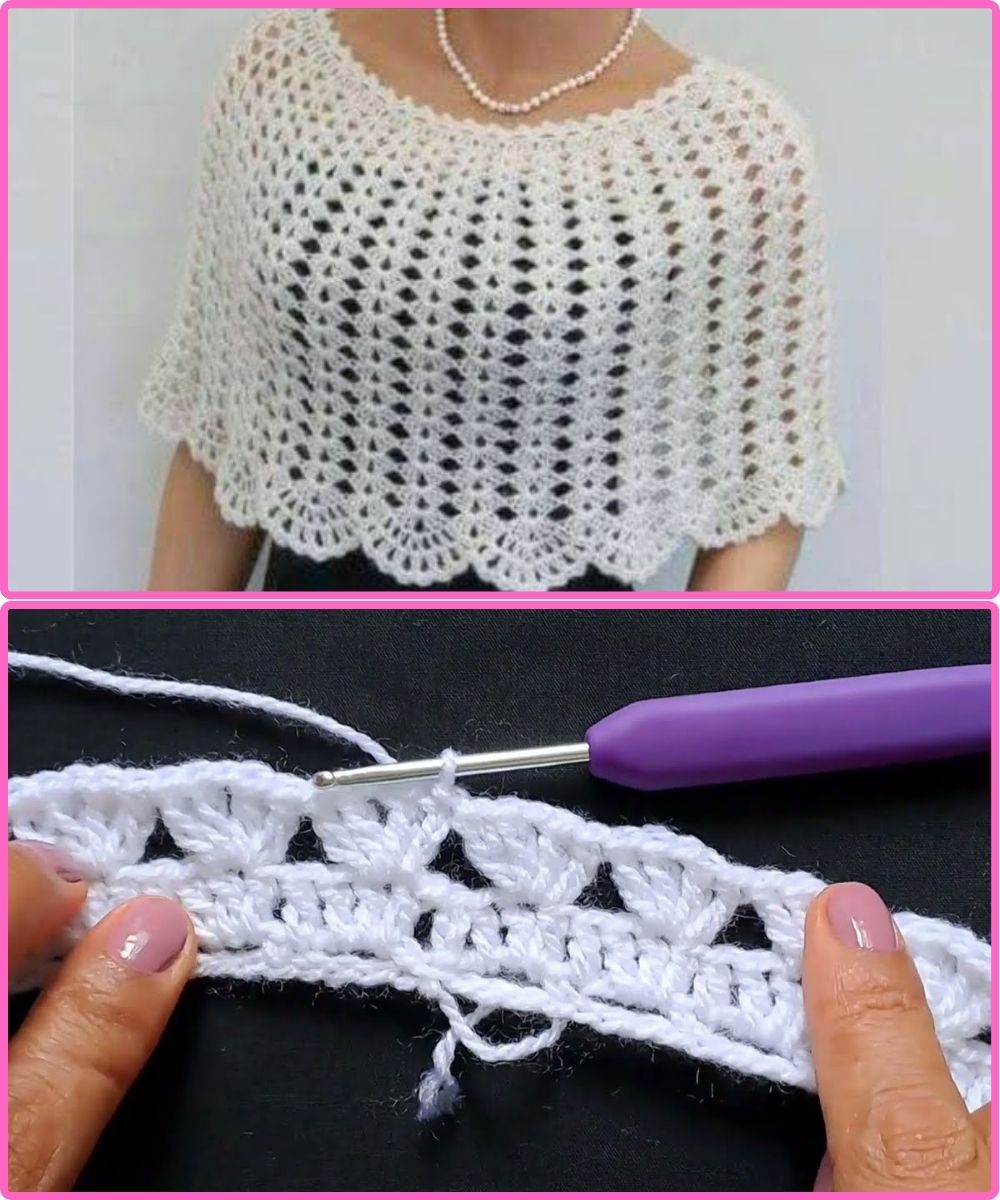
🧶 How to Crochet a Cute Cape (Step-by-Step for Beginners)
✨ Skill Level:
Beginner-Friendly
🧵 Materials Needed:
-
Yarn: Medium weight (Worsted Weight #4) – about 500–700 yards depending on size
-
Hook: 6.0 mm (J-10) crochet hook
-
Scissors
-
Yarn needle for weaving in ends
-
Stitch markers (optional)
-
Buttons or ribbon for closure (optional)
📏 Measurements:
-
You can adjust the length by adding or reducing rows.
-
Standard adult size: approx. 20–24 inches long from neckline to bottom.
🧶 Stitches Used:
-
Chain (ch)
-
Slip stitch (sl st)
-
Single crochet (sc)
-
Double crochet (dc)
-
Half double crochet (hdc) (optional)
🪡 Step-by-Step Pattern
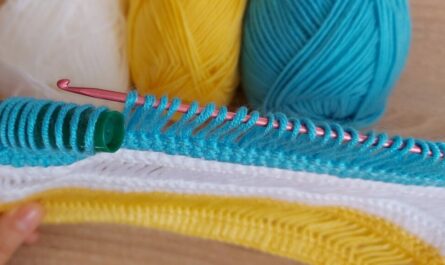
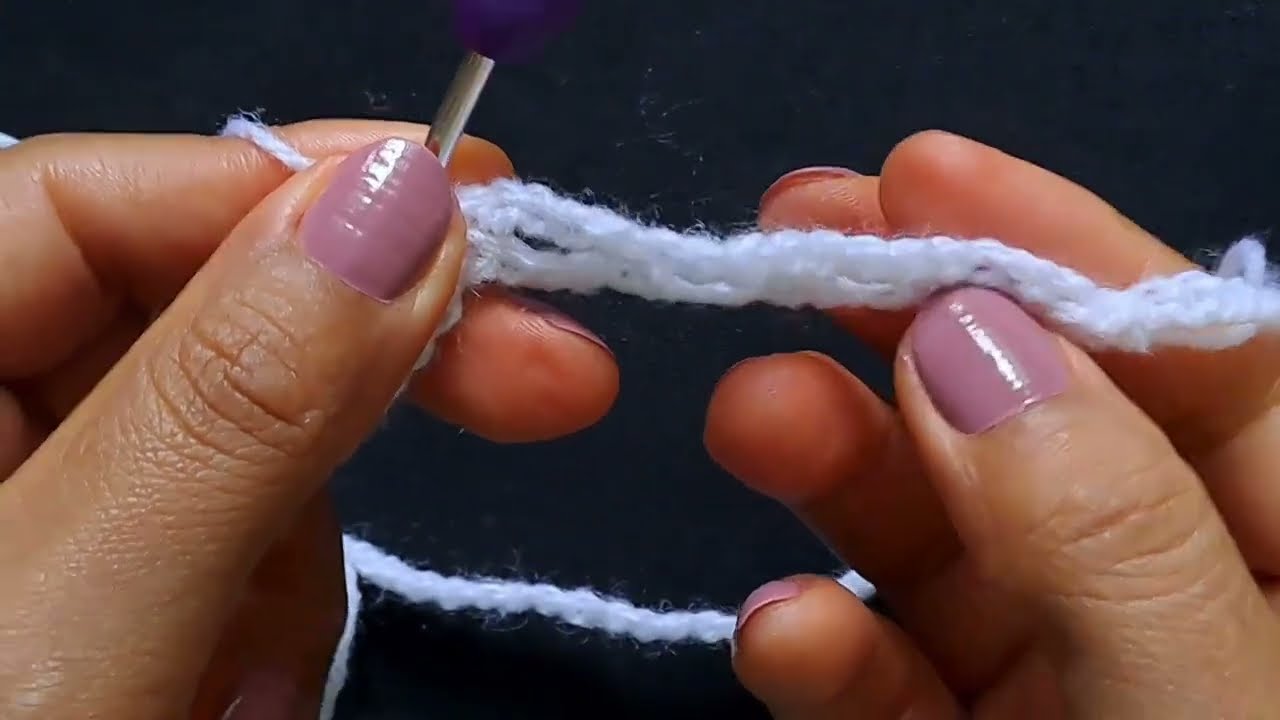
🍃 Step 1: Make the Foundation Chain
-
Start by making a slip knot and ch 72 (or any multiple of 12 depending on the size of the neckline you want).
-
Join with a sl st to the first chain to form a circle. Be careful not to twist the chain.
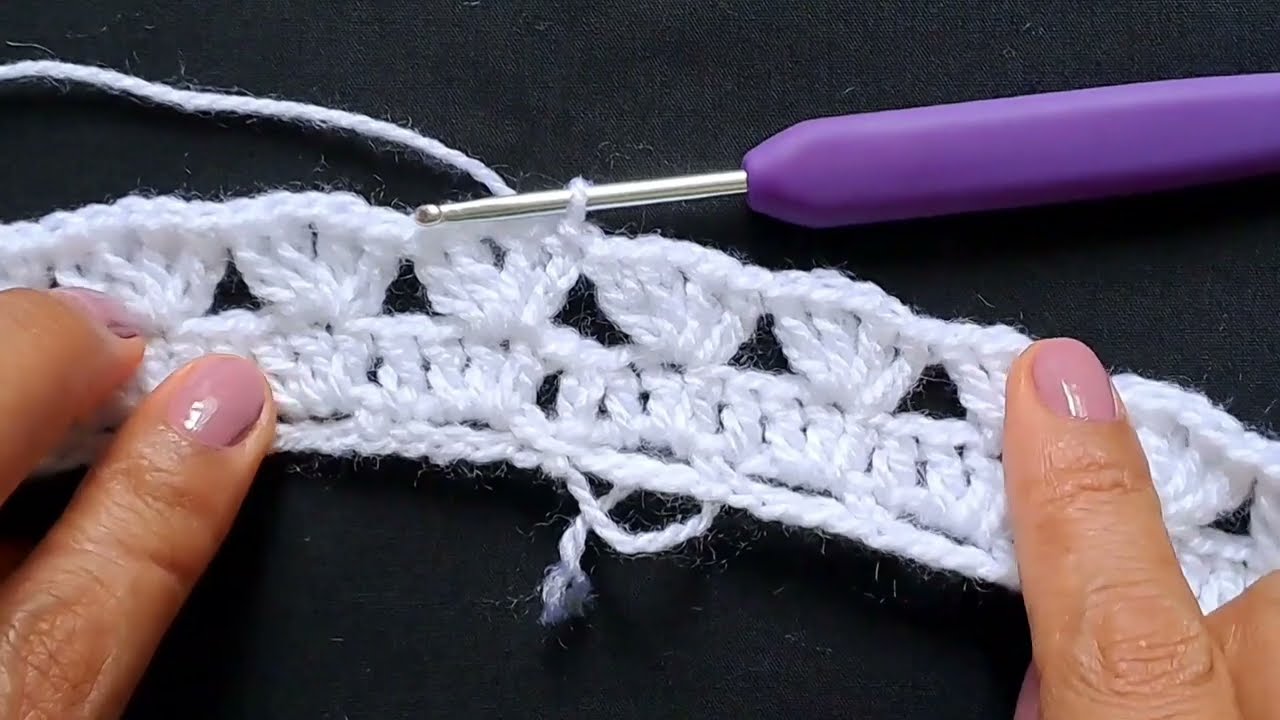
🍃 Step 2: Begin Yoke (Top of Cape)
-
Round 1: Ch 2 (counts as first dc), dc in each ch around. Join with sl st to top of ch-2.
🧵 You should have 72 dc stitches. -
Round 2: Ch 2, (dc in next 5 dc, 2 dc in next) repeat from * to * around. Join.
🪡 This increases the cape to create flare. -
Round 3: Repeat Round 2.
(You can repeat another round if you want a looser shoulder.)
🍃 Step 3: Build the Length
-
Round 4 – 15 (or desired length): Ch 2, dc in each stitch around. Join.
-
You can alternate rows of dc and hdc or sc to create texture.
-
-
Optional edging:
-
Final row: (Sc, skip 1, 5 dc in next stitch, skip 1, sc) repeat for a shell edge.
-
🍃 Step 4: Add a Closure
You can finish your cape in one of these ways:
-
Button and loop: Crochet a small loop with chains at the top edge and sew on a button.
-
Ribbon tie: Weave a ribbon through the top row and tie it in a bow.
-
Crochet tie: Chain a long string (80–100 ch), fasten off, and weave through the neckline.
✨ Optional Embellishments
-
Add a collar using ribbed sc rows and sew it to the neckline.
-
Use multiple colors or stripes.
-
Add a scalloped edge or fringe to the bottom.
🌟 Tips for Beginners:
-
Use light-colored yarn to make it easier to see your stitches.
-
Mark your rounds with stitch markers so you don’t lose count.
-
Try a gauge swatch (10×10 cm) if you’re following a precise size.
👗 Style Ideas:
-
Use pastel or ombre yarn for a fairy-tale capelet.
-
Try bulky yarn and a larger hook for a cozy winter cape.
-
Add faux fur trim or pompoms for a fun twist!
Would you like this in a printable PDF pattern format, or want me to include diagrams or video tutorials to match each step? I can also help with kid sizes or pet cape versions if you’re interested!
Watch video: