 by
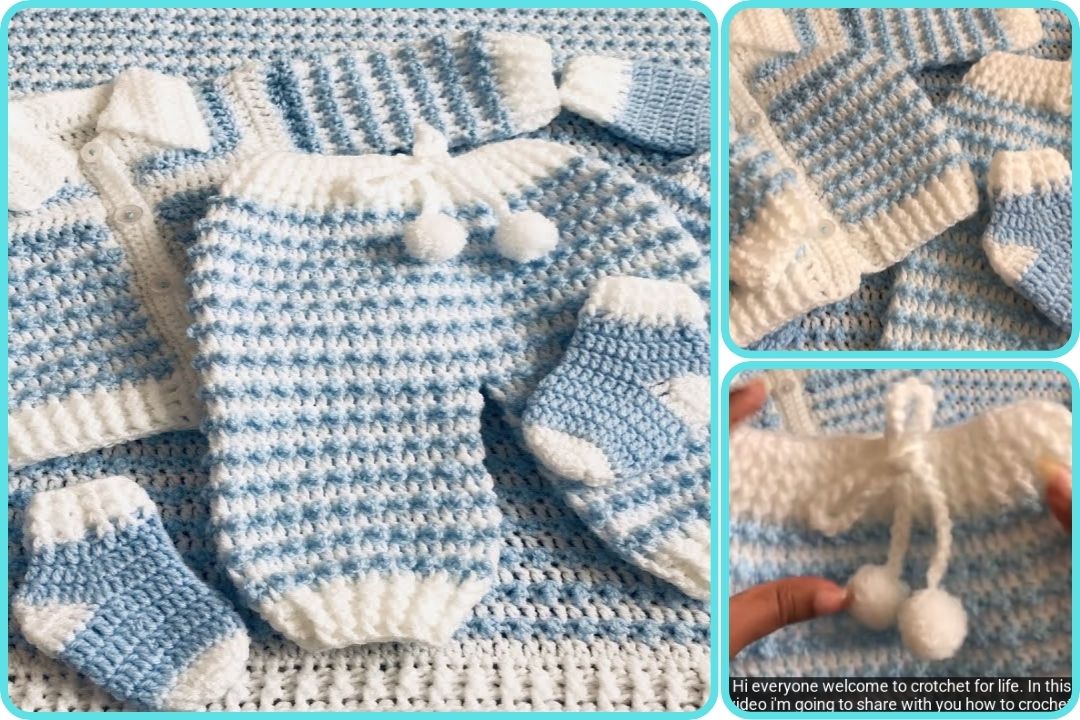
by Here’s a step-by-step guide on how to make easy crochet baby pants, suitable for beginners and adaptable for babies aged 0–3 months up to 12 months. This will use basic stitches and simple shaping.
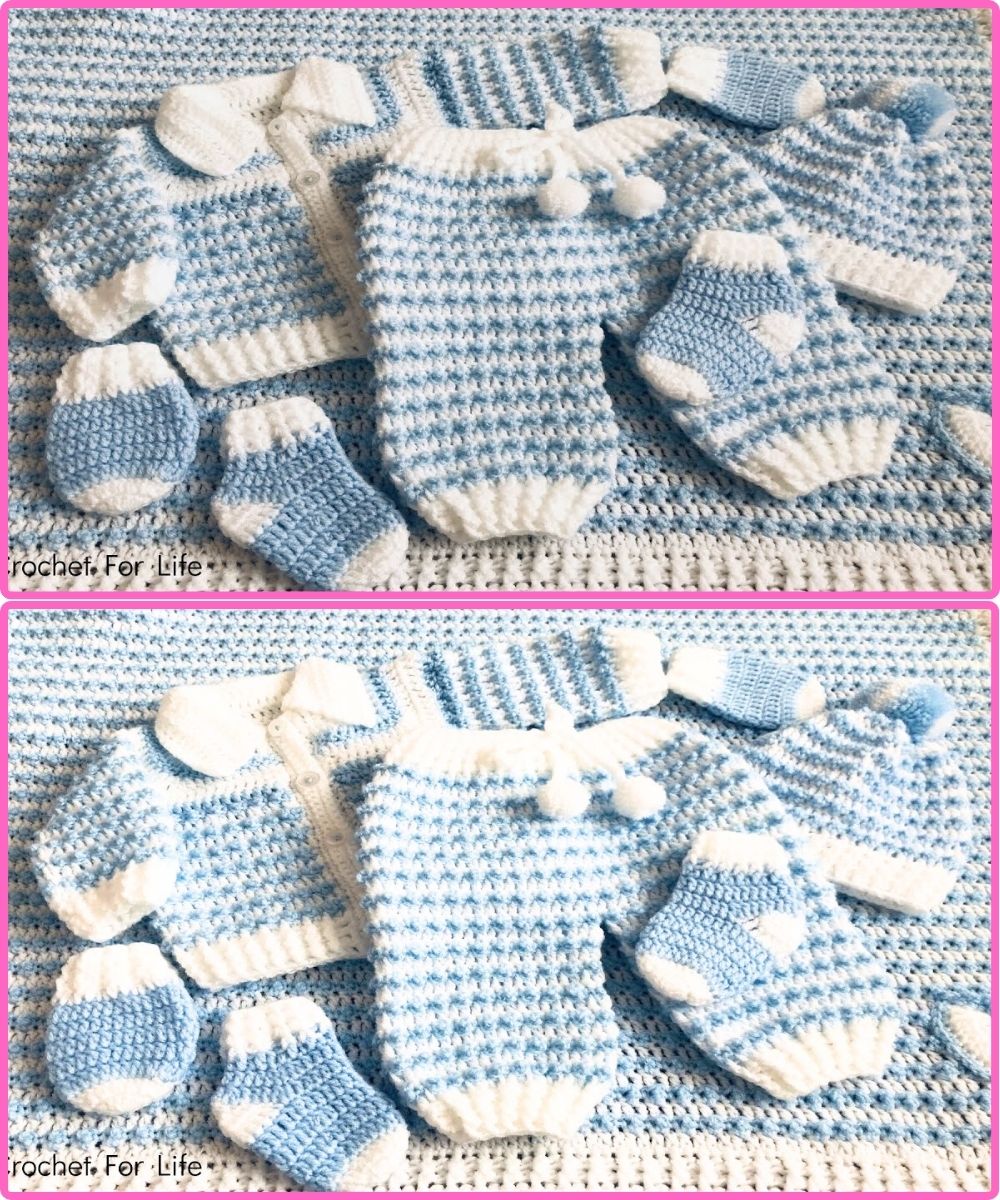
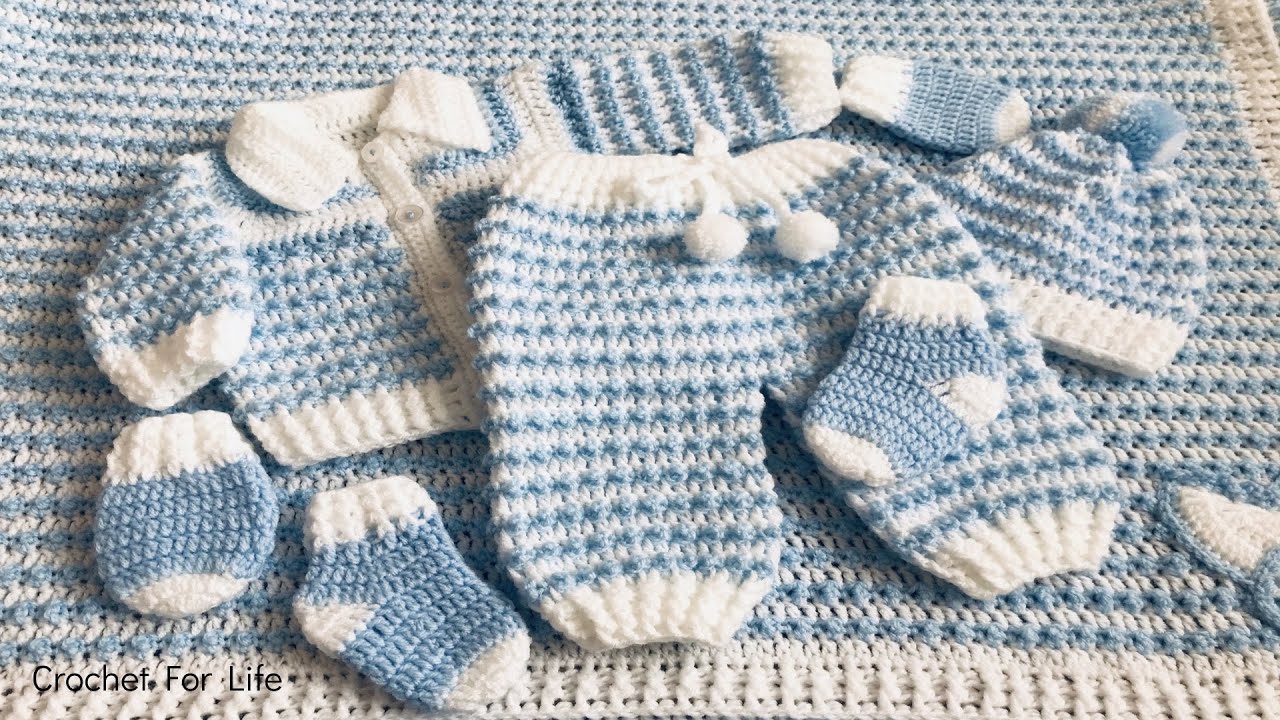
🧶 Easy Crochet Baby Pants – Step-by-Step Guide
👶 Size: 0–3 months (with tips for adjusting)
✅ Materials:
-
Yarn: Soft worsted weight (medium #4) yarn, about 150–200g
(Cotton or acrylic blend – baby-safe and washable) -
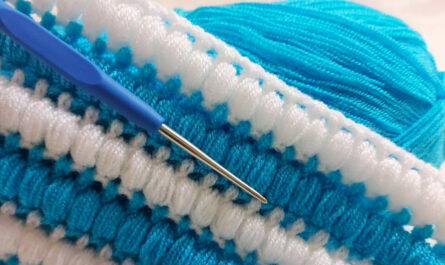
Hook: 5.0 mm (H/8) crochet hook
-
Notions: Scissors, yarn needle, stitch markers, tape measure
-
Elastic band (optional): For waistband (½ inch wide)
📏 Sizing Reference (Approximate):
| Age | Waist | Inseam |
|---|---|---|
| 0–3 months | 14–16 in | 6 in |
| 3–6 months | 16–18 in | 7 in |
| 6–12 months | 18–19.5 in | 8–9 in |
🪡 Stitches Used:
-
CH – Chain
-
SL ST – Slip Stitch
-
SC – Single Crochet
-
DC – Double Crochet
-
HDC – Half Double Crochet
(You can adjust the look by choosing HDC or DC for more flexibility)
🧵 Instructions:
1. Waistband
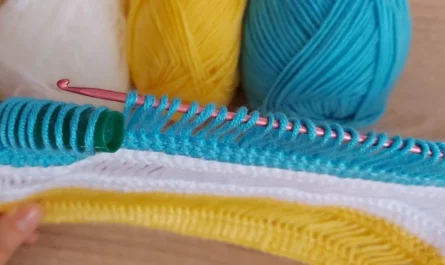
You’ll work in the round for this section.
-
CH 48 (for 0–3 months) – Join with SL ST to form a circle. (Adjust chain count based on waist size.)
-
Rounds 1–3: CH 2 (does not count as stitch), HDC in each stitch around, SL ST to join. (48 sts)
-
Optional: Insert ½ inch elastic band in the waistband or crochet ribbing instead.
-
2. Main Body
-
Rounds 4–12: CH 2, HDC in each stitch around. SL ST to join.
-
Continue until body height reaches the crotch (around 5–6 inches).
-
3. Splitting for Legs
Divide the stitches in half: 24 for each leg.
-
Fasten off after the last round of the body. Fold pants flat and use stitch markers to mark each side (crotch).
-
Join yarn at one side marker for Leg 1.
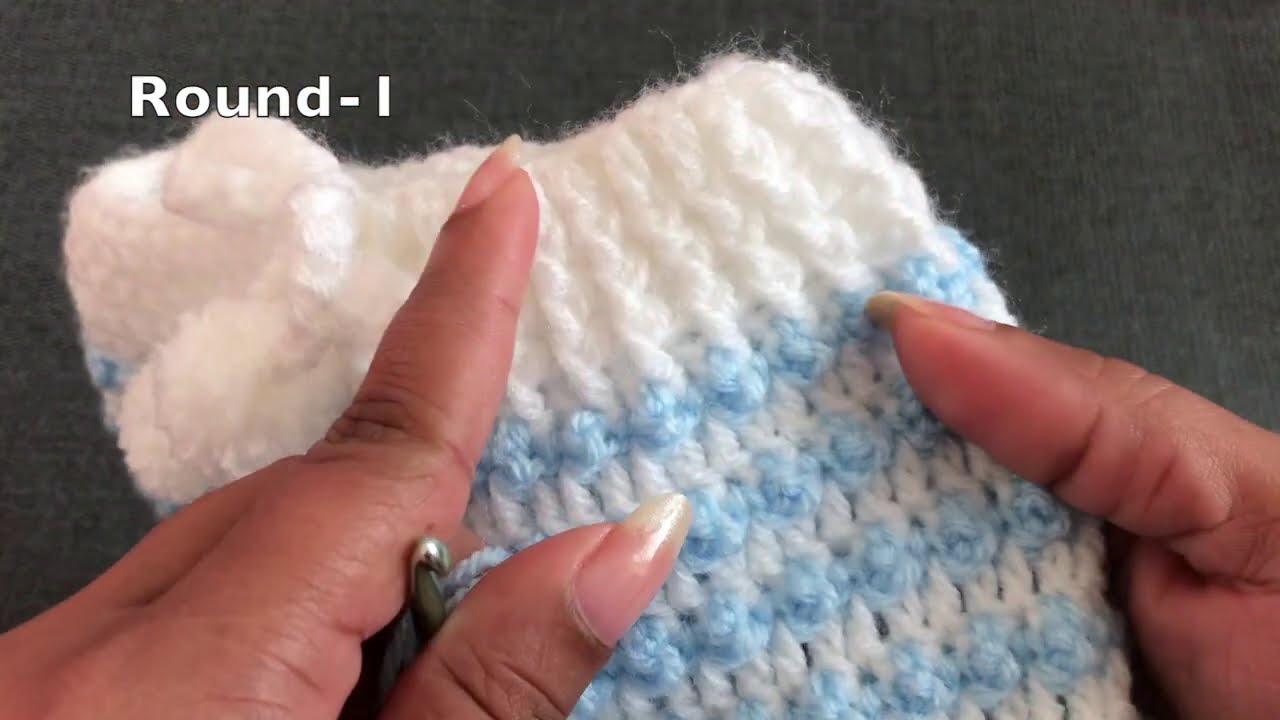
4. Legs
-
Rounds 1–6: CH 2, HDC in each stitch around the leg opening (24 sts). SL ST to join.
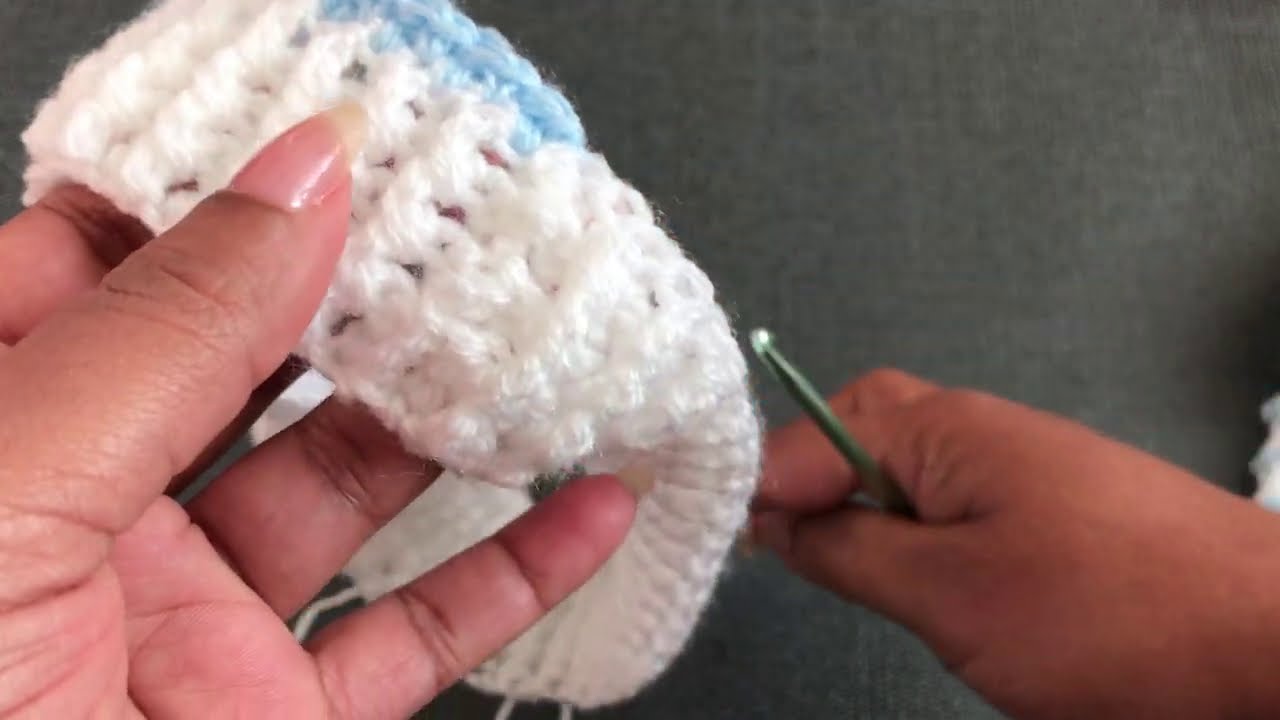
-
Round 7: Optional – switch to SC or ribbed edging for a neat ankle cuff.
-
Fasten off and weave in ends.
Repeat for Leg 2 on the opposite side.
5. Finishing Touches
-
Weave in all yarn ends with a yarn needle.
-
If using elastic, sew the ends of the elastic together and hide it inside the waistband.
-
Add a drawstring, buttons, or bows for decoration (optional).
📝 Tips:
-
Use stitch markers to help keep count at joins and leg splits.
-
For a ribbed waistband, you can crochet a rectangle of SC rows and join into a loop before starting the body.
-
Add room for a diaper by making the back slightly longer – use short rows or add a few extra rounds to the back.
🧼 Care Instructions:
-
Use baby-friendly yarn (machine washable, soft).
-
Avoid wool if the baby has sensitive skin.
-
Wash before gifting.
Watch video: