by
by Sure! Here’s a detailed tutorial on how to make a mini crochet key ring bag—perfect for beginners and fun to customize. This cute little accessory can hold coins, lip balm, or even tiny notes. Let’s walk through the steps, including materials, stitches, and assembly.
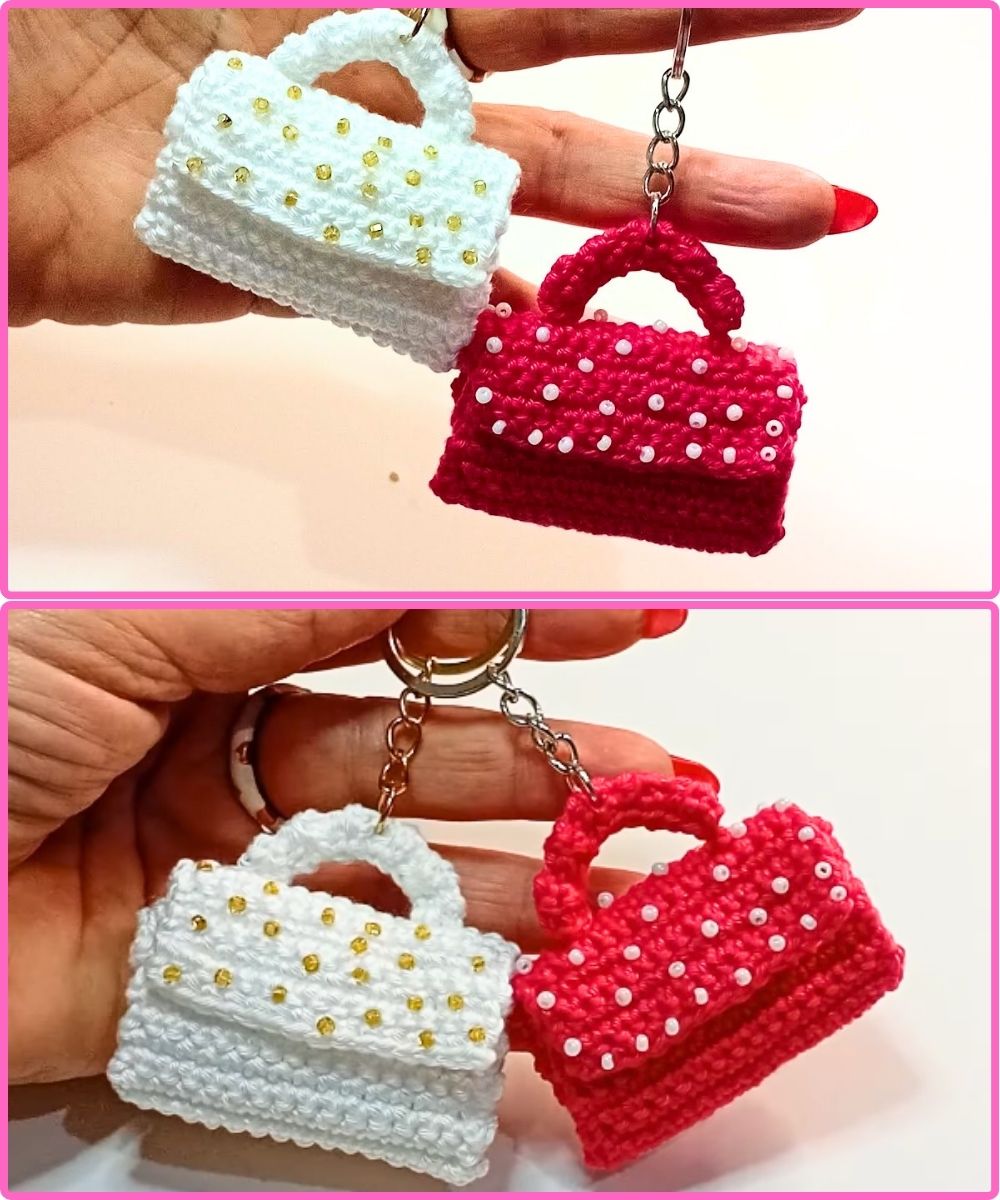
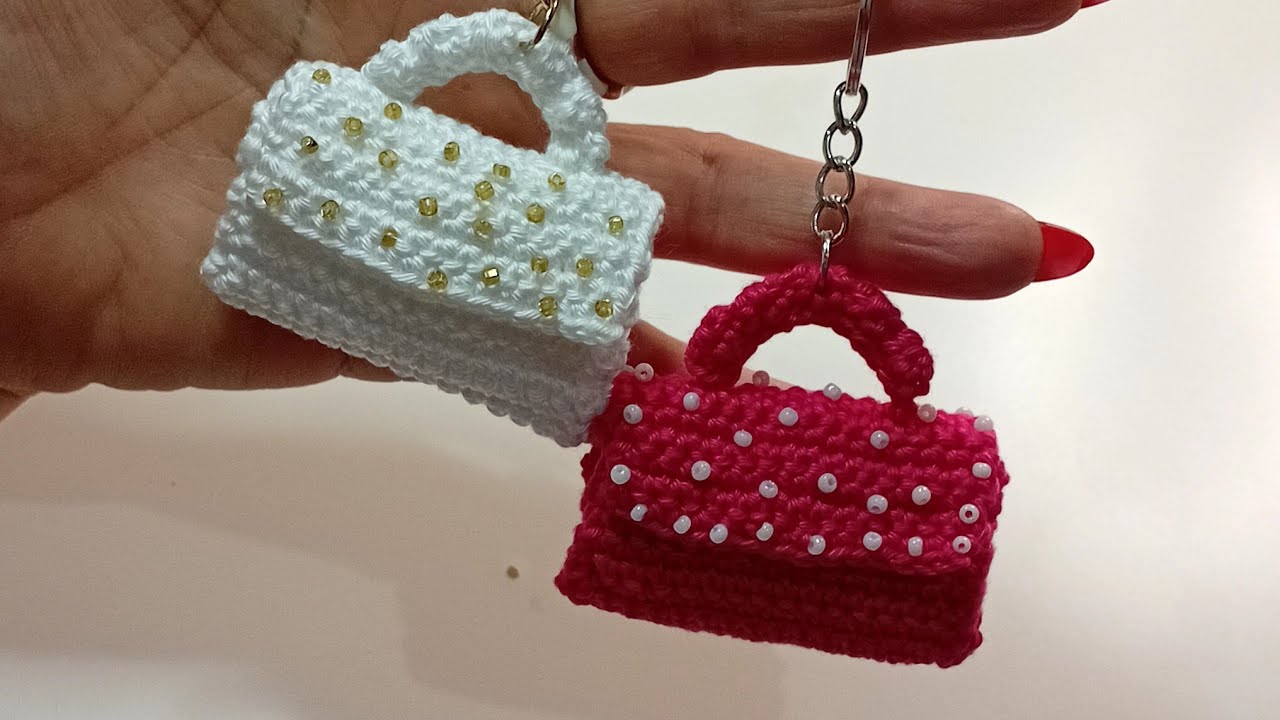
🧶 Mini Crochet Key Ring Bag Tutorial
✂️ Materials Needed
-
Worsted weight cotton yarn (or acrylic; choose any color)
-
3.0 mm or 3.5 mm crochet hook
-
Key ring or lobster clasp
-
Tapestry needle
-
Small button (optional for closure)
-
Scissors
-
Stitch marker (optional)
🧵 Abbreviations (US terms)
| Abbreviation | Meaning |
|---|---|
| ch | chain |
| sc | single crochet |
| sl st | slip stitch |
| inc | increase (2 sc in one stitch) |
| dec | decrease (single crochet two together) |
| st(s) | stitch(es) |
📏 Finished Size
Approx. 2.5″ x 2.5″ (6.5 cm x 6.5 cm), varies slightly with yarn and hook size.
🪡 Step-by-Step Instructions
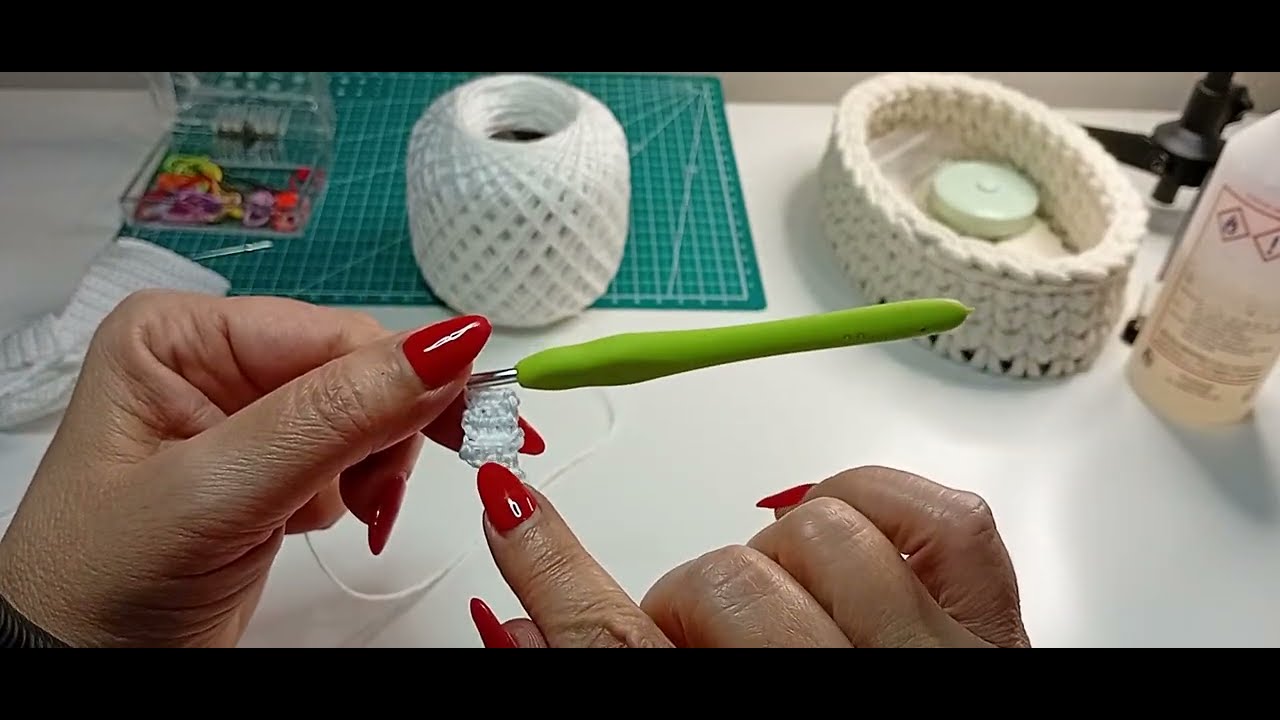
🌸 Part 1: Base & Body
We’ll start from the bottom of the bag and work in rounds.
-
Create Magic Ring
-
Ch 2 or use a magic circle.
-
Round 1: 6 sc into the ring. (6 sts)
-
Pull tight and place stitch marker if needed.
-
-
Round 2:
-
Inc in each st around. (12 sts)
-
-
Round 3:
-
1 sc, inc repeat around. (18 sts)
-
-
Round 4:
-
2 sc, inc repeat around. (24 sts)
-
-
Rounds 5–10:
-
Sc in each st around. (24 sts)
-
This builds the height of the bag.
-

🧷 Part 2: Bag Flap
This is a short flat flap to close the top.
-
From where you left off (round 10), do not break the yarn.
-
Ch 1, turn.
-
Row 1: Sc in next 12 sts only (half the bag). Turn.
-
Row 2: Ch 1, sc in each st. Turn. (12 sts)
-
Row 3: Ch 1, sc2tog, 8 sc, sc2tog. Turn. (10 sts)
-
Row 4: Ch 1, sc across. Turn. (10 sts)
-
Row 5: Ch 1, sc2tog, 6 sc, sc2tog. Turn. (8 sts)
-
Row 6: Sc across. (Optional: ch 4 in the middle and skip 1 for buttonhole)
Fasten off and weave in ends.
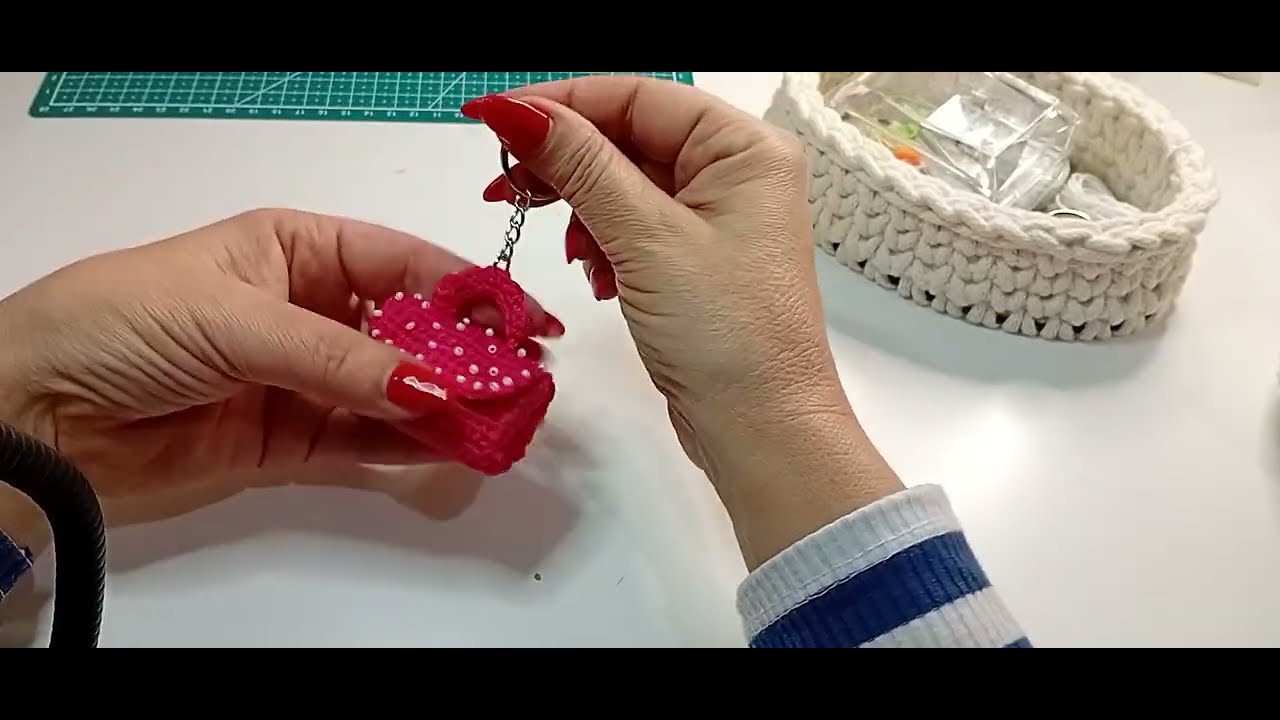
🔗 Part 3: Key Ring Loop
-
Reattach yarn to side or back of bag.
-
Ch 10 (or desired loop size).
-
Sl st back into same st to form a loop.
-
Fasten off, weave in ends.
-
Slide your key ring through the loop.
🧷 Optional: Add a Button
-
Sew a small button on the body of the bag aligned with the flap’s buttonhole.
🪄 Customization Ideas
-
Stripe pattern with different yarn colors.
-
Add a charm or tassel to the loop.
-
Use sparkly yarn for a party vibe.
📸 Finishing Touch
Turn the bag inside out to neaten the shape. You now have a cute mini crochet bag keychain ready to use or gift!
Watch video: