 by
by Absolutely! Here’s a detailed, beginner-friendly tutorial for making a DIY Mini Crochet Bag — simple, stylish, and perfect as a quick project or even a small gift. You don’t need advanced crochet skills for this one, and it can be made with minimal yarn!
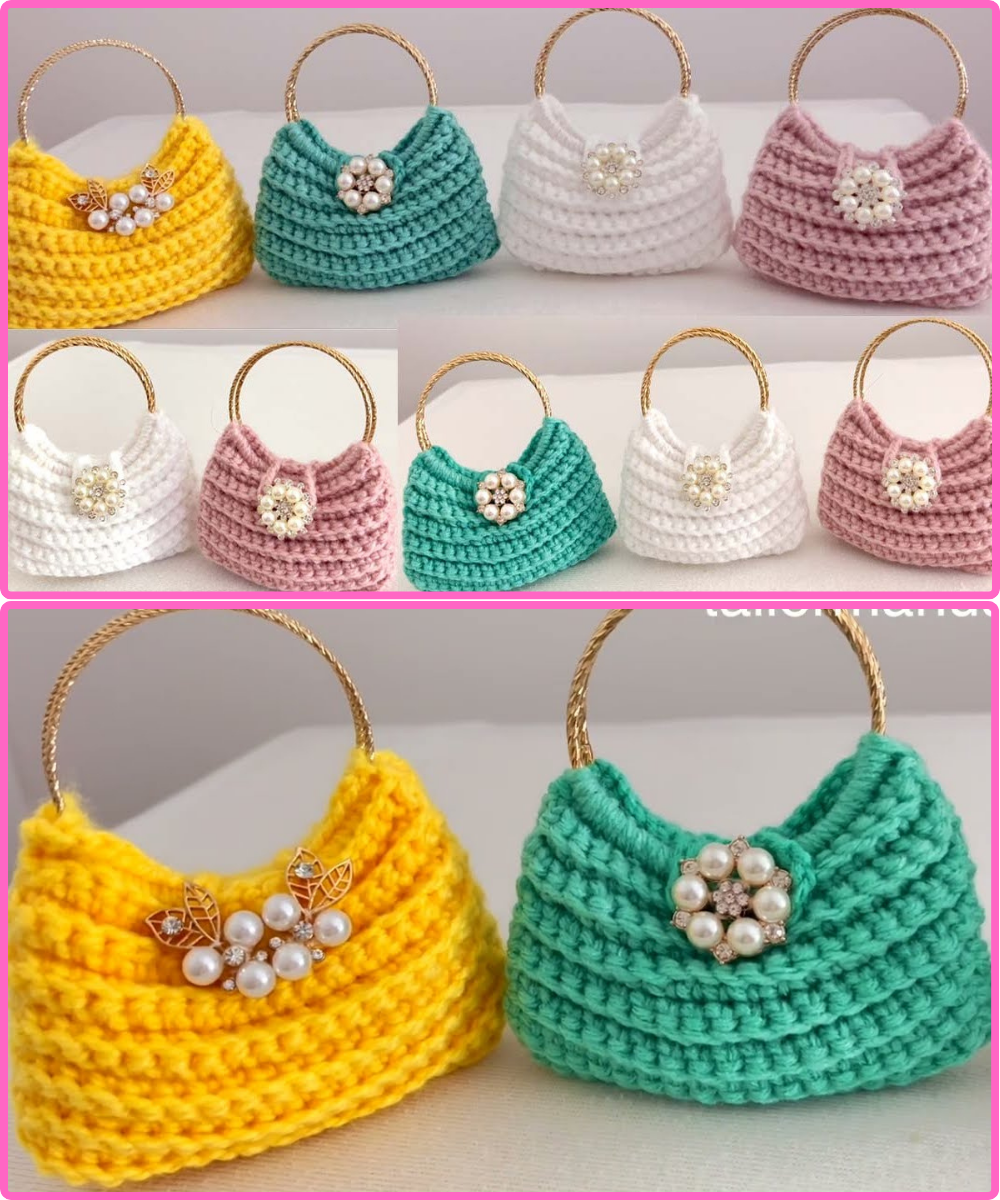
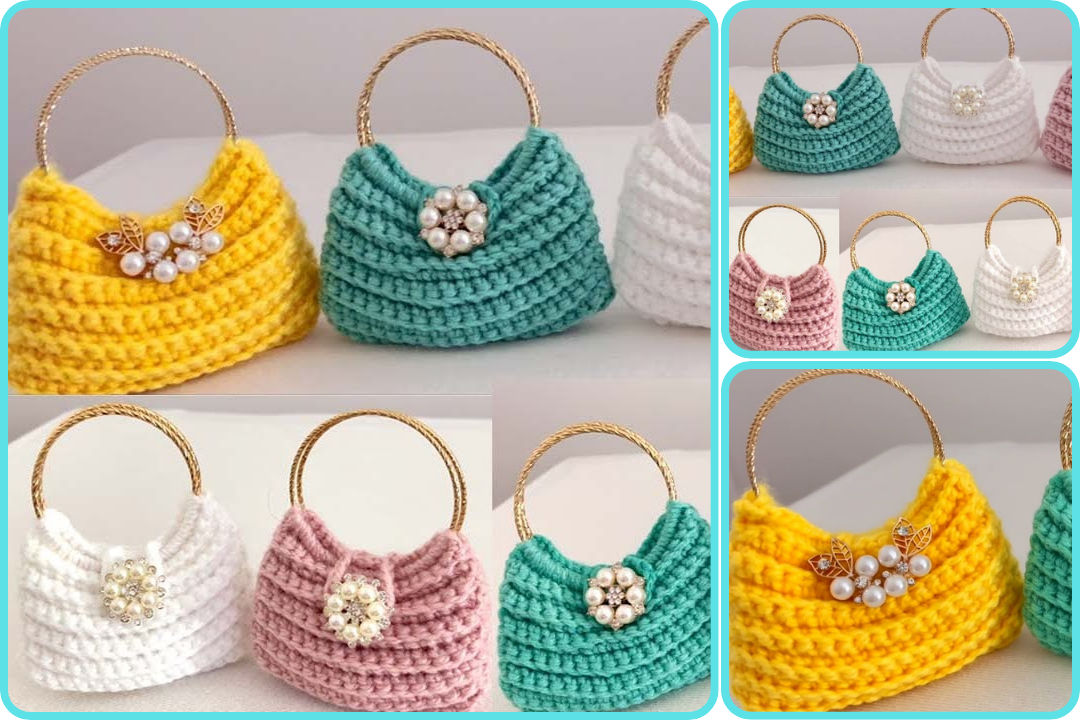
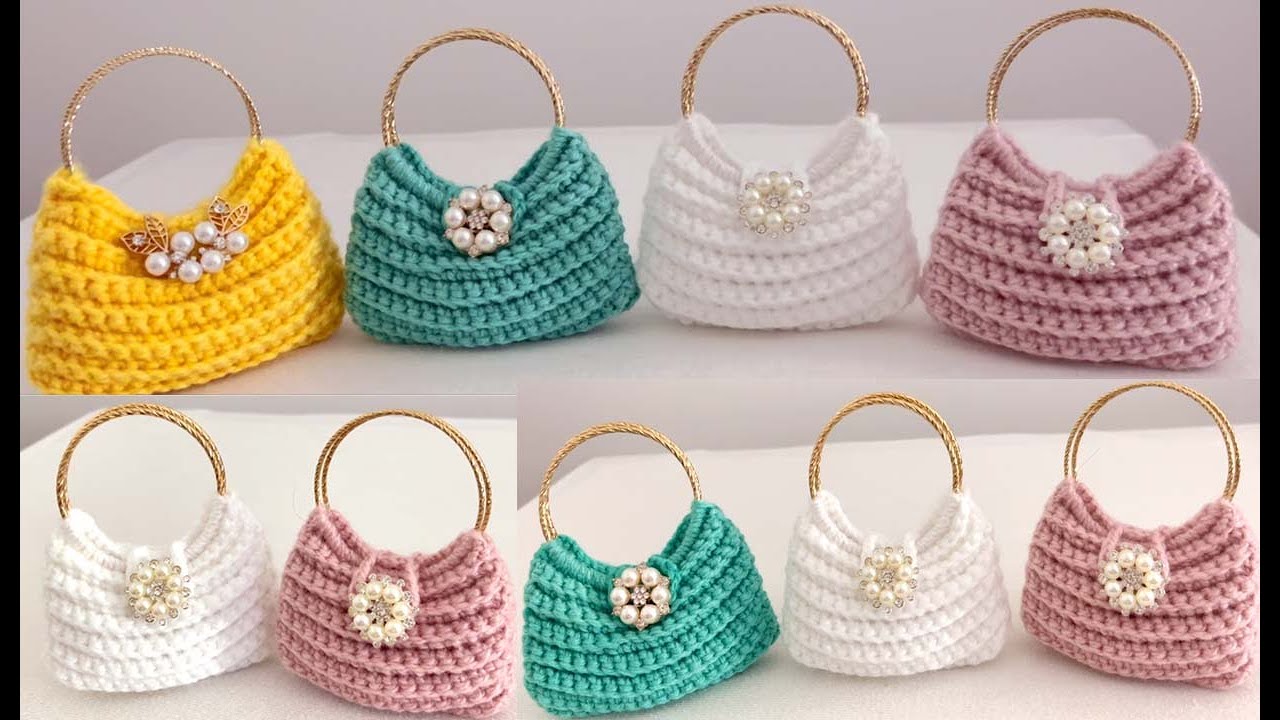
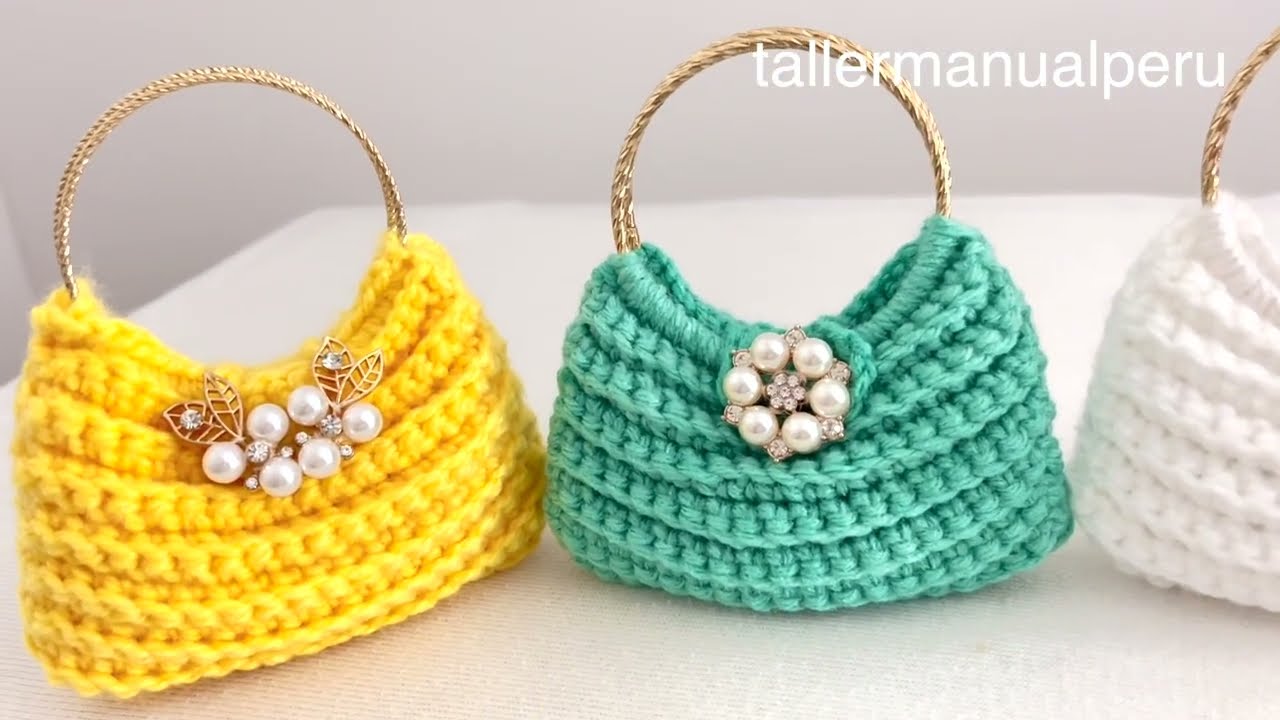
👜 SIMPLE AND EASY WAY TO MAKE A DIY MINI CROCHET BAG
Perfect for Beginners – Step-by-Step Tutorial
✨ Materials You’ll Need:
-
Yarn – Worsted weight (category 4) cotton or acrylic yarn
(About 50g is enough) -
Crochet hook – 4mm or 5mm (based on yarn type)
-
Tapestry needle
-
Scissors
-
Button or snap (optional, for closure)
-
Bag strap (optional: you can crochet it or use a ribbon/chain)
-
Stitch marker (optional for marking rounds)
📏 Finished Size (approximate):
-
Width: 5–6 inches
-
Height: 6–7 inches
-
Strap: As long or short as you like (crossbody or handheld)
🪡 Step-by-Step Instructions
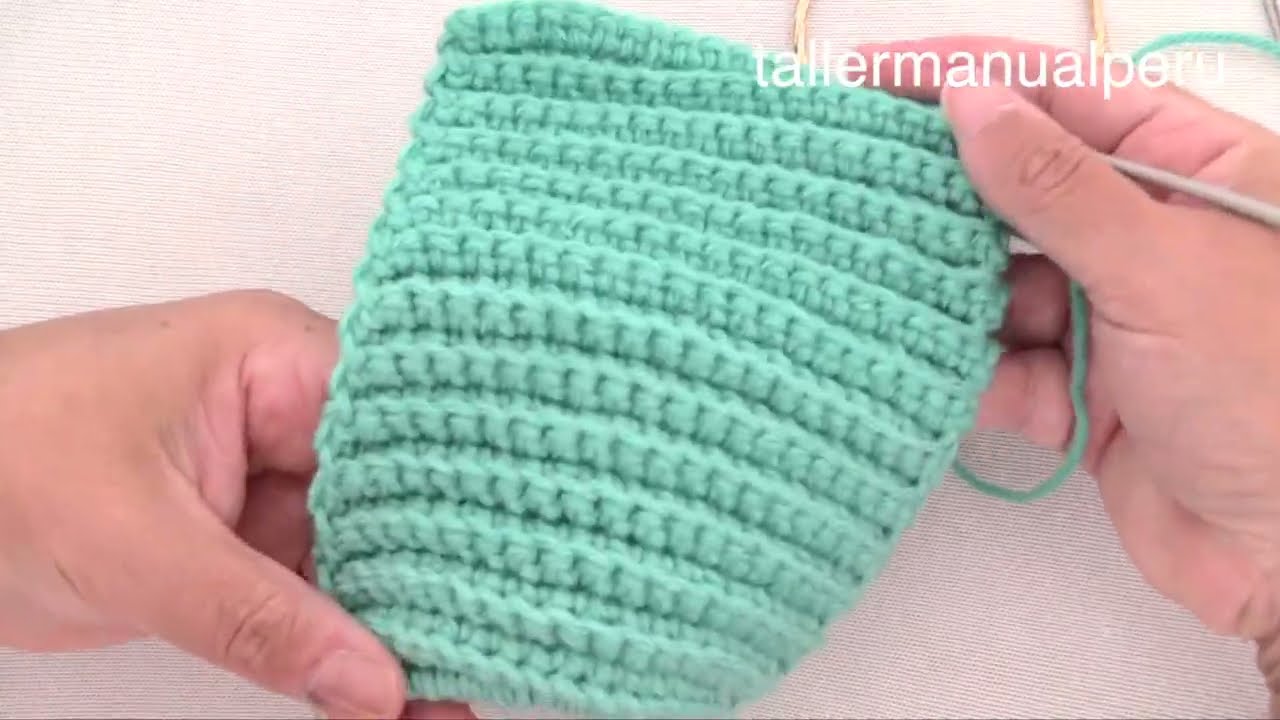
✅ Step 1: Create the Base (Work in Rows)
-
Foundation Chain:
-
Chain 16 (adjust depending on how wide you want your bag).
-
-
Row 1:
-
Single crochet (SC) in the 2nd chain from hook and across (15 SC).
-
Chain 1, turn.
-
-
Rows 2–10:
-
SC in each stitch across (15 SC).
-
Repeat for about 10 rows or until it forms a small rectangle.
(This is the base of your mini bag.)
-
✅ Step 2: Build the Body of the Bag (Work in the Round)
-
Round 1 – Turn base into round:
-
SC evenly all around the rectangle (all four sides).
-
Place 3 SC in each corner to round the edges.
-
Use a stitch marker to mark the beginning of the round.
-
-
Rounds 2–15:
-
SC in each stitch around (no increases).
-
Keep going in a spiral or join at the end of each round and chain 1 to start the next.
-
💡 You can adjust the number of rounds depending on how tall you want the bag.
✅ Step 3: Make the Flap (Optional)
-
Create the Flap:
-
When your bag is tall enough, stop working in the round.
-
Choose the back side of the bag and count the center 10 stitches.
-
Attach yarn and SC back and forth in rows to make a flap.
-
SC across those 10 stitches for 5–6 rows.
-
Taper it by decreasing 1 stitch at each end for the last 2 rows (for a rounded flap).
-
-
Add a Buttonhole (if using):
-
On the final row, chain 2 in the middle and skip 2 stitches to create a small hole for the button.
-
✅ Step 4: Make the Strap
Option A: Crochet a Strap
-
Chain 70–100 (depending on your desired length).
-
SC in each chain to make it stronger.
-
Attach each end to the sides of the bag.
Option B: Use Ribbon, Chain, or Leather Cord
-
Simply sew or tie it onto the sides of the bag securely.
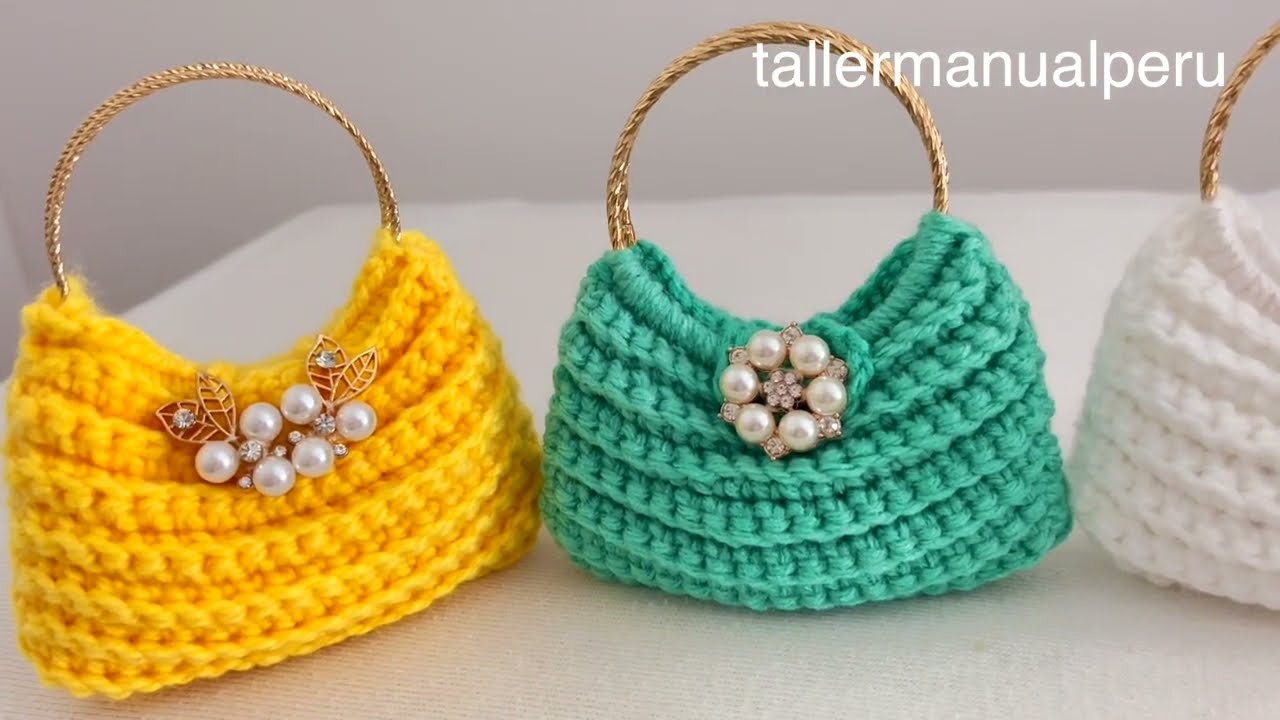
✅ Step 5: Add Finishing Touches
-
Button or Snap:
-
Sew a button on the front side of the bag so it fits the flap hole.
-
Or sew on a magnetic snap for easy closure.
-
-
Weave in Ends:
-
Use the tapestry needle to hide all yarn tails inside the bag.
-
-
Optional Decoration Ideas:
-
Embroider flowers or initials
-
Add a small pom-pom or tassel
-
Sew on patches or beads
-
💡 Bonus Tips:
-
Use cotton yarn for structure, especially if you don’t plan to line it.
-
You can line the inside with fabric if desired for a neater, more durable finish.
-
Make a bunch in different colors — great for craft markets, gifts, or party favors!
Watch video: