 by
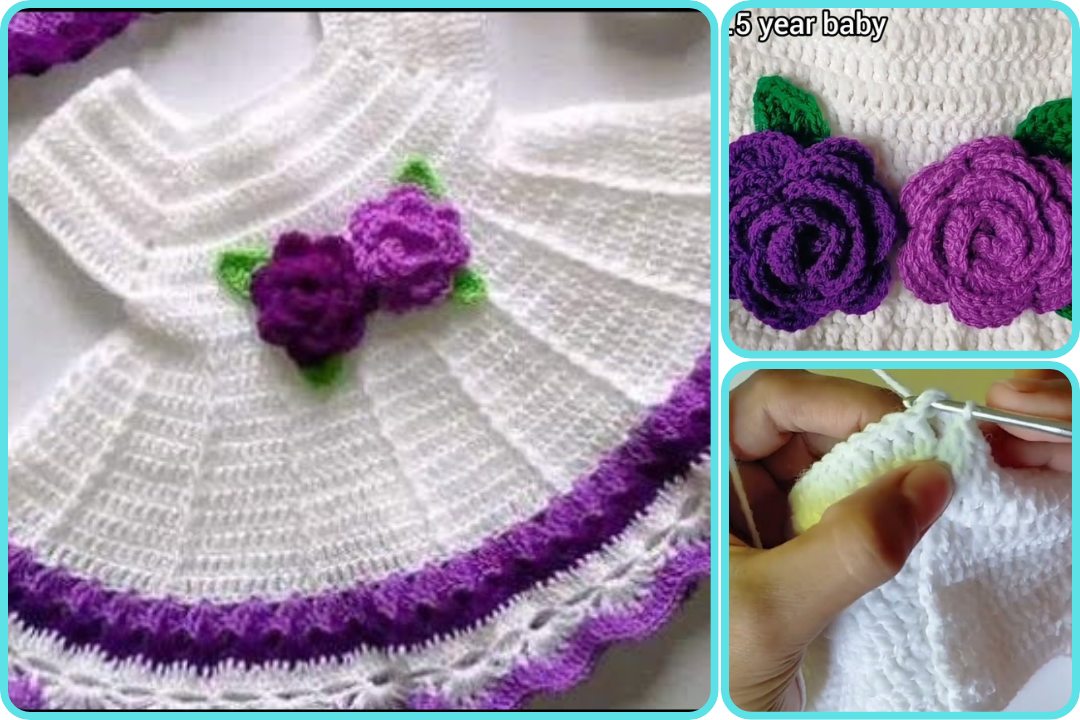
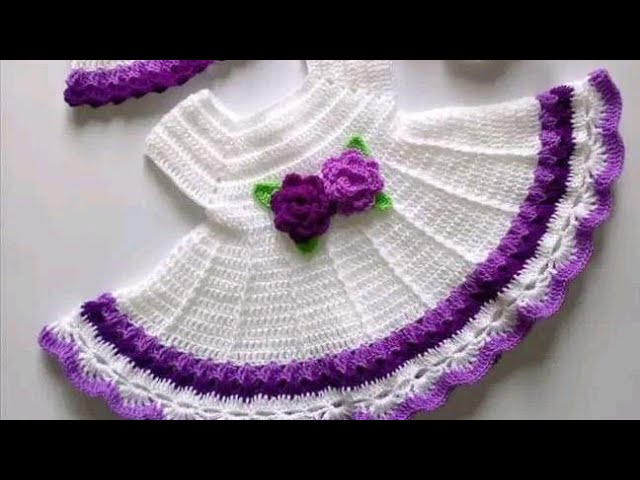
by Creating a crochet frock for a 1 to 1.5-year-old baby girl is a rewarding project, especially if you enjoy handmade gifts or want to create custom outfits. Below is a detailed guide that covers everything you need to get started, including materials, measurements, stitches, and step-by-step instructions.
🧶 Materials Required
-
Yarn: Use soft, baby-friendly yarn (acrylic, cotton, or bamboo blend).
-
Yardage: Around 300–400 grams (varies with design)
-
Weight: Light (3) or DK (Double Knit)
-
-
Hook: 3.5mm to 4.5mm crochet hook (check yarn label for compatibility)
-
Tapestry Needle: For weaving in ends
-
Scissors
-
Stitch Markers: Optional but helpful
-
Buttons/Ribbons/Lace: For decoration and closure
-
Measuring Tape
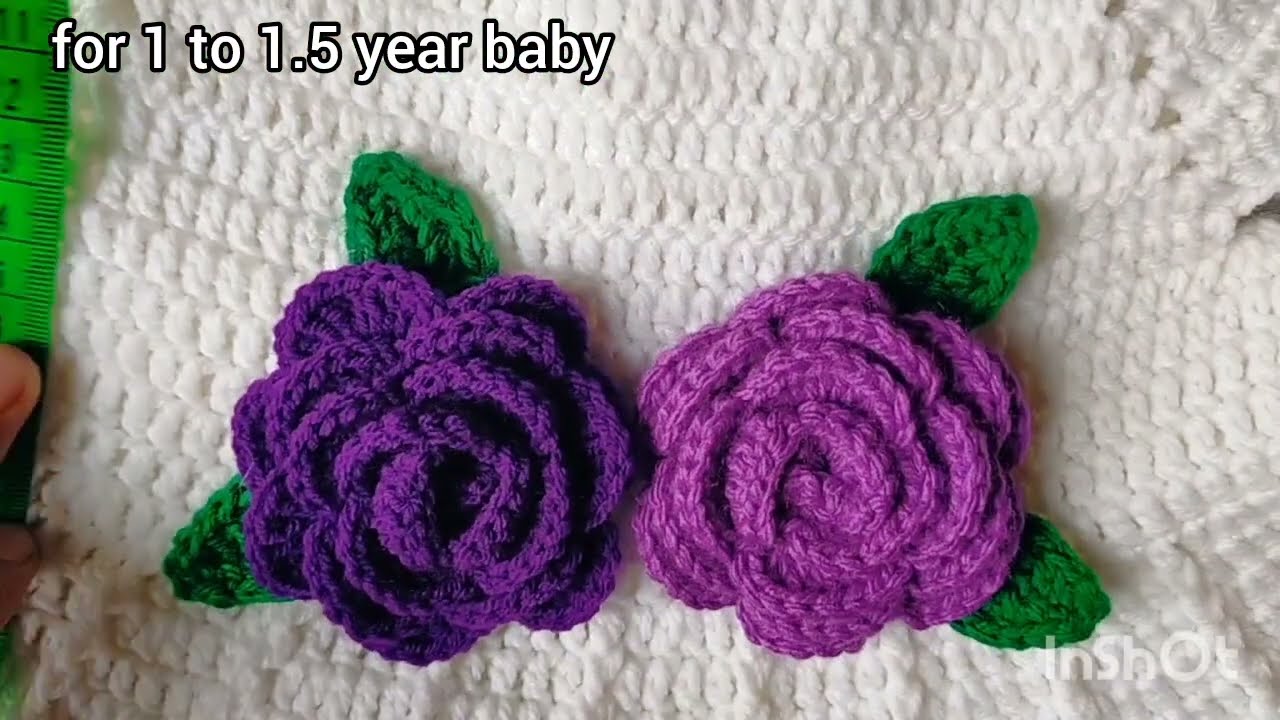
📏 Standard Measurements for 1–1.5-Year Baby Girl
| Part | Measurement |
|---|---|
| Chest | 19–20 inches (48–51 cm) |
| Length of Frock | 15–17 inches (38–43 cm) |
| Armhole Depth | 4.5–5 inches (11–13 cm) |
| Shoulder Width | 8–9 inches (20–23 cm) |
🧵 Basic Stitches Used
-
CH (Chain)
-
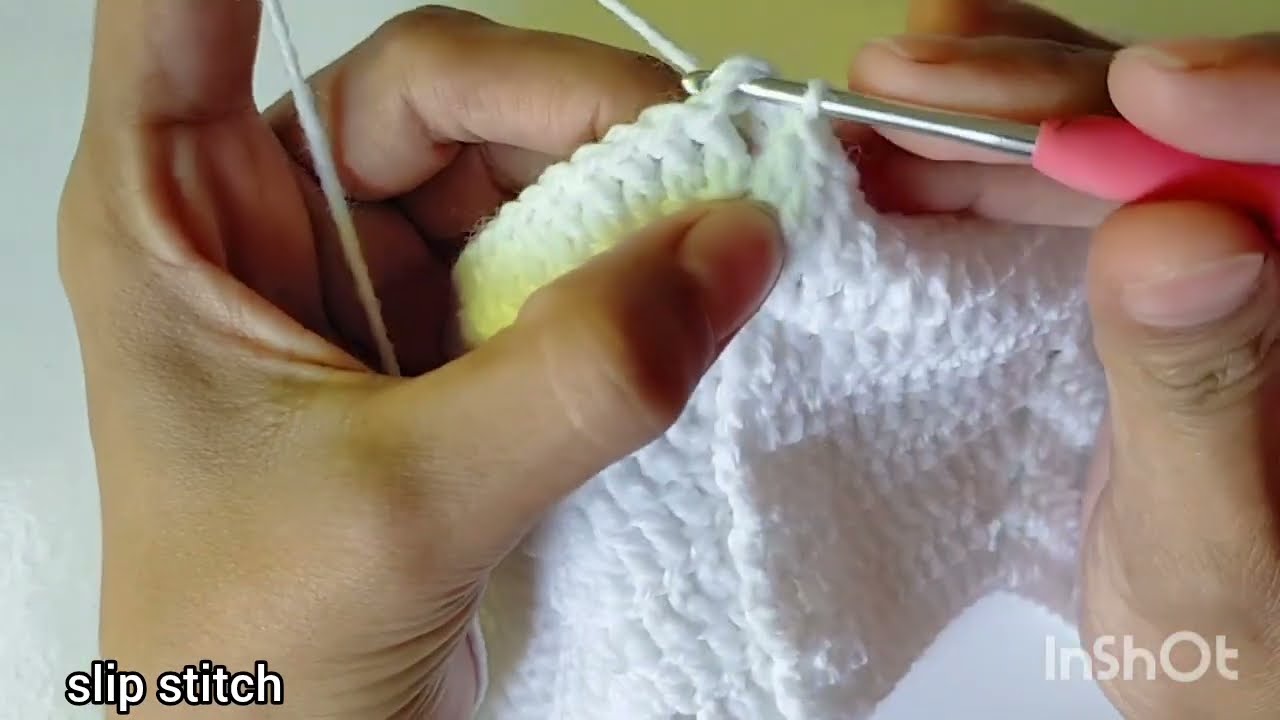
SL ST (Slip Stitch)
-
SC (Single Crochet)
-
HDC (Half Double Crochet)
-
DC (Double Crochet)
-
Shell Stitch: (e.g., 5 DC in one stitch)
-
V-Stitch: (DC, CH 1, DC in same stitch)
🪡 Crochet Frock – Basic Construction
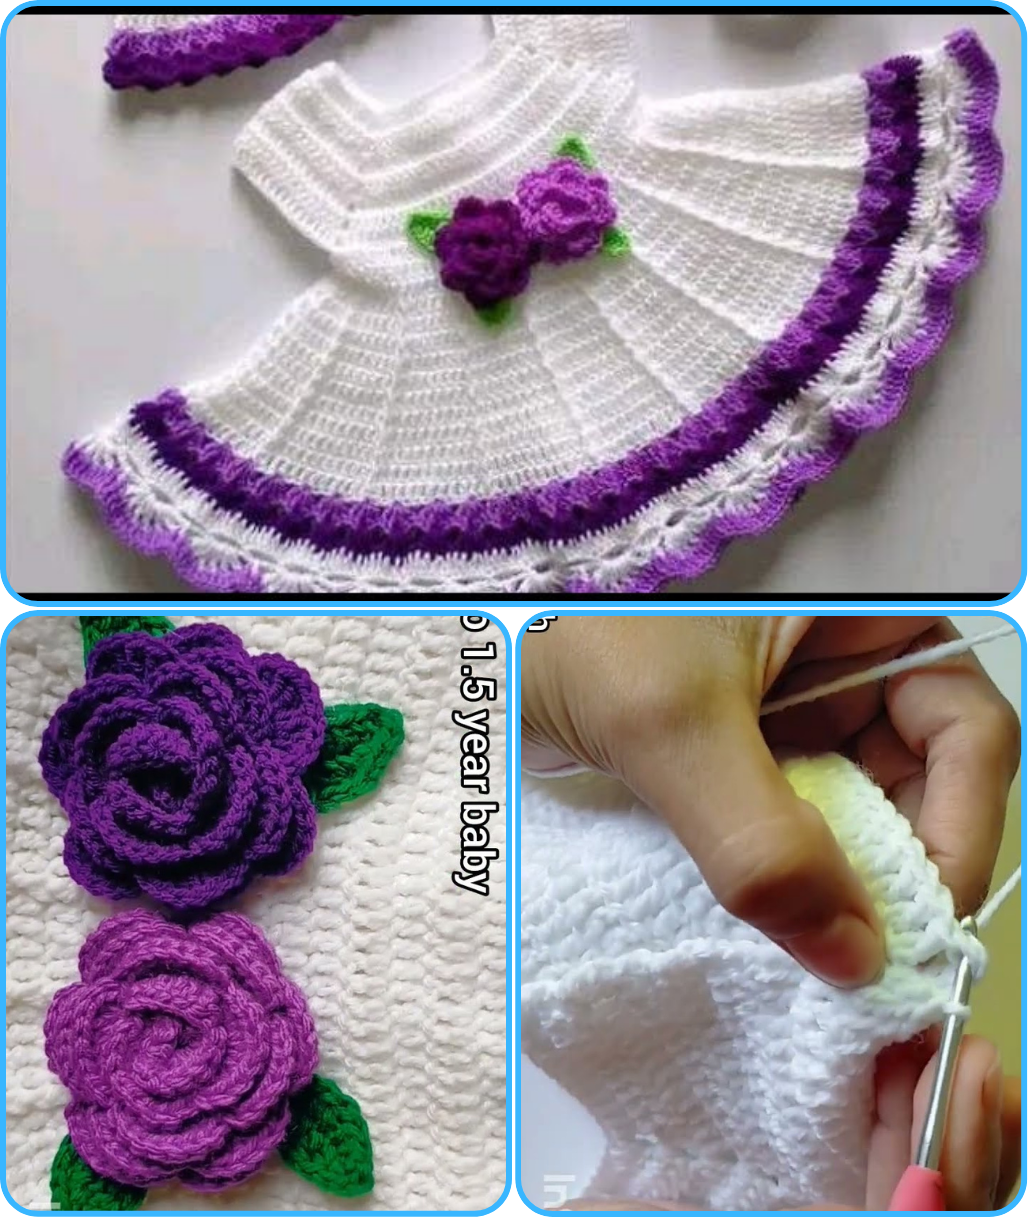
We’ll make a top-down yoke frock with increasing rows and then separate the body and sleeves.
🧩 Step-by-Step Instructions
🔹 Step 1: Make the Yoke (Top Part)
-
Foundation Chain:
-
Chain around 60–65 (based on gauge to fit 19–20 inch chest).
-
Join with SL ST to form a circle (check not twisted).
-
-
Round 1–5: Yoke Increase
-
Work in DC with regular increases at corners to create a square yoke.
-
Example: DC in each st, and at 4 points (front, back, sleeves), make [DC, CH 1, DC] to create raglan style increases.
-
Continue increasing until yoke reaches ~4.5–5 inches depth.
-
🔹 Step 2: Separate for Body and Sleeves
-
Measure and mark the stitches:
-
Allocate approx: 15 sts (sleeve), 30 sts (front), 15 sts (sleeve), 30 sts (back).
-
Use stitch markers.
-
-
Join front and back, skipping sleeves:
-
CH 3, DC in each st of front, CH 5–8 (underarm), DC in each st of back.
-
Join to form body round.
-
🔹 Step 3: Crochet the Skirt (Body)
-
Continue working in rounds.
-
Increase in the first few rows for flare.
-
Use Shell Stitch or V-stitch for a lacy, decorative pattern.
-
Continue until skirt reaches 10–12 inches in length.
-
🔹 Step 4: Sleeves (Optional)
-
Attach yarn at underarm.
-
Work in rounds using DC or a decorative stitch.
-
Work 4–6 rounds, or more if long sleeves are desired.
-
End with SC or shell border for finish.
🔹 Step 5: Finishing Touches
-
Add a button band or attach buttons at the back if not worked in rounds from start.
-
Add ribbon or crochet belt at the waist.
-
Finish neckline and hem with a shell or picot border.
-
Weave in all ends using a tapestry needle.
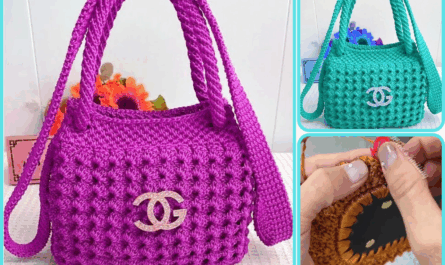
🎀 Customization Ideas
-
Add flowers, bows, or appliqués.
-
Use ombre or variegated yarns for colorful effects.
-
Make matching headband or booties.
-
Try layered skirts using ruffles for a princess look.
🧼 Care Tips
-
Hand wash recommended.
-
Use baby-friendly detergent.
-
Lay flat to dry to maintain shape.
Watch video: