by
by Sure! Here’s a detailed, step-by-step guide for making a DIY Crochet Mini Bag using the Sunflower Granny Square pattern. This is a great beginner-friendly project that’s stylish, functional, and perfect for summer.
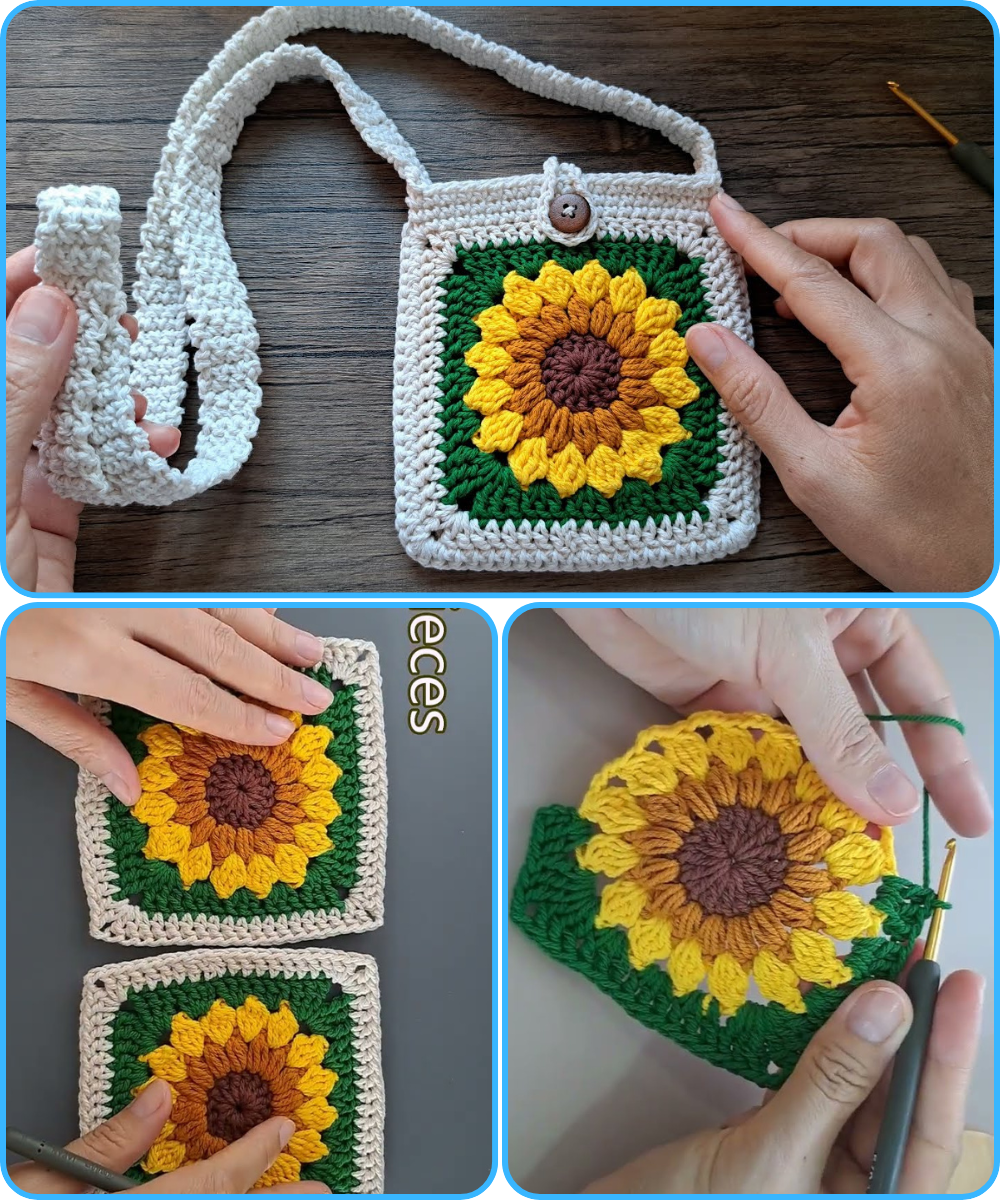
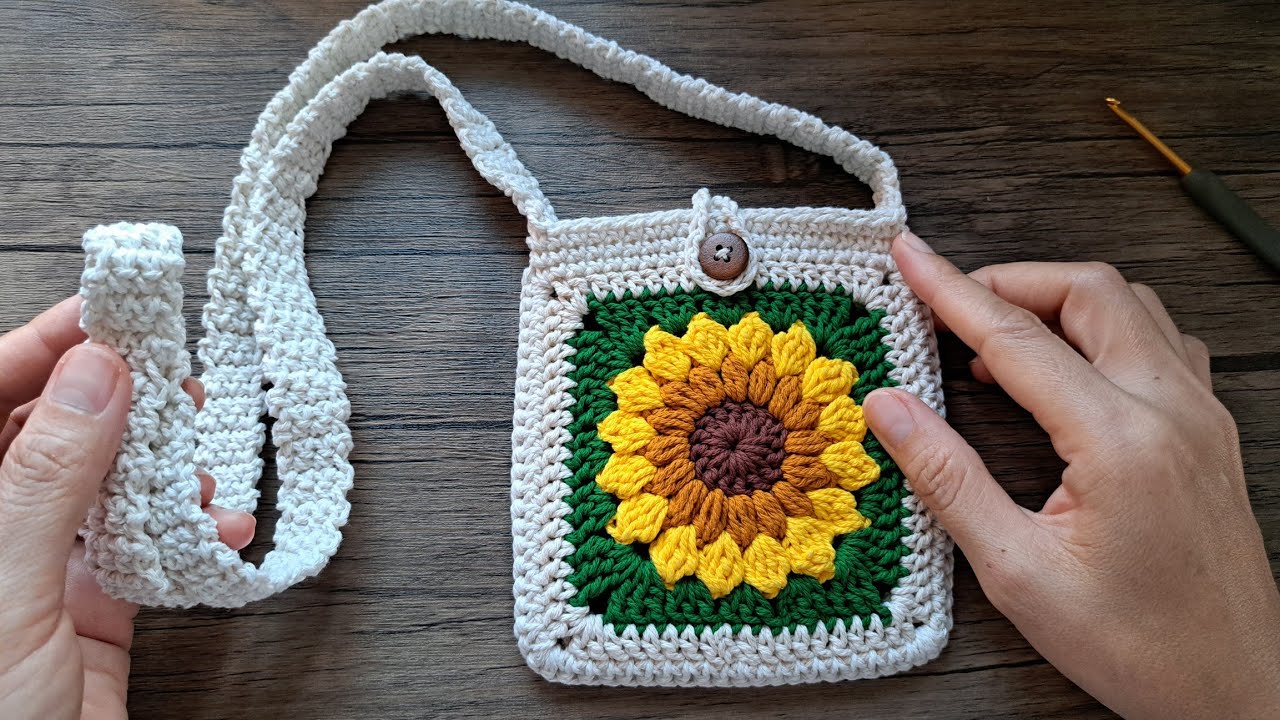
🌻 DIY Crochet Mini Bag Tutorial
Project: Crochet Sunflower Granny Square Bag
Skill Level: Easy to Intermediate
Techniques: Crochet in rounds, joining squares, adding handles
Time Required: 3–6 hours depending on your skill level
🧶 Materials Needed:
| Item | Details |
|---|---|
| 🧵 Yarn | 3-4 colors: Yellow (sunflower center), Brown (inner ring), Green (leaves), Cream/Beige (outer square). Use medium worsted-weight yarn (category 4). |
| 🧷 Crochet Hook | Size 4mm or 4.5mm (check yarn label) |
| ✂️ Scissors | For trimming ends |
| 🧵 Yarn Needle | For weaving in ends |
| 🧷 Stitch Markers (optional) | Helpful for marking your rounds |
| 🧵 Lining Fabric & Needle/Thread (optional) | If you want a fabric lining |
| 👜 Wooden/Metal Handles or Crochet Strap (optional) | For finishing touch |
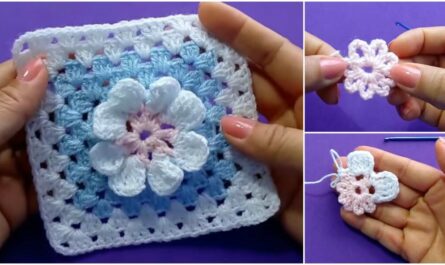
🌻 PART 1: Crochet the Sunflower Granny Squares
You’ll need 8 to 10 sunflower granny squares depending on your desired bag size.
✅ Step-by-Step Sunflower Granny Square:
-
Center (Brown or Dark Color):
-
Round 1: Make a magic ring. Crochet 12 double crochets (dc) into the ring. Slip stitch (sl st) to the first dc. (12 sts)
-
-
Petals (Yellow):
-
Round 2: Join yellow yarn. [Ch 2, 2 dc] into the same stitch, sl st into next stitch. Repeat 12 times around to make petals. (You’ll get 12 clusters of petals)
-
-
Green Leaves Round (Optional):
-
Round 3: Join green yarn. Work single crochet (sc) around in between petals, adding ch-1 in between. This adds a leafy effect.
-
-
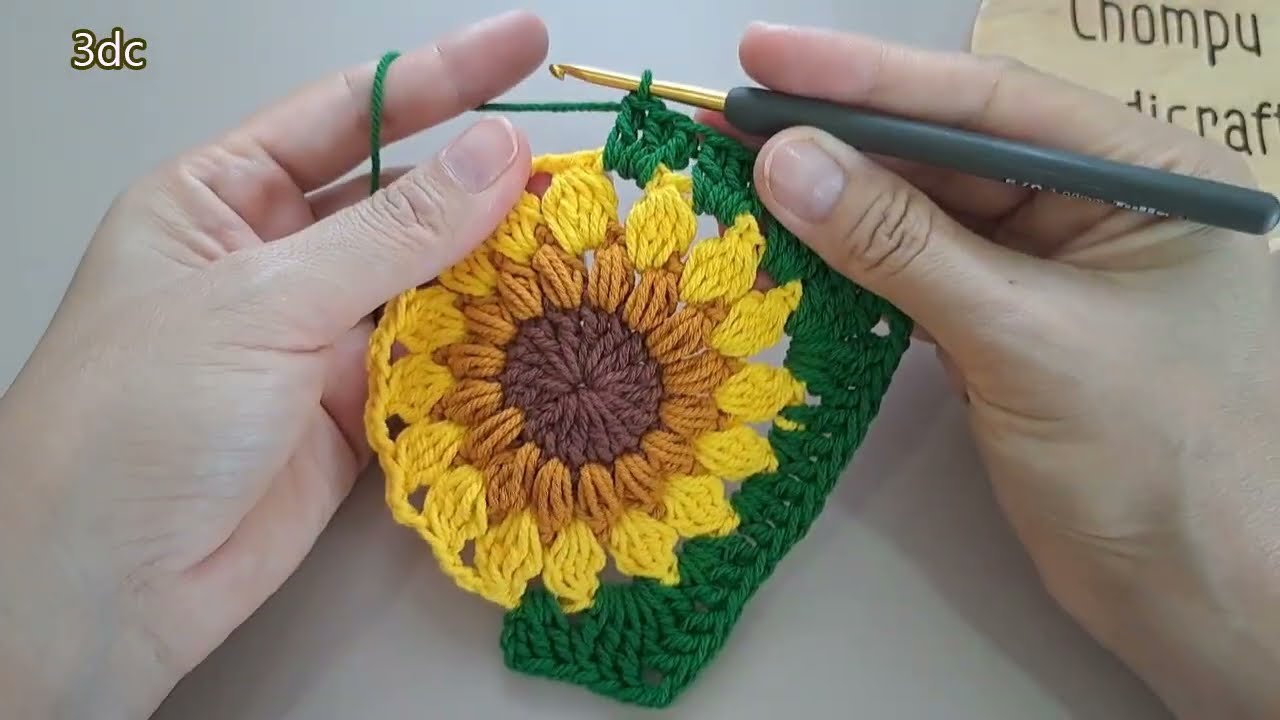
Square It Up (Cream or Light Color):
-
Round 4: Join your cream yarn. Work in granny square style:
-
In one space: [3 dc, ch 2, 3 dc] (this is your corner)
-
In side spaces: 3 dc
-
Repeat to form a square with 4 corners
-
Join with sl st and fasten off
-
-
Repeat this to make multiple squares (8–10).
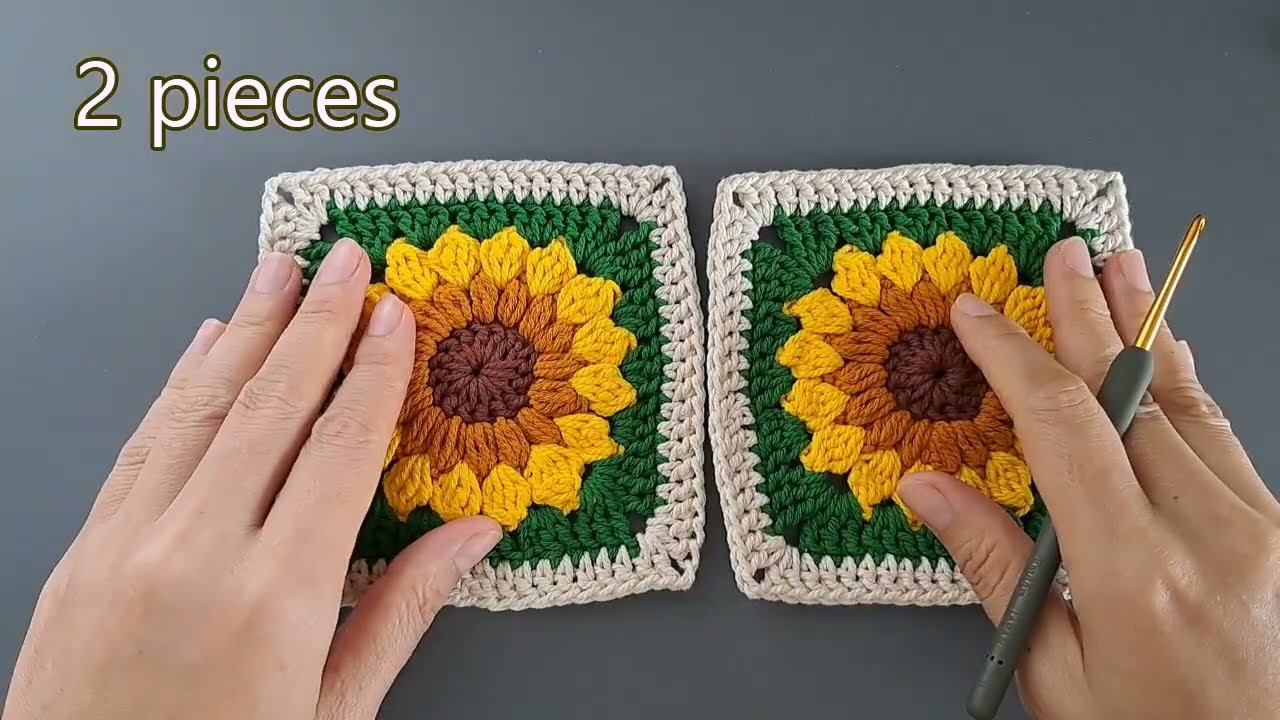
🧵 PART 2: Join the Squares to Make the Bag
You can arrange the squares in various patterns: 2 rows of 4 squares, 5 on each side, etc.
✅ How to Join:
-
Choose Your Layout:
-
Lay the squares flat and decide which pattern you like (e.g., 4 in front, 4 in back).
-
-
Whip Stitch or Slip Stitch Join:
-
Use the yarn needle or crochet hook to join the squares edge to edge with a whip stitch (needle) or slip stitch (hook).
-
-
Join Bottom & Sides:
-
Once your front and back panels are ready, join them at the bottom and sides using the same method.
-
-
Optional: Add a Gusset:
-
If you want more width, crochet a long strip (in sc or granny stripe) and attach it to the sides and bottom to make the bag wider.
-
🎒 PART 3: Add the Strap or Handles
✅ Option 1: Crochet Strap
-
Make a chain as long as you want (e.g., 80–100 chains).
-
Turn and make rows of half double crochets (hdc) to desired width.
-
Sew onto sides of the bag securely.
✅ Option 2: Use Ready-Made Handles
-
Buy wooden or metal handles and sew them to the top of the bag with strong yarn or thread.
🧵 Optional: Add a Fabric Lining
-
Cut Fabric:
-
Measure your finished bag and cut two rectangles.
-
-
Sew Lining:
-
Sew the two pieces on the sides and bottom.
-
Insert into your bag and hand-stitch along the top edge.
-
🎀 Final Touches
-
Weave in all yarn ends.
-
Block your bag lightly if needed (wet and shape to neaten edges).
-
Add buttons, charms, or tassels for decoration.
📦 Finished Size (Approximate):
-
Width: 8–10 inches
-
Height: 8–10 inches
-
Strap: 20–30 inches or to preference
📺 Want Video Help?
If you prefer a visual walkthrough, search YouTube for:
“Easy Crochet Sunflower Granny Square Bag Tutorial” – there are many helpful guides.
Watch video: