by
by Here’s a detailed article-style guide on “Don’t Miss Out on the New Design: Learn the Easiest Crochet Baby Booties Pattern”. This content is suitable for a blog post, newsletter, or instructional guide:
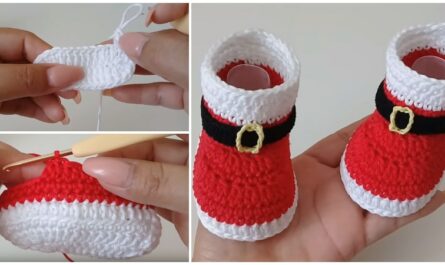
Don’t Miss Out on the New Design: Learn the Easiest Crochet Baby Booties Pattern
Are you looking for a quick, adorable crochet project that’s beginner-friendly and perfect for gifting? Look no further! The new crochet baby booties design is not only stylish but also incredibly easy to make—even for those just starting out with crochet.
Whether you’re crafting for a baby shower, expecting your own little one, or simply love handmade baby items, these booties are a must-try. Let’s dive into how you can create them effortlessly.
🧶 Why You’ll Love This Crochet Baby Booties Pattern
-
Beginner-Friendly: Uses basic stitches and easy shaping.
-
Quick to Make: Can be completed in under an hour.
-
Customizable: Use any color, yarn type, or embellishments.
-
Comfortable and Cozy: Keeps tiny toes warm and snug.
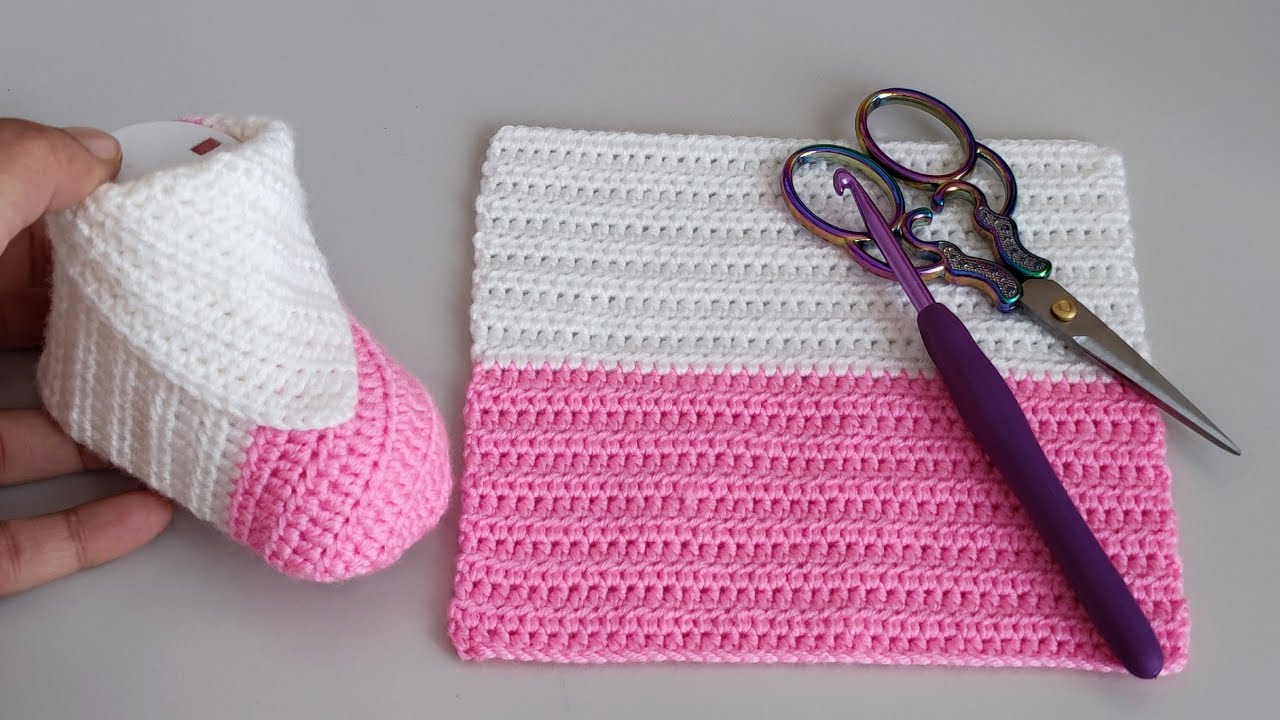
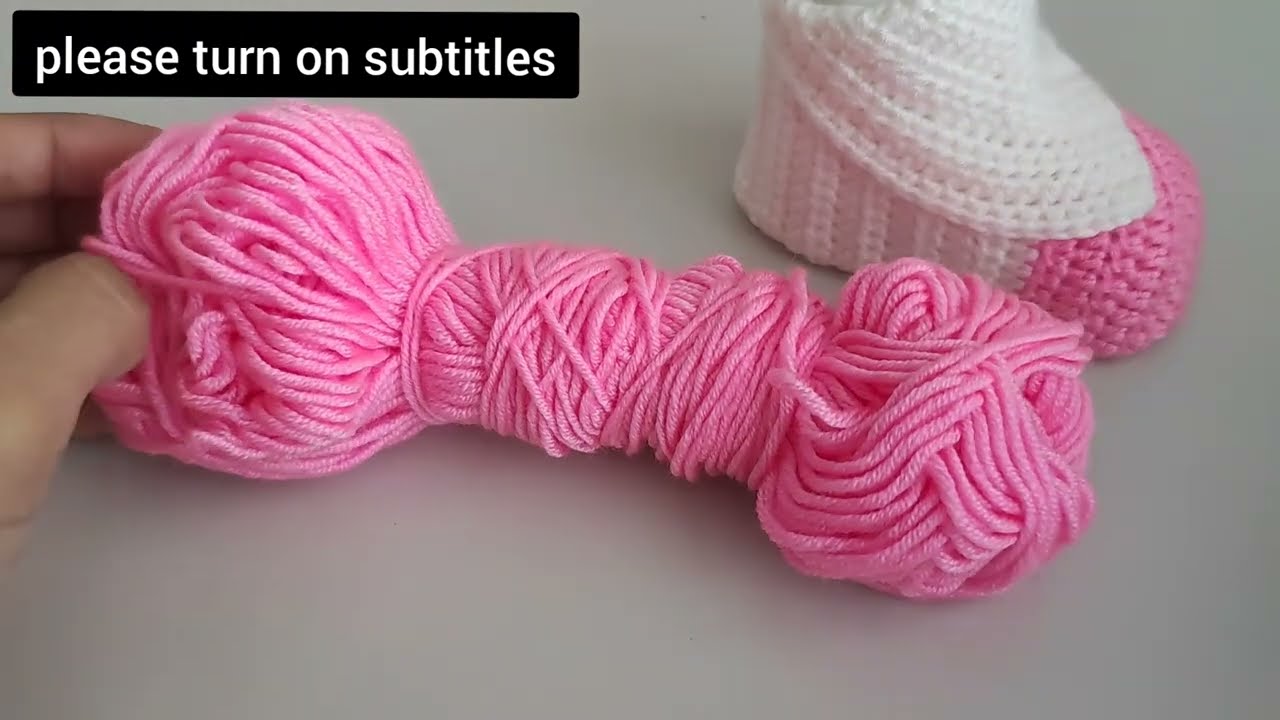
🧵 Materials You’ll Need
-
Yarn: Worsted weight yarn or baby-safe yarn (soft cotton or acrylic blend)
-
Hook: 4.0 mm (G) crochet hook
-
Tapestry Needle: For sewing in ends
-
Scissors
-
Stitch Marker (optional but helpful)
-
Buttons or Ribbons (optional for decoration)
🪡 Stitches Used
-
Chain (ch)
-
Slip Stitch (sl st)
-
Single Crochet (sc)
-
Half Double Crochet (hdc)
Tip: If you’re new to these stitches, YouTube has many visual tutorials to help you master them quickly.
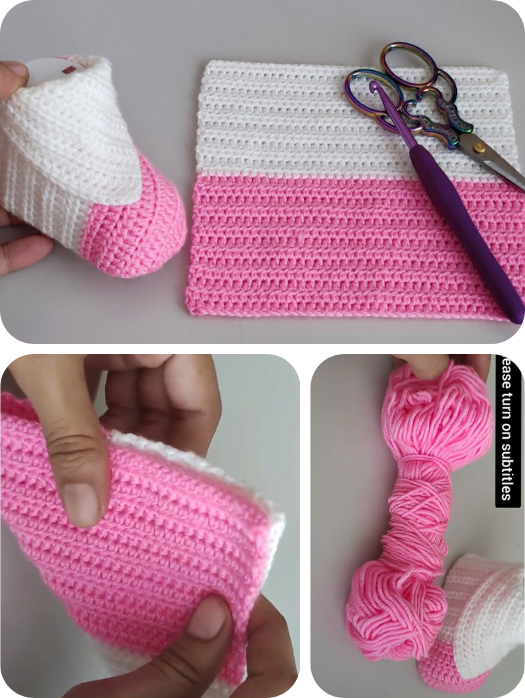
👣 Step-by-Step Pattern Instructions
1. Start with the Sole
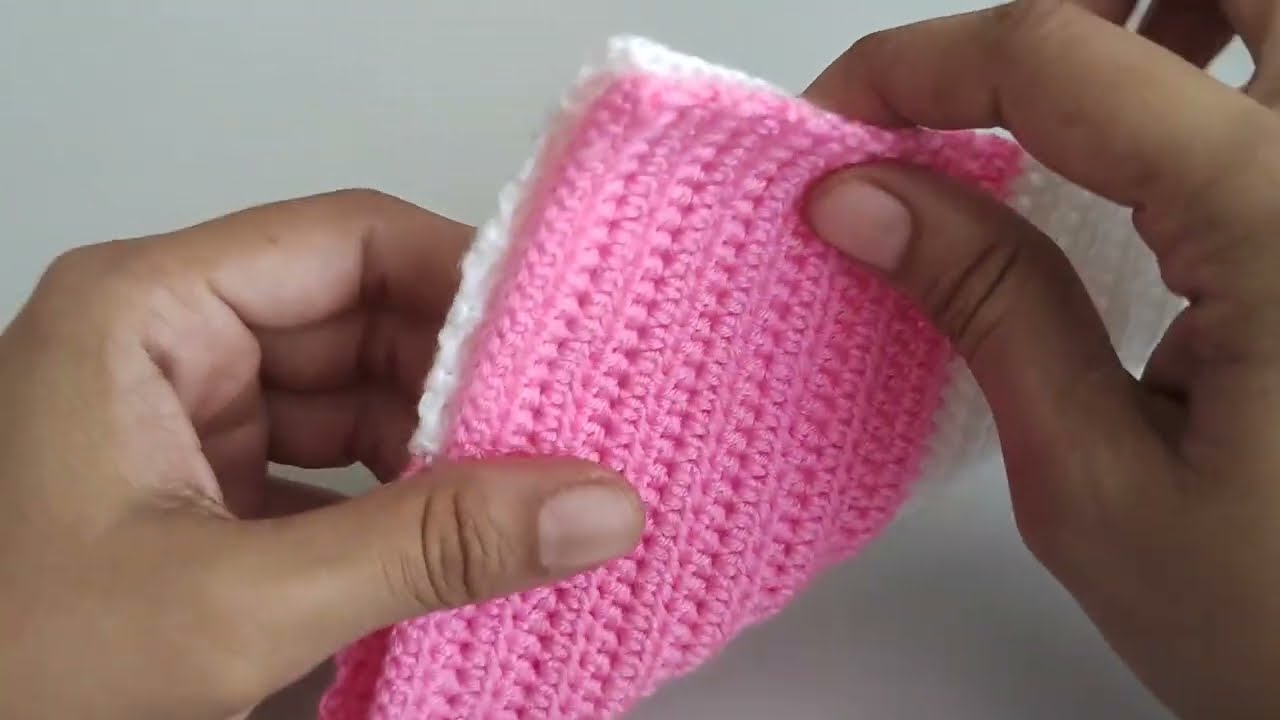
2. Build the Sides
3. Shape the Top of the Bootie
4. Finishing Touches
-
Fasten off and weave in the ends using a tapestry needle.
-
Add decorative buttons, bows, or crochet flowers for a personal touch.
🌟 Pro Tips for Best Results
-
Use soft, machine-washable yarn for practical baby items.
-
Measure your sole to fit the baby’s foot (newborns = approx. 3.5”).
-
Make a matching pair by counting stitches carefully and marking your rounds.
-
Add grip fabric or puffy paint to the soles if baby is learning to walk.
📸 Showcase Your Work
Don’t forget to take photos and share your finished booties on Instagram, Pinterest, or Ravelry! Use hashtags like #CrochetBooties #HandmadeBaby #EasyCrochetProjects to connect with fellow crafters.
💌 Final Thoughts
This easy crochet baby booties pattern is a go-to for new crocheters and seasoned yarn lovers alike. With minimal supplies, quick results, and endless customization options, it’s the perfect way to create something beautiful and heartfelt.
Don’t miss out on this charming new design—get your hook ready and start crocheting today!
Watch video: