 by
by Absolutely! 🧶✨
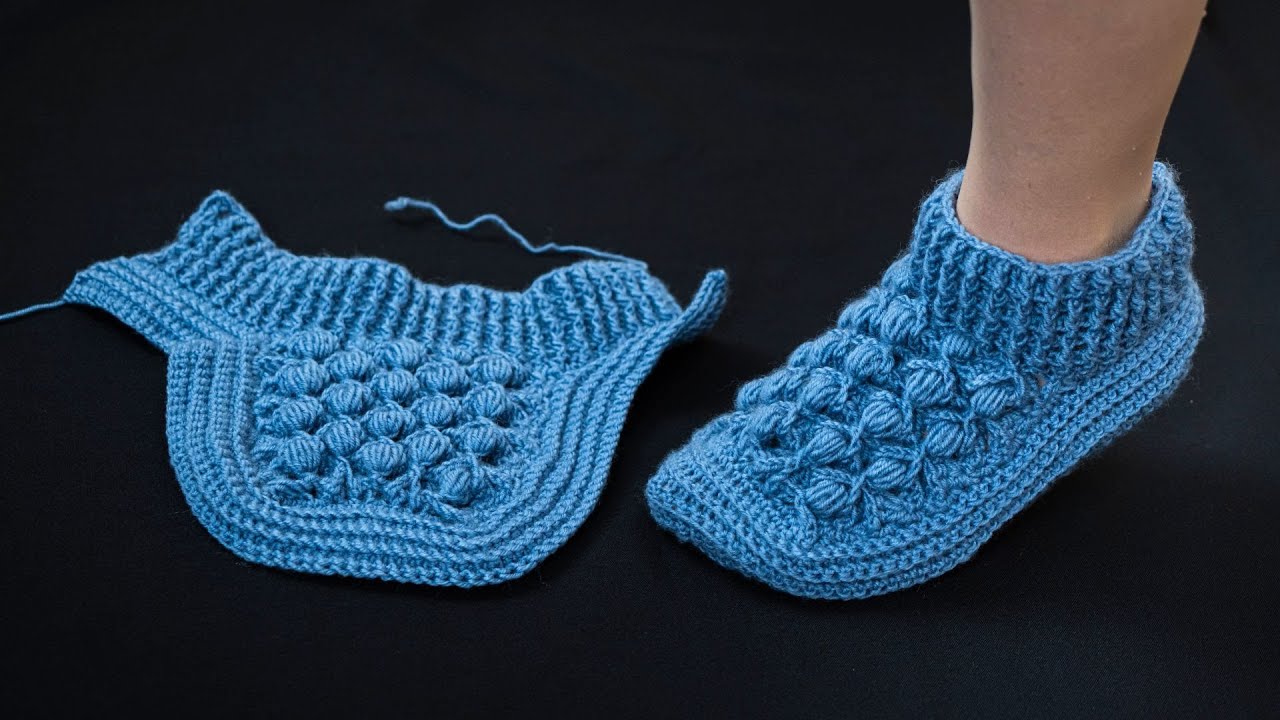
Here’s a clear, detailed, beginner-friendly tutorial for making beautiful slipper-socks with NO seam on the sole, using an easy and simple method. These are cozy like slippers, soft like socks, and very comfortable to wear.
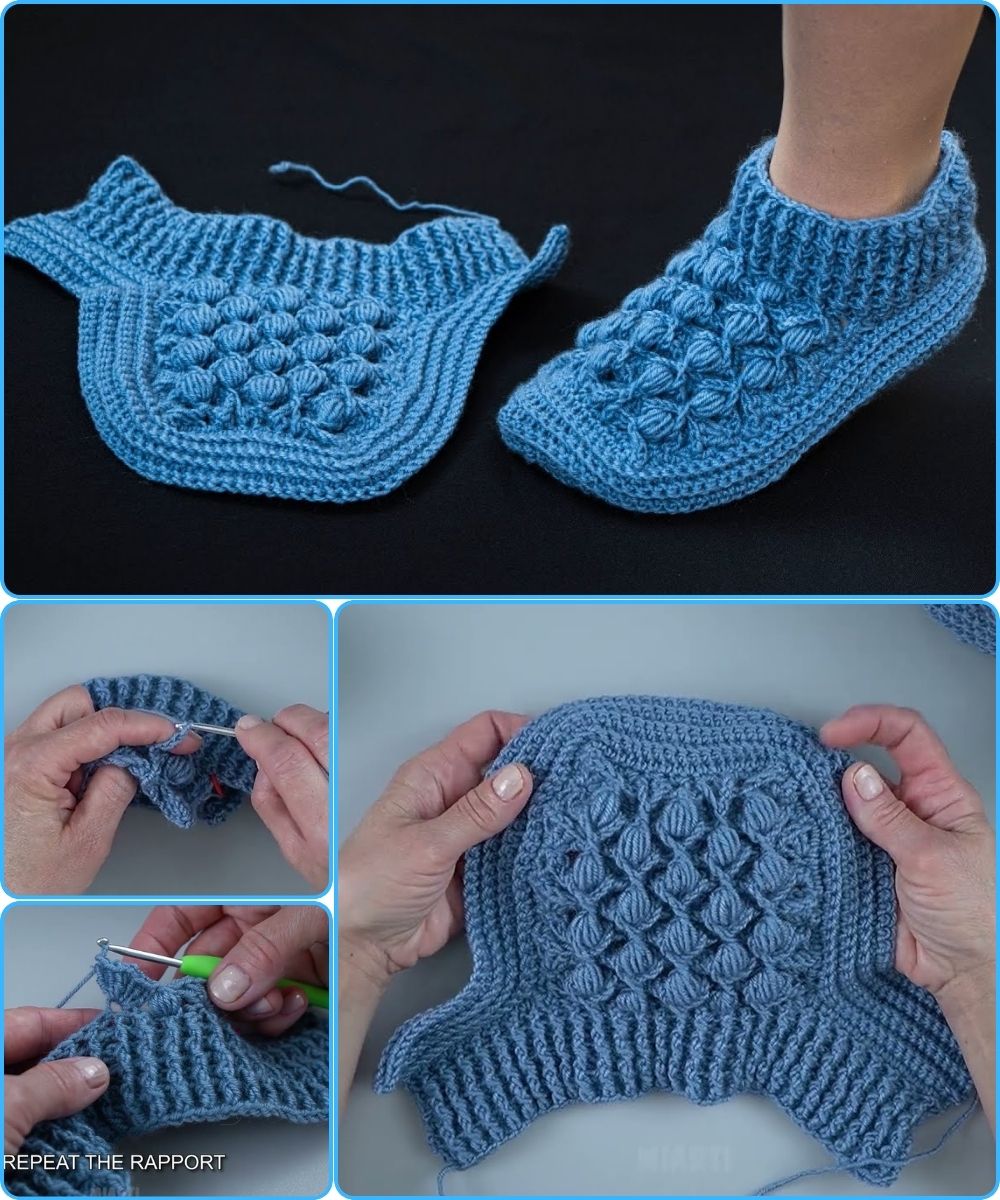
How to Make Beautiful Slipper-Socks
No Seam on the Sole – Easy & Simple for Beginners
These slipper-socks are knit so the sole is completely seamless, which means:
-
More comfort
-
Better durability
-
A clean, professional look
They’re worked flat on two needles or in one continuous piece, with only a small seam at the back of the heel (or none at all, depending on your finish).
1. What You’ll Need
🧶 Materials
-
Yarn:
-
Sock yarn or light worsted yarn
-
Wool or wool blend (warm + stretchy)
-
About 100–150 g
-
-
Knitting needles:
-
Size 3.5–4.5 mm (US 4–7) straight or circular needles
-
-
Other tools:
-
Tapestry needle
-
Scissors
-
Stitch markers (optional)
-
2. Size Guide (Adult – Easy to Adjust)
Approximate measurements:
-
Foot length: 23–25 cm (9–10 in)
-
Foot width: 20–22 cm (8–8.5 in)
To resize:
-
More stitches = wider slipper-sock
-
More rows = longer foot
3. Stitches & Skills Used (Beginner Level)
You only need:
-
Knit stitch
-
Purl stitch
-
Knit 2 together (decrease)
-
Yarn over or simple increase
-
Cast on & bind off
Stitch patterns:
-
Garter stitch – seamless, cushioned sole
-
Stockinette stitch – smooth top
-
Rib stitch (k1, p1) – cuff
4. Gauge (Approximate)
-
20–22 stitches = 10 cm (4 in)
Exact gauge isn’t critical—slipper-socks are forgiving 👍
5. Step-by-Step Instructions
STEP 1: Start at the Toe (Seamless Sole Begins)
-
Cast on 8 stitches
-
Knit every row (garter stitch) for 6 rows
This creates a smooth, seamless toe.
STEP 2: Increase for Foot Width
On every right-side row:
-
Knit 1
-
Increase 1 stitch
-
Knit to last stitch
-
Increase 1 stitch
-
Knit 1
Wrong-side rows:
-
Knit all stitches
Continue until you have 44–48 stitches, depending on foot width.
👉 This shaping forms a beautiful, flat sole with no seam.
STEP 3: Knit the Foot Length
-
Continue knitting garter stitch on the sole
-
Work stockinette stitch on the top half (optional but pretty)
-
Knit straight until foot measures 18–20 cm (7–8 in) from the toe
STEP 4: Shape the Heel Simply
-
Knit to the center of the row
-
Knit 2 together
-
Turn work
-
Purl to center, purl 2 together
-
Turn
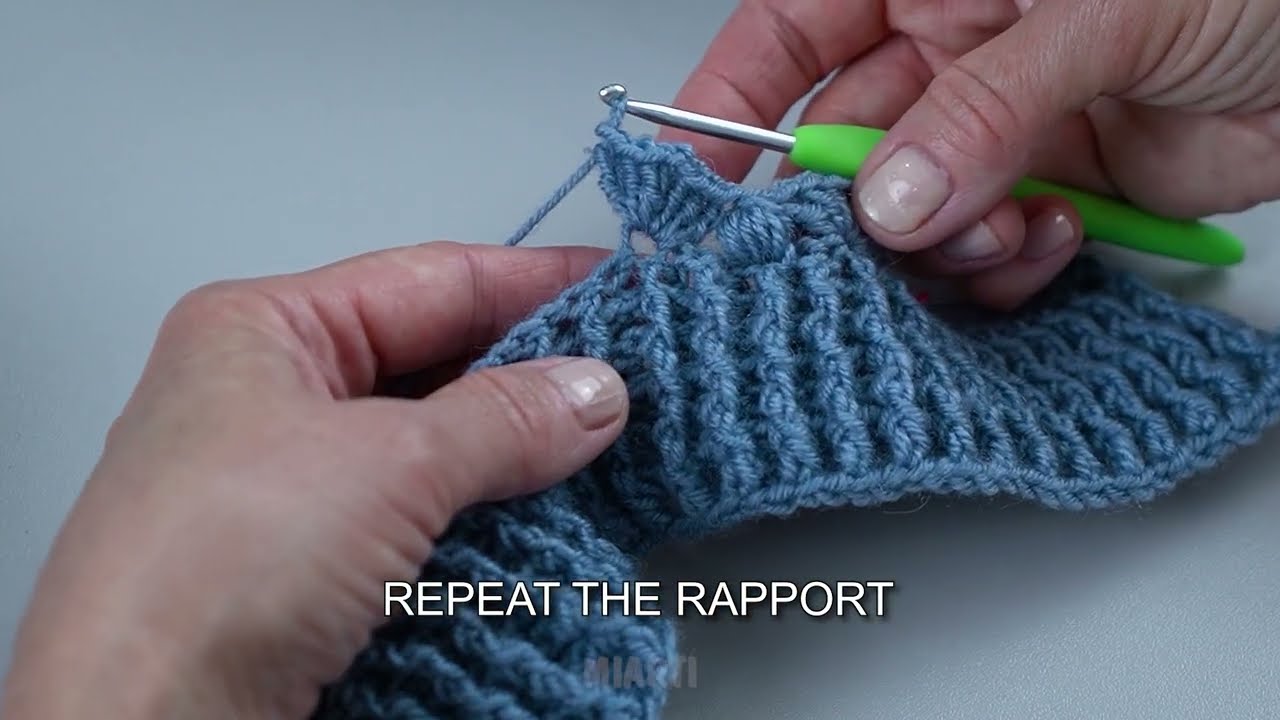
Repeat until half the stitches remain.
This forms a neat heel without sewing the sole.
STEP 5: Knit the Ankle / Sock Part
-
Continue knitting in stockinette stitch
-
Knit 6–10 cm (2.5–4 in) for a slipper-sock height
STEP 6: Knit the Cuff
-
Switch to rib stitch (k1, p1)
-
Knit for 4–5 cm (1.5–2 in)
-
Bind off loosely
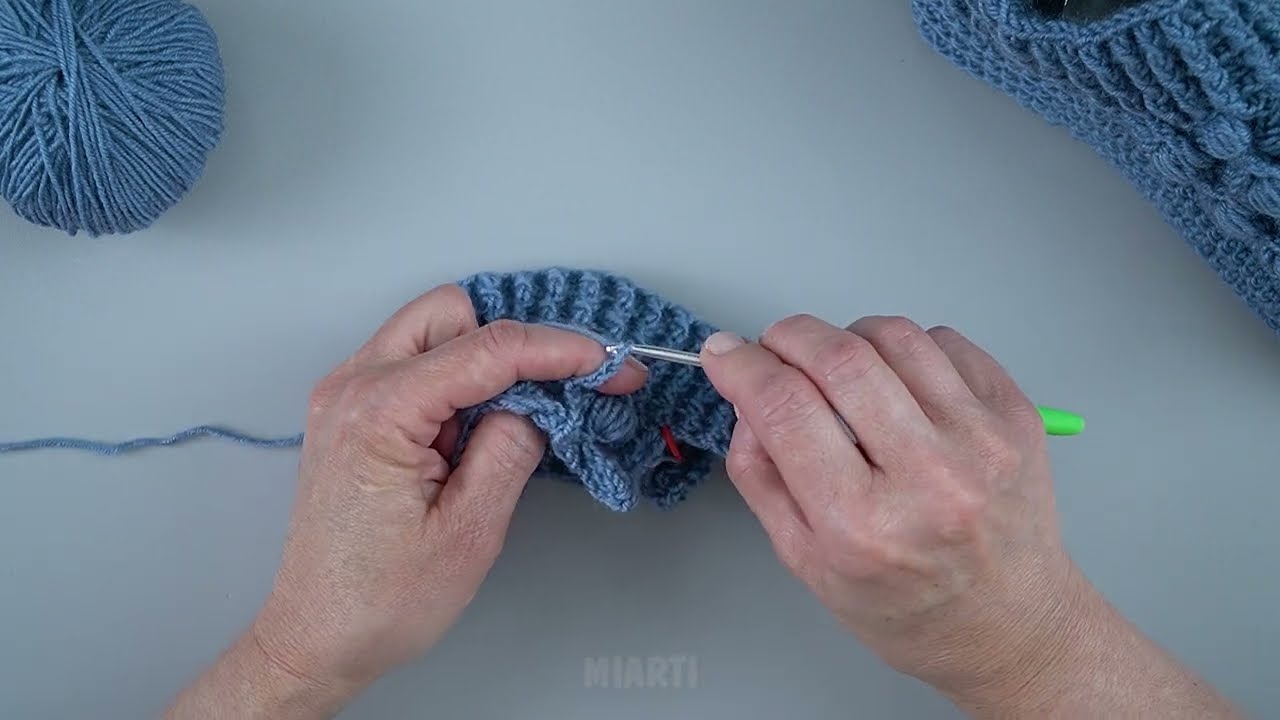
6. Finishing (Very Minimal!)
-
Sew only the back of the heel if needed
-
Weave in all ends
-
Turn right side out
🎉 Your seamless-sole slipper-socks are ready!
7. Beginner Tips 🌱
-
Garter stitch = stretchy & durable sole
-
Use wool for warmth and grip
-
Try on as you knit
-
Knit snugly at heel and toe
8. Make Them Beautiful ✨
-
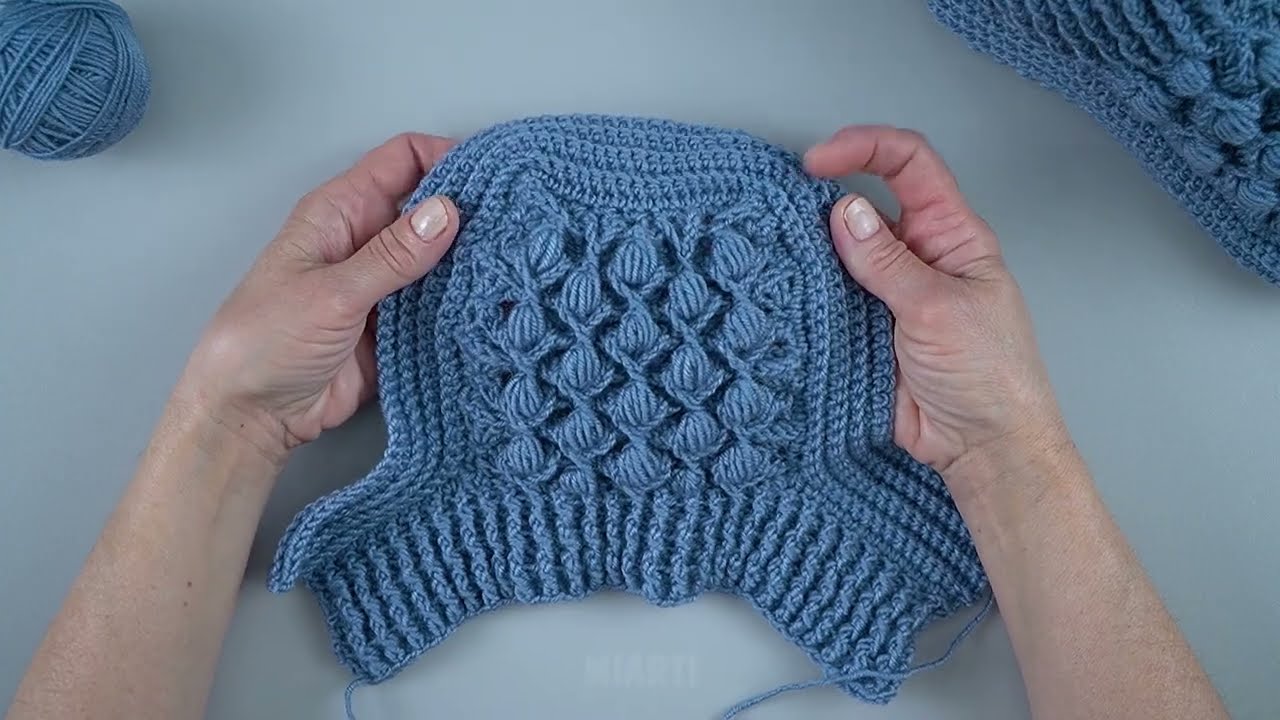
Add a textured stitch on top
-
Use stripes or gradient yarn
-
Add a small cable or lace panel
-
Sew on non-slip sole dots
Final Thoughts
These beautiful slipper-socks are:
✅ Seamless on the sole
✅ Easy and beginner-friendly
✅ Comfortable and long-lasting
✅ Perfect for gifts or home wear
Once you try this method, you may never want to go back to seamed slippers!
If you’d like, I can:
-
Simplify this even more
-
Adjust for kids or babies
-
Turn this into a printable pattern
-
Make a no-sew version
Watch video: