 by
by Below is a clear, detailed, and beginner-friendly tutorial you can use for a blog post, pattern explanation, or teaching guide.
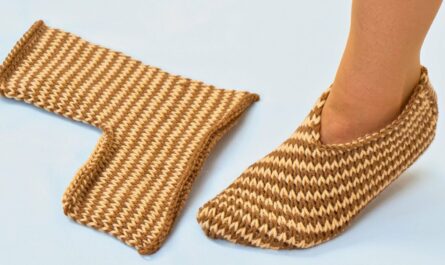
How to Make Simple Crochet Slippers – A Detailed Tutorial
Simple crochet slippers are a wonderful project for both beginners and experienced crocheters. They work up quickly, use basic stitches, and create a cozy, practical item you can wear every day. This easy slipper design focuses on comfort, durability, and simplicity—no complicated shaping or advanced techniques required.
These slippers are perfect for relaxing at home, gifting, or even selling as handmade items.
Why You’ll Love These Simple Crochet Slippers 🧶
-
✔ Easy, beginner-friendly pattern
-
✔ Made with basic crochet stitches
-
✔ Comfortable and warm
-
✔ Quick to finish
-
✔ Easy to customize for any size
Materials You’ll Need
-
Yarn: Medium-weight (worsted) yarn
(Wool or acrylic blends work best for warmth and durability) -
Crochet hook: 5 mm (H/8) or size recommended on yarn label
-
Yarn needle (for sewing and weaving ends)
-
Scissors
-
Optional: Non-slip fabric paint or rubber sole for safety
Crochet Skills Required
-
Chain (ch)
-
Single crochet (sc) or Half double crochet (hdc)
-
Slip stitch (sl st)
-
Increasing and decreasing
-
Working in rows and rounds
This tutorial is suitable for beginners with basic crochet knowledge.
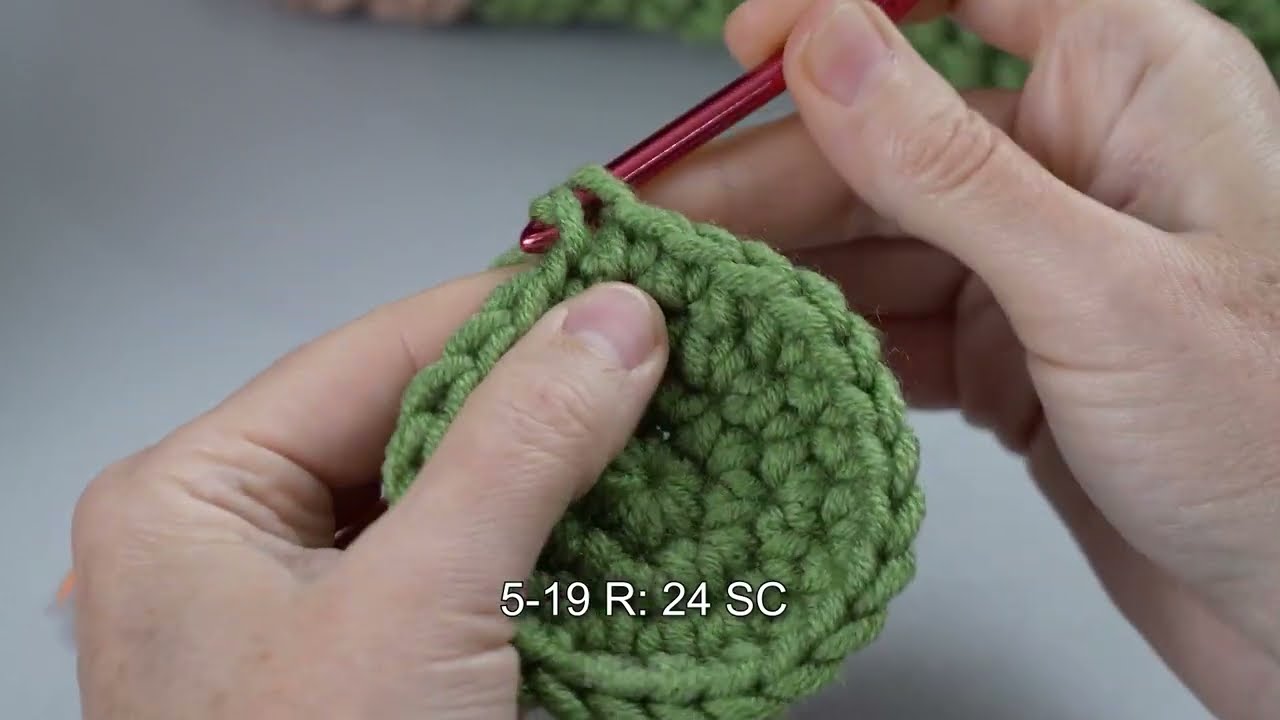
Step-by-Step Crochet Slipper Tutorial
Step 1: Start with the Sole
-
Chain enough stitches to match the length of your foot.
-
Small: 22 cm / 8.5 inches
-
Medium: 24 cm / 9.5 inches
-
Large: 26 cm / 10.5 inches
-
-
Add 1 extra chain for turning.
Step 2: Crochet the Sole Shape
-
Single crochet across the chain
-
Work 3 sc in the last stitch
-
Continue crocheting on the opposite side of the chain
-
Work 2 sc in each end stitch
Repeat these rounds, increasing at the toe and heel, until the sole fits your foot comfortably.
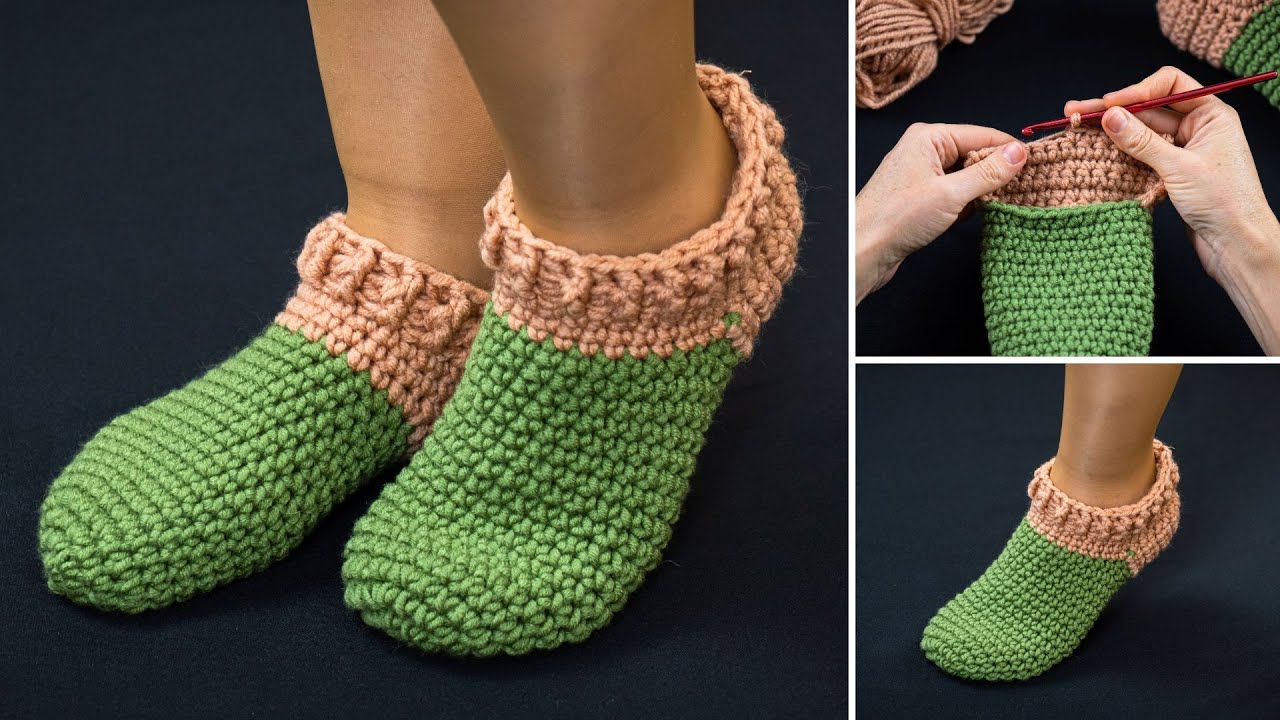
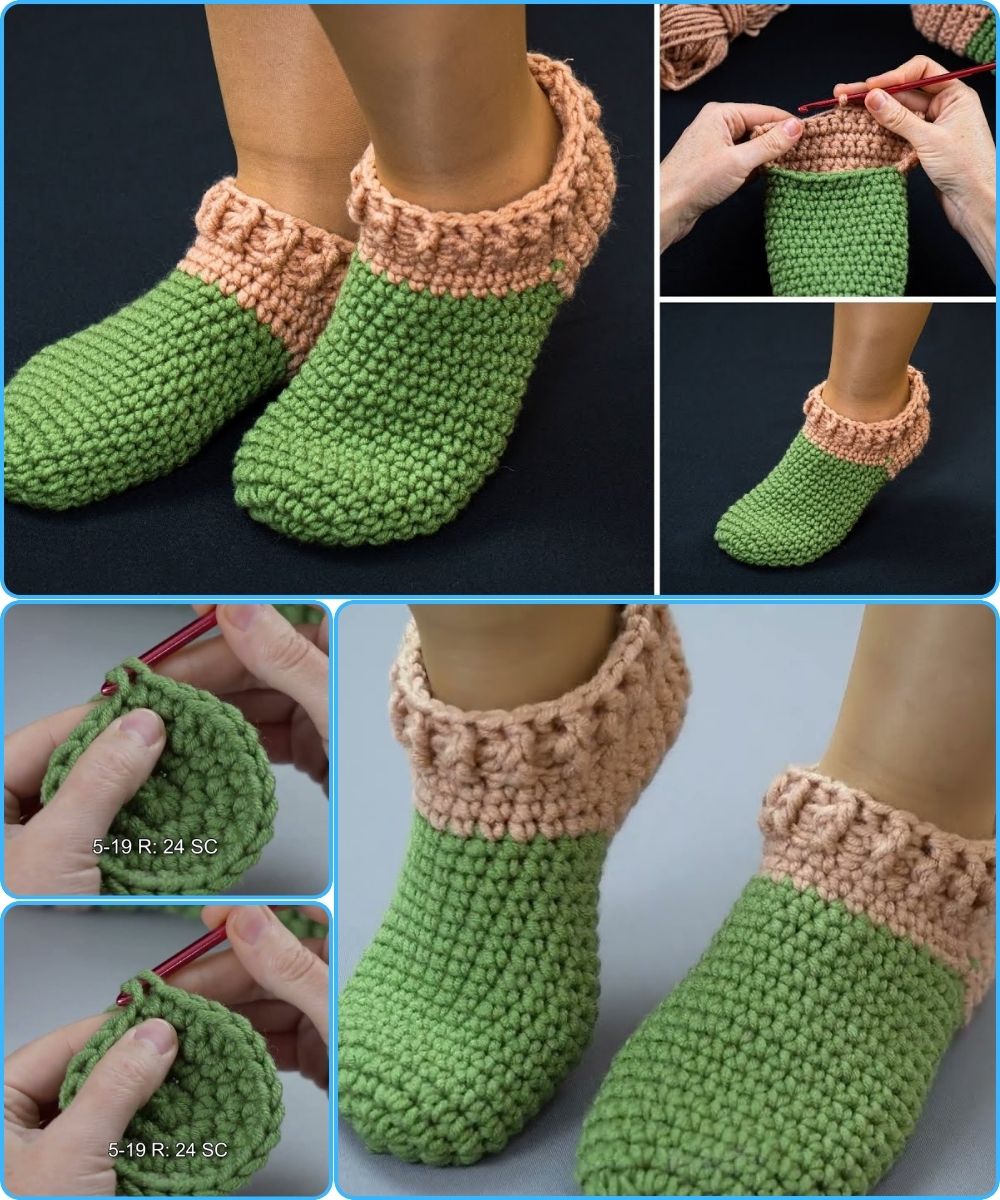
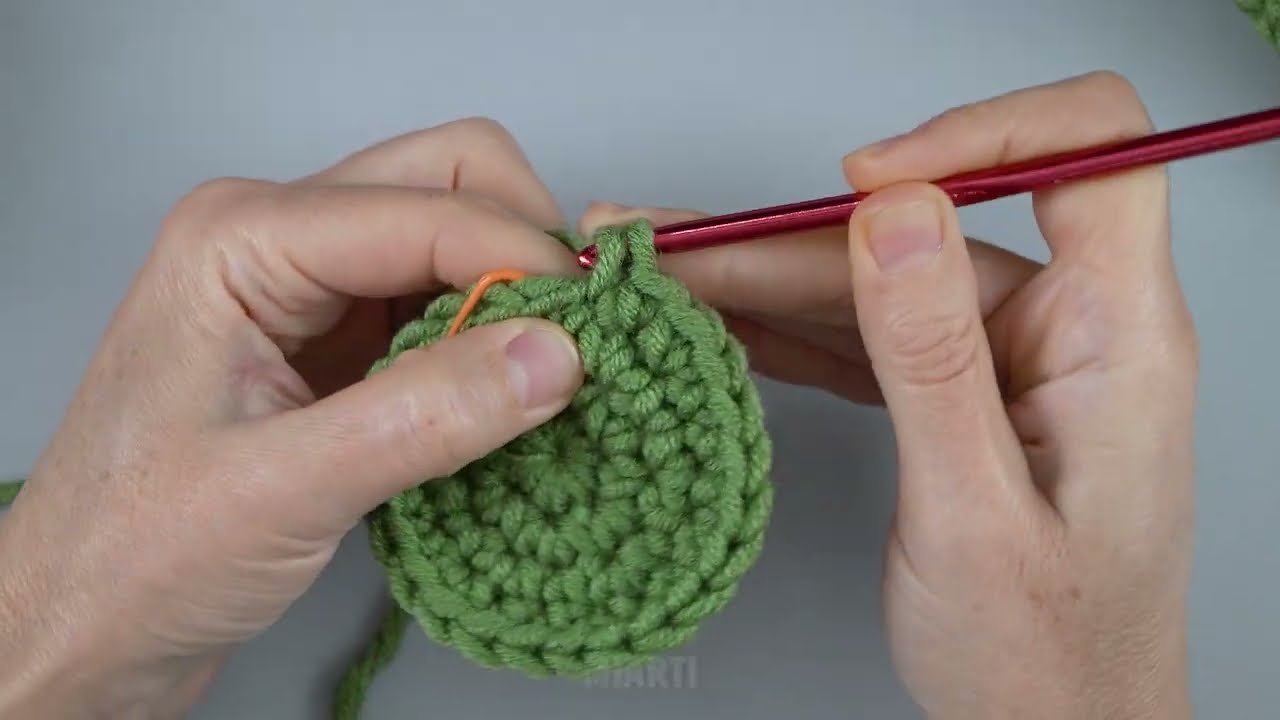
Step 3: Build the Sides
-
Crochet one round in back loop only
-
This creates a neat edge and helps the sides stand up
Then continue crocheting evenly around the sole without increases.
Step 4: Shape the Toe
-
Crochet half of the stitches normally
-
Begin decreasing across the toe area
-
Repeat for several rounds until the opening narrows
This forms the front of the slipper.
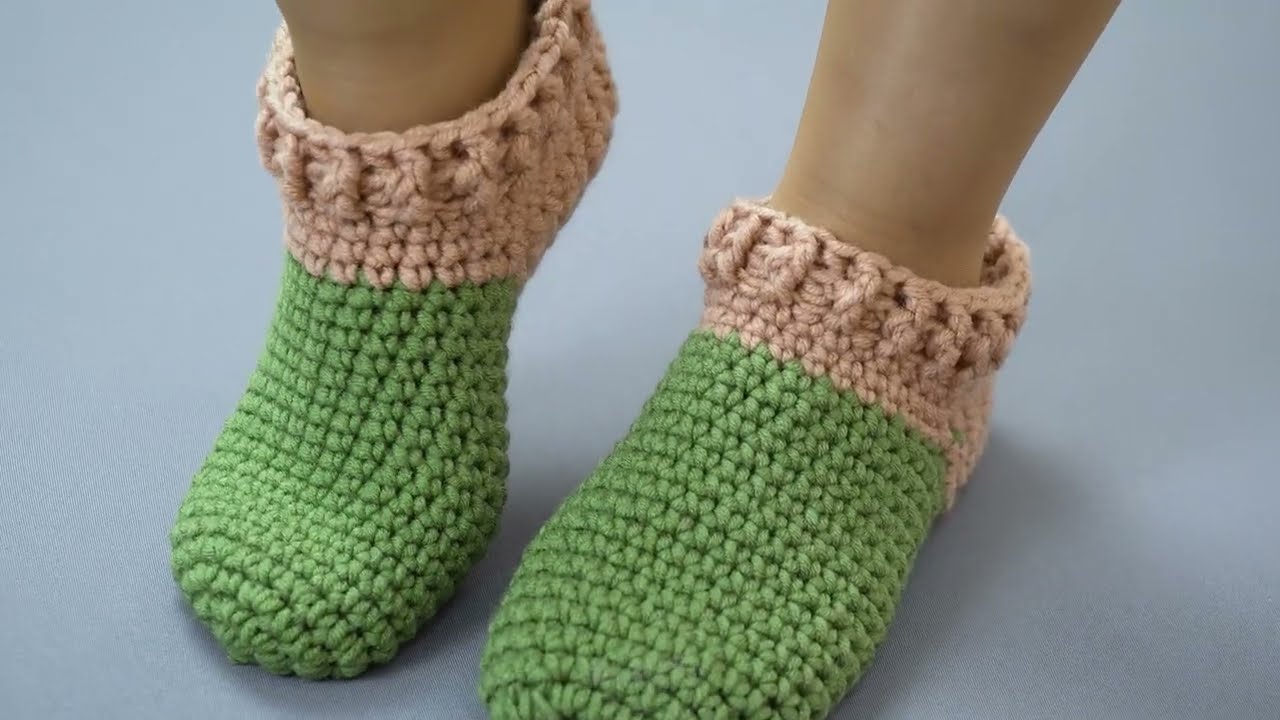
Step 5: Finish the Slipper Opening
-
Continue crocheting around the opening
-
Add a simple border using single crochet or slip stitches
-
Fasten off and weave in ends
Optional Finishing Touches ✨
-
Add a decorative edge or contrasting trim
-
Attach a bow, button, or flower
-
Apply non-slip dots to the sole
-
Use thick or double yarn for extra warmth
Easy Sizing Adjustments
-
Longer foot: Start with more chains
-
Wider foot: Add more increase rounds
-
Tighter fit: Use a smaller hook
This pattern works well for women, men, and children.
Final Thoughts
This simple crochet slipper tutorial shows that you don’t need complex patterns to create comfortable, stylish, and practical slippers. With basic stitches and a little patience, you can crochet a pair of slippers that are perfect for everyday wear or thoughtful handmade gifts.
If you’d like, I can also:
-
Create a printable PDF pattern
-
Simplify this for absolute beginners
-
Adapt it for children or men
-
Write a step-by-step video tutorial script
Watch video: