by
by Absolutely! Let’s make a detailed, beginner-friendly guide for creating the easiest fingerless mittens using leftover yarn. These are cozy, quick, and perfect for using up scraps.

How to Make the Easiest Fingerless Mittens from Leftover Yarn
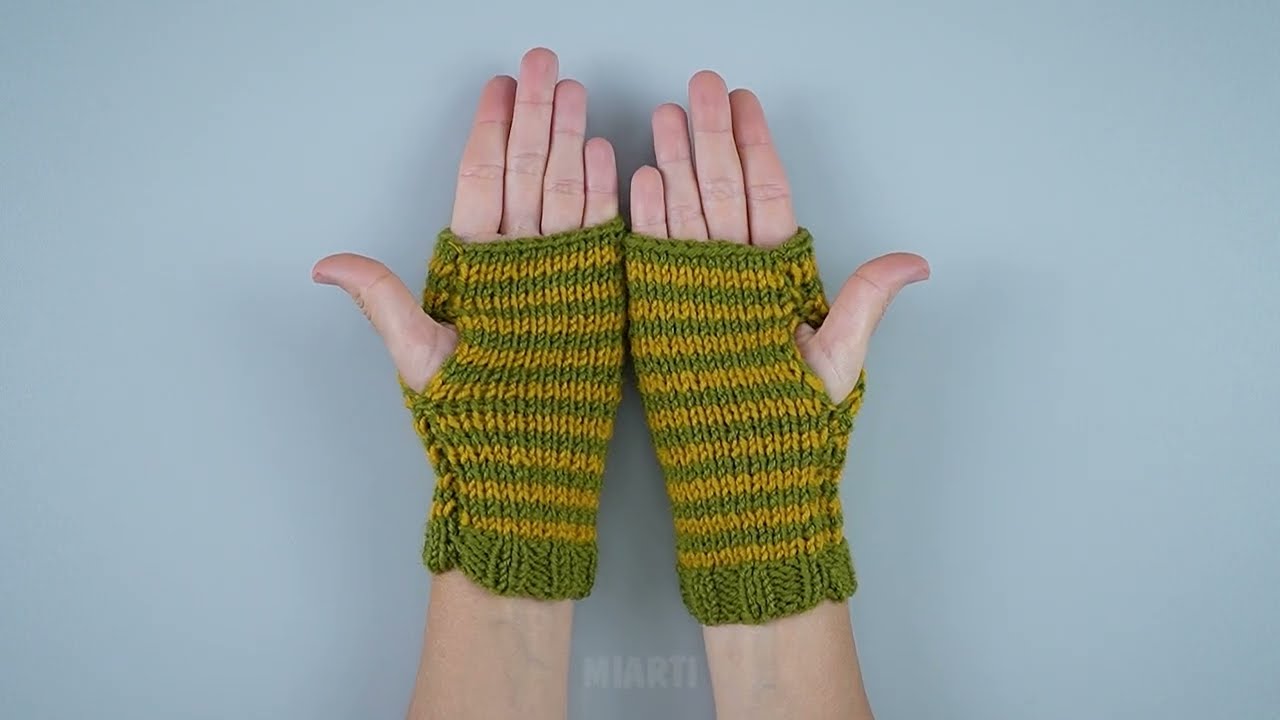
These mittens are simple, quick to knit, and perfect for beginners. They’re worked flat on two knitting needles and then seamed. No complicated shaping or techniques are needed.
Materials You’ll Need
-
Leftover yarn: Any medium-weight (worsted) yarn works. You can mix colors or textures for a fun look.
-
Knitting needles: 4–5 mm (US 6–8), depending on your yarn.
-
Tapestry needle for sewing seams.
-
Scissors
Optional:
-
Stitch markers to mark the thumb hole
-
Non-slip grips (optional)
This is perfect for leftover yarn because you only need small amounts per mitten.
Basic Stitches You Should Know
-
Cast on (CO)
-
Knit stitch (K) – we’ll use garter stitch (knit every row)
-
Bind off (BO)
-
Basic sewing stitches for finishing (mattress stitch or whip stitch)
Garter stitch is forgiving, stretchy, and perfect for beginners.
Step 1: Measure Your Hand
-
Hand circumference: Measure around the widest part of your hand (without thumb).
-
Hand length: From wrist to where you want the mitten to end (usually just below fingers).
These measurements determine how many stitches to cast on and how many rows to knit.
Step 2: Cast On
-
Cast on enough stitches to fit comfortably around your hand.
-
Example for adult medium size: 25–30 stitches with worsted yarn.
Step 3: Knit the Wrist
-
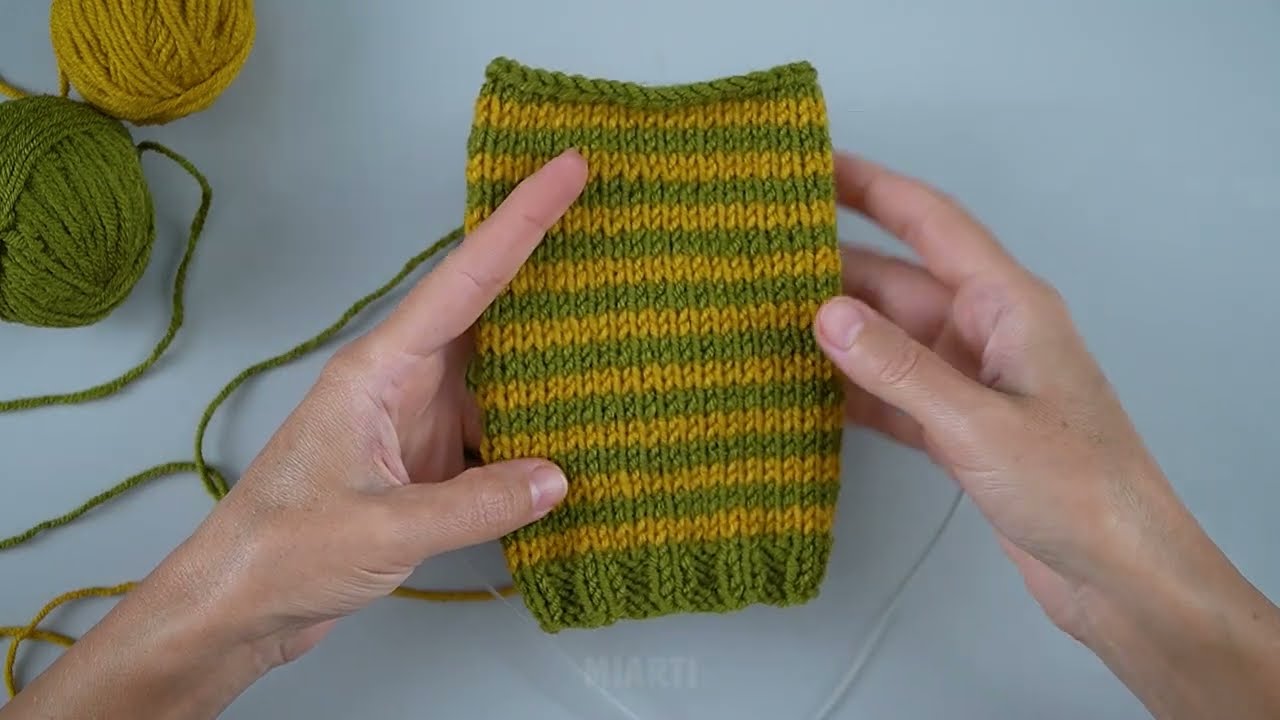
Work in garter stitch for 5–10 rows to create a simple, stretchy wrist cuff.
-
You can switch yarn colors for a fun striped effect using leftovers.
Step 4: Knit the Hand Section
-
Continue knitting in garter stitch until you reach the point just below the base of your fingers.
-
This will be the main body of the mitten.
-
Optional: Change yarn colors midway for a fun patchwork look.
Step 5: Create the Thumb Hole
Simplest Method:
-
Knit until the row where the thumb should go.
-
Cast off 4–6 stitches (depending on hand size) for the thumb opening.
-
Continue knitting to the end of the row.
-
On the next row, cast on the same number of stitches you cast off to continue the hand.
This creates a simple thumb opening without complicated shaping.
Step 6: Finish the Mitten
-
Knit until the mitten reaches the desired length (just below fingers).
-
Bind off all stitches loosely.
-
Fold the mitten in half wrong side inside and seam the side using mattress stitch or whip stitch.
Step 7: Optional Thumb Tube
-
Pick up stitches around the thumb hole.
-
Knit a few rows in garter stitch or ribbing.
-
Bind off and seam the tip of the thumb.
Step 8: Weave in Ends
-
Tidy up any loose yarn ends with a tapestry needle.
-
Enjoy your quick, cozy fingerless mittens made from leftover yarn!
Tips for Beginners
-
Mix and match leftover yarns for a fun, striped, or patchwork look.
-
Use garter stitch for an easy, stretchy, and forgiving fabric.
-
Keep stitches loose so the mitten fits comfortably.
-
Small mistakes or irregularities make these mittens unique and charming.
✅ And that’s it! You now have a pair of simple, cozy fingerless mittens made from leftover yarn—perfect for beginners and a great way to use up scraps.
I can also make a step-by-step visual guide showing the mitten shape, thumb hole, and seam so it’s super easy to follow.
Watch video: