 by
by Here is a clear, detailed, beginner-friendly guide you can use for a project, blog post, or assignment about how to make a crochet handbag with both interior and exterior pockets.
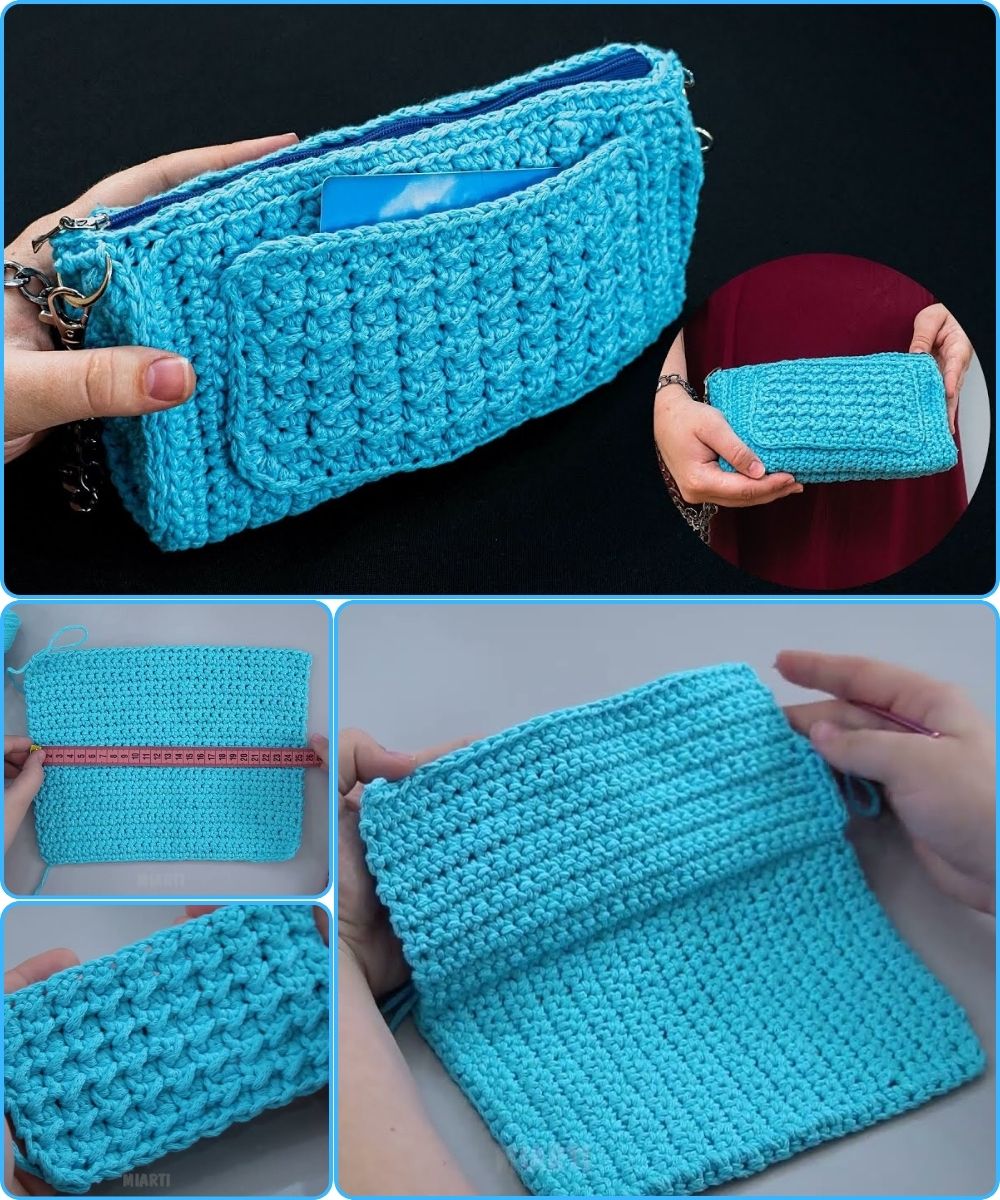
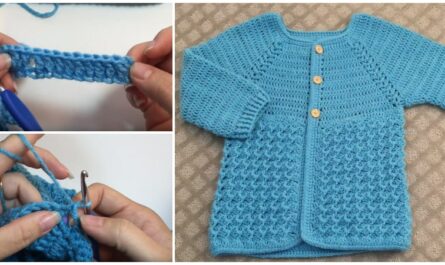
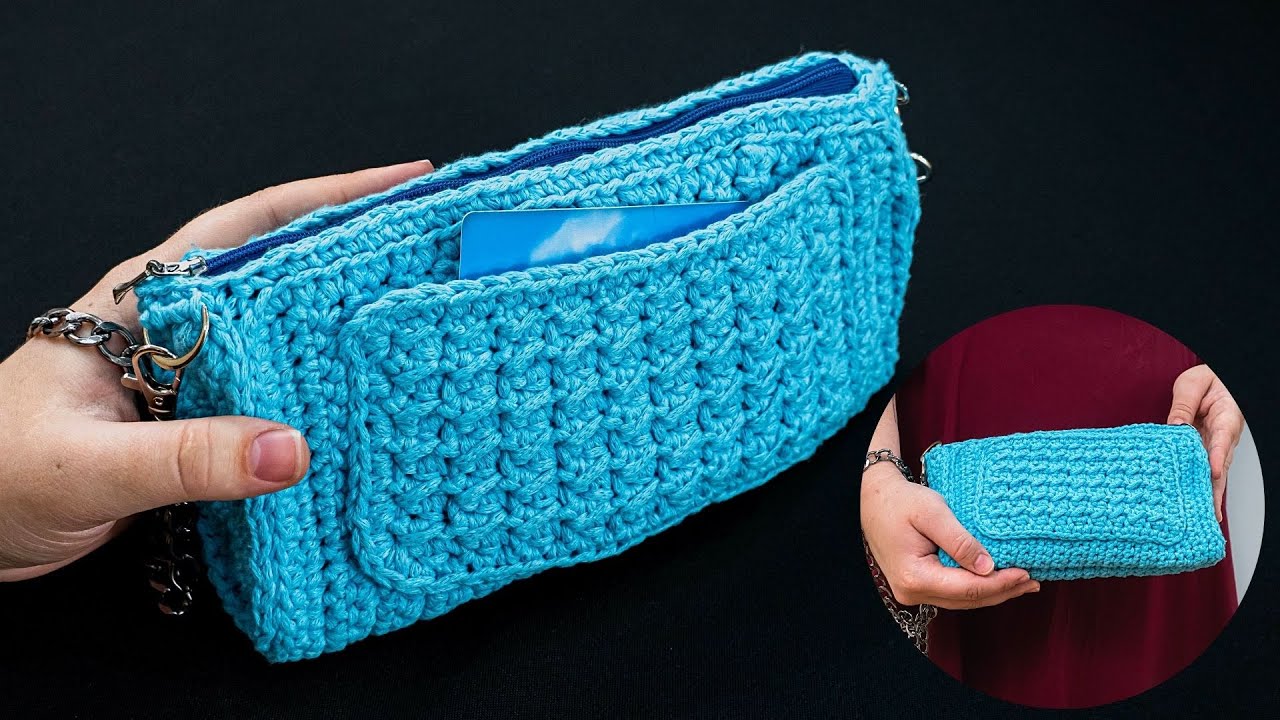
How to Make a Crochet Handbag with Interior and Exterior Pockets
A crochet handbag is a practical and stylish handmade accessory. Adding both an exterior and interior pocket makes the bag more functional, perfect for carrying small items like keys, a phone, or lip balm. This guide explains the materials needed, basic stitches, and step-by-step construction of the handbag and pockets.
Materials Needed
-
Medium-weight yarn (cotton or acrylic works best for handbags)
-
Crochet hook (size recommended on yarn label, usually 4–5 mm)
-
Yarn needle
-
Scissors
-
Stitch markers (optional)
-
Fabric lining (optional but recommended for interior pocket)
-
Button, zipper, or snap (optional for pocket closure)
Basic Crochet Stitches Used
-
Chain (ch) – forms the foundation
-
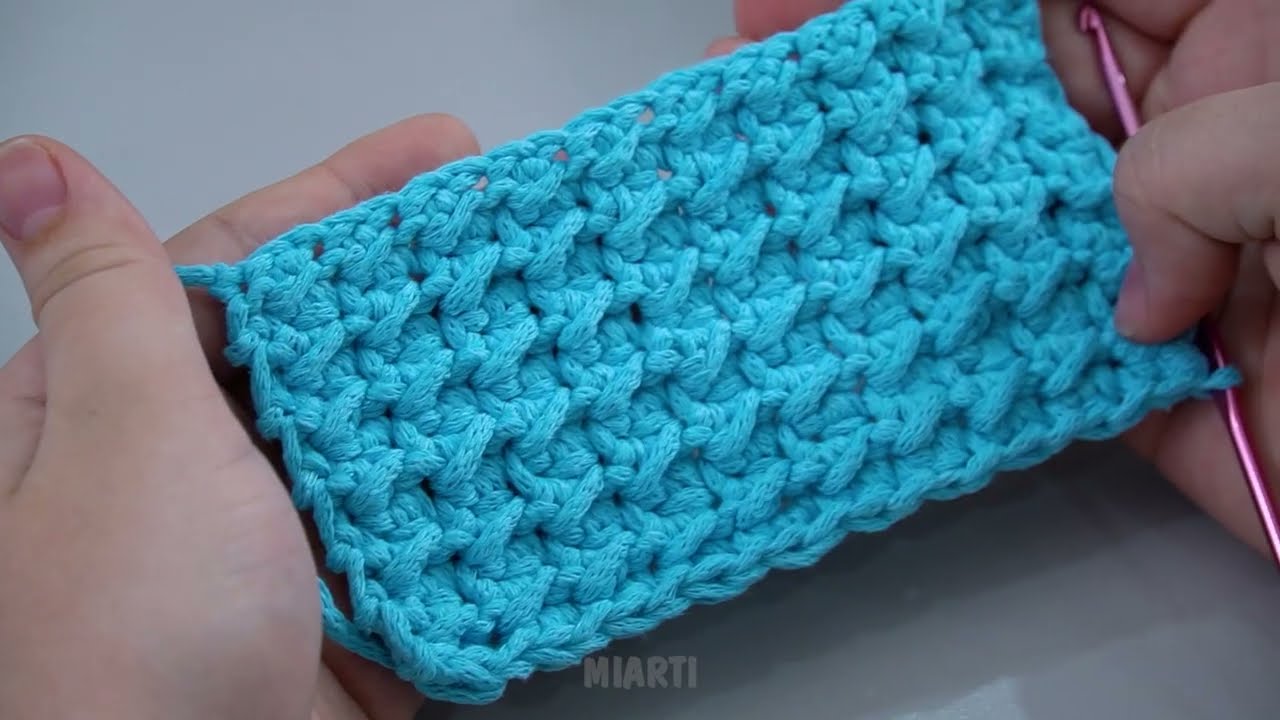
Single Crochet (sc) – creates a tight, sturdy fabric
-
Half Double Crochet (hdc) – adds thickness and texture
-
Slip Stitch (sl st) – joins rounds or edges
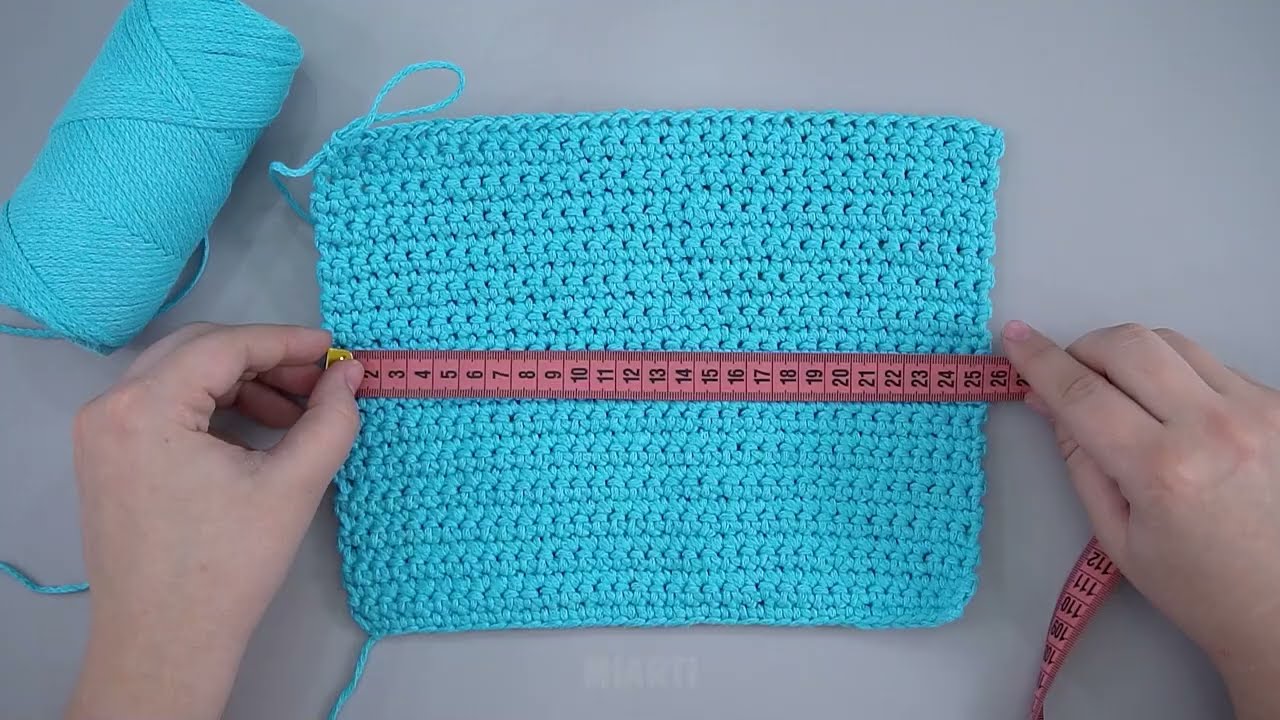
Step 1: Make the Base of the Handbag
-
Start by chaining enough stitches to match the desired width of your bag (for example, 25–30 chains).
-
Work single crochet stitches across the chain.
-
Crochet around both sides of the chain to form an oval base.
-
Increase evenly at the corners to keep the base flat.
-
Continue until the base reaches the desired size.
Step 2: Crochet the Body of the Bag
-
Stop increasing stitches.
-
Crochet in continuous rounds using single crochet or half double crochet.
-
Work upward until the bag reaches the height you want.
-
Fasten off and weave in ends.
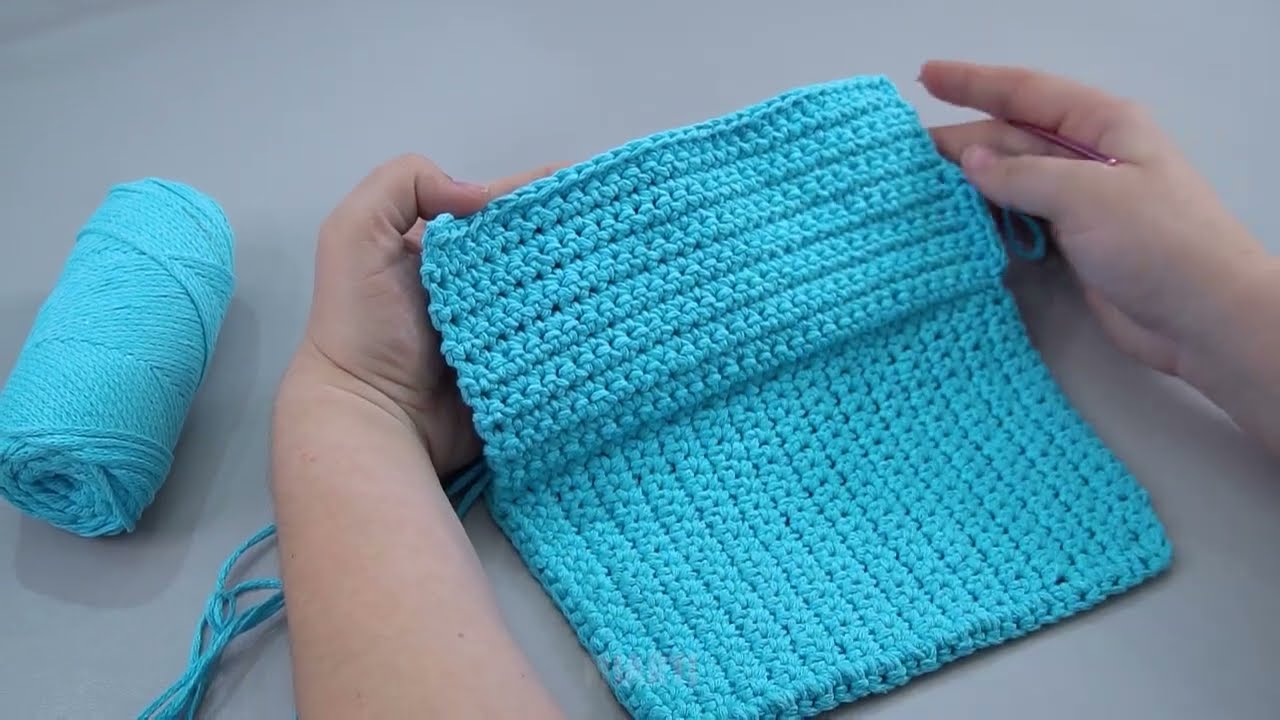
Step 3: Make the Exterior Pocket
-
Chain a smaller number of stitches (about half the width of the bag).
-
Crochet back and forth in rows using single crochet.
-
Continue until the pocket reaches the desired height.
-
Fasten off, leaving a long yarn tail.
-
Sew the pocket onto the outside of the bag using a yarn needle.
-
(Optional) Add a button or flap for closure.
Step 4: Make the Interior Pocket
Option A: Crochet Interior Pocket
-
Crochet a small rectangle using single crochet.
-
Attach it to the inside of the bag using whip stitch.
-
Make sure stitches are neat so they don’t show on the outside.
Option B: Fabric Interior Pocket (Recommended)
-
Cut a piece of fabric slightly larger than the pocket size.
-
Fold and sew the edges.
-
Hand-sew or machine-sew the pocket inside the bag lining.
Step 5: Add the Lining (Optional but Helpful)
-
Cut fabric to match the size of the bag.
-
Sew the sides and bottom.
-
Insert the lining into the crochet bag.
-
Sew it around the top edge.
-
Attach the interior pocket to the lining if not already done.
Step 6: Make the Handles or Straps
-
Chain the desired length for the handle.
-
Work single crochet along the chain for strength.
-
Attach handles securely to both sides of the bag.
-
Reinforce with extra stitches if needed.
Step 7: Finishing Touches
-
Weave in all loose ends
-
Add decorations such as tassels or flowers
-
Block the bag lightly to shape it
Final Result
You now have a handmade crochet handbag with:
-
A sturdy base
-
An exterior pocket for easy access
-
An interior pocket for organization
-
Optional lining for durability
This crochet handbag is both fashionable and functional, making it perfect for everyday use or as a handmade gift.
If you want, I can:
-
Simplify this for a school project
-
Turn it into a step-by-step pattern
-
Add pictures descriptions
-
Adjust it for beginners only
Watch video: