 by
by Here’s a clear, detailed, beginner-friendly tutorial you can use as an article or guide.
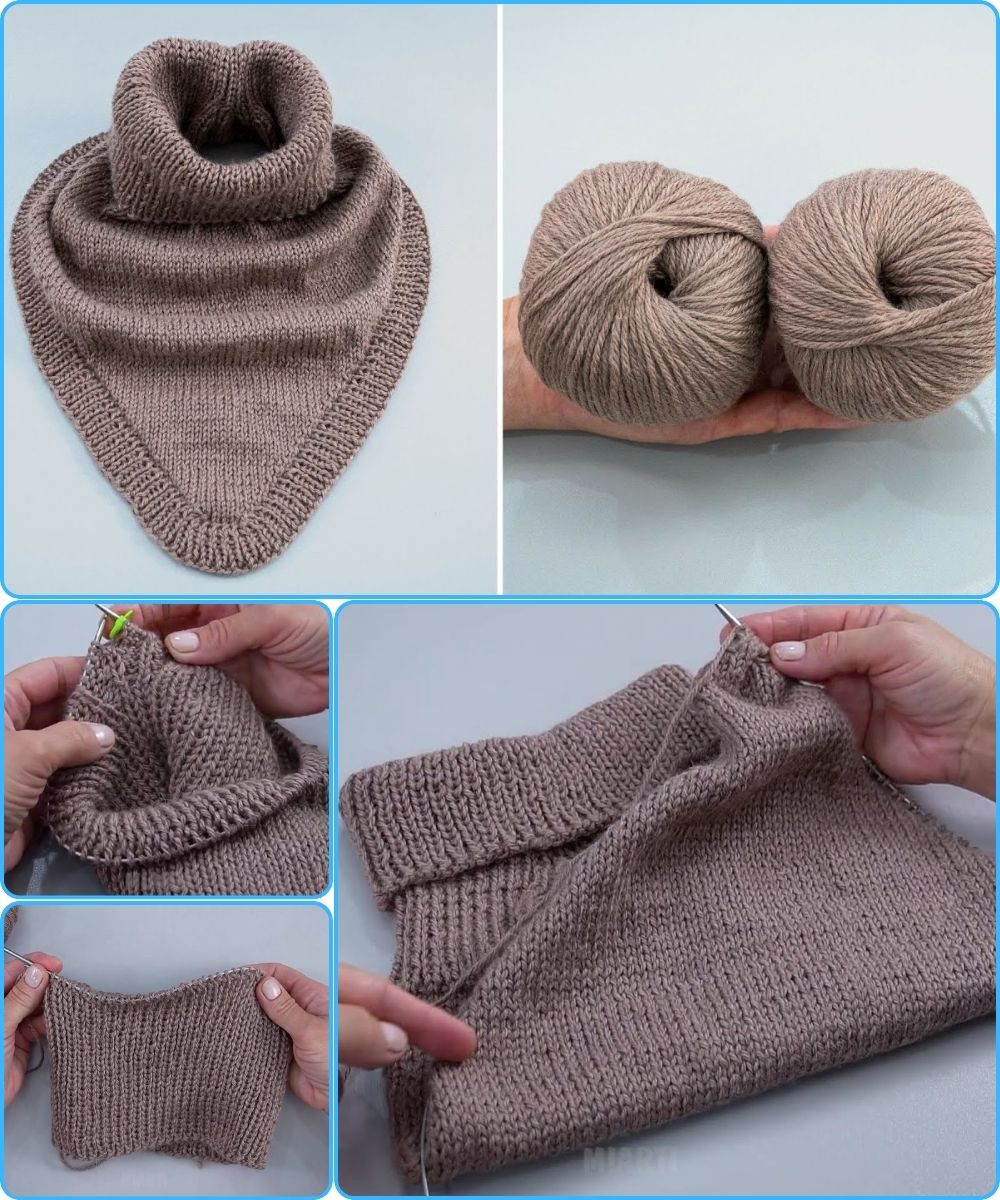
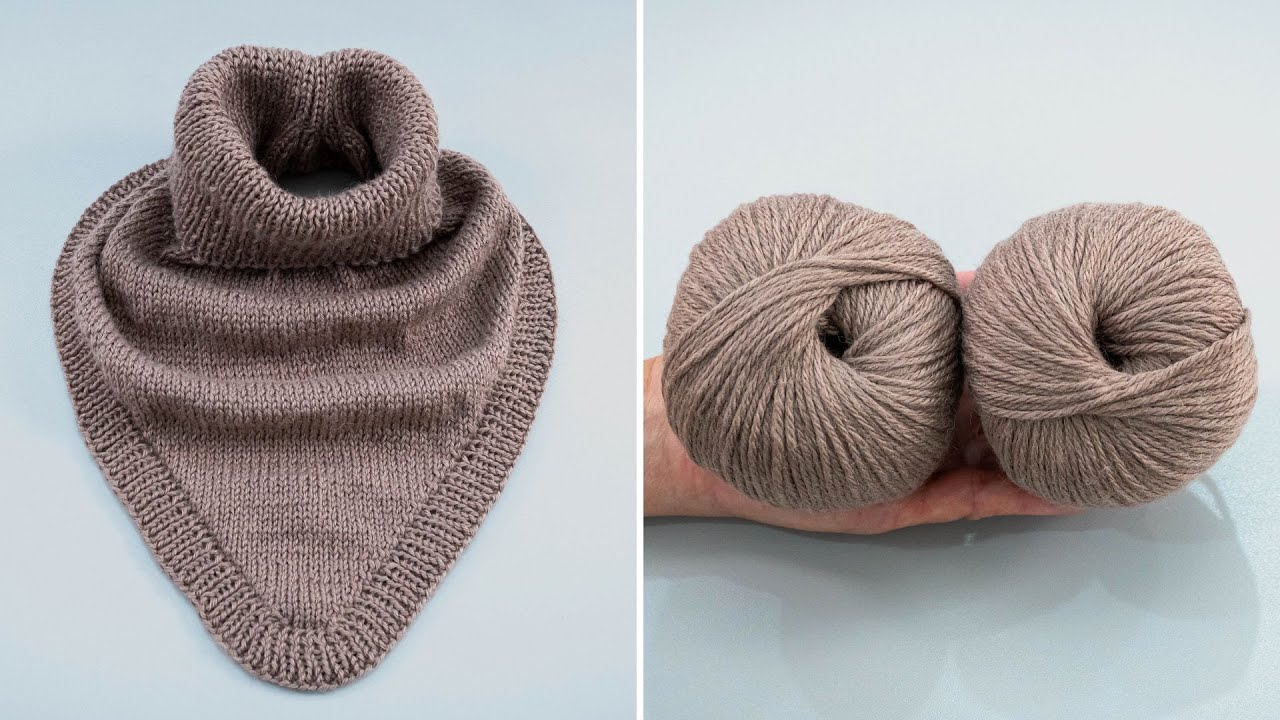
How to Make a Knitted Snood/Scarf in a Few Hours – Warm and Comfortable
A Detailed Step-by-Step Tutorial
A knitted snood (also called an infinity scarf) is one of the fastest and most satisfying knitting projects. It’s warm, stylish, and perfect for beginners because it uses simple stitches and thick yarn. Best of all, you can finish it in just a few hours!
Why Make a Snood?
-
✔ Quick project (great for same-day results)
-
✔ Beginner-friendly
-
✔ Very warm and cozy
-
✔ No complicated shaping
-
✔ Perfect handmade gift

Materials You Will Need
Yarn
-
Chunky or bulky yarn (Category 5 or 6)
-
About 100–200 grams (depending on width and length)
-
Wool or wool-blend is best for warmth; acrylic works well too
Knitting Needles
-
Size 8–10 mm (US 11–15) straight or circular needles
-
Circular needles are recommended for comfort
Other Tools
-
Scissors
-
Tapestry (yarn) needle
-
Stitch marker (optional)
Skill Level
Beginner
You only need to know:
-
Cast on
-
Knit stitch
-
Purl stitch
-
Bind off
Finished Size (Adjustable)
-
Width: 20–30 cm (8–12 inches)
-
Length: 120–150 cm (47–59 inches) before joining
(or knit in the round for a seamless snood)
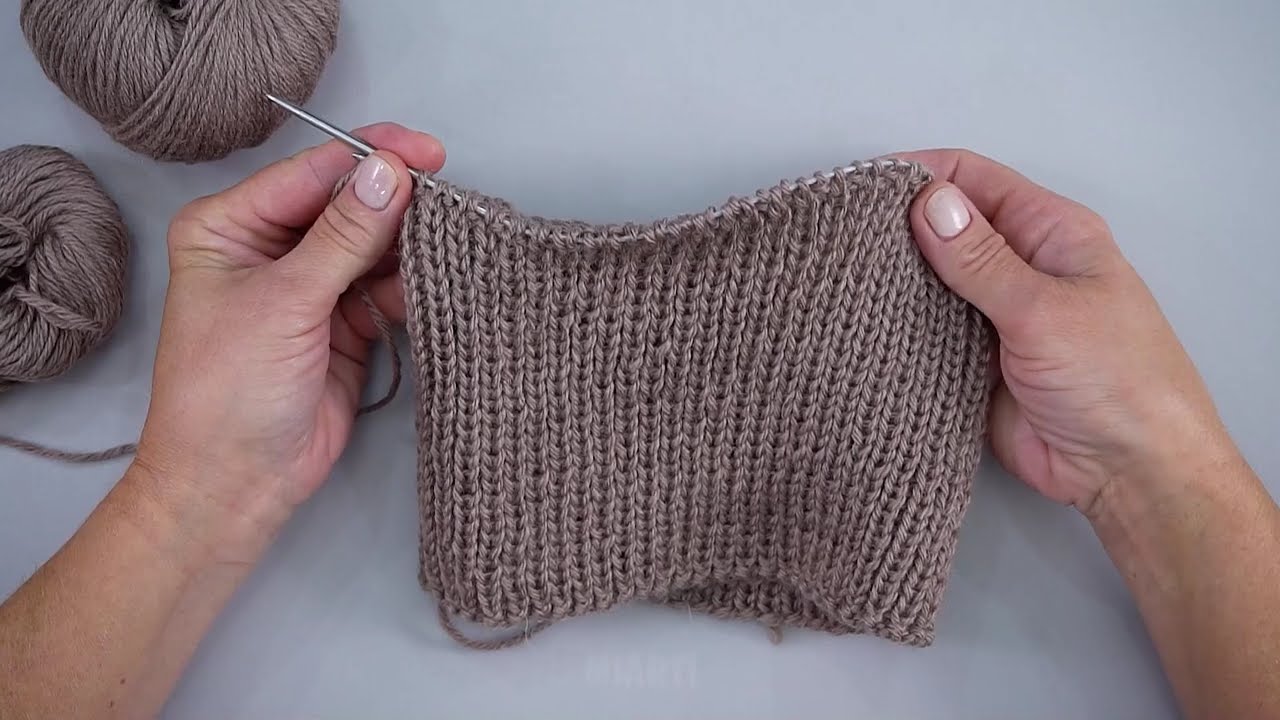
Step 1: Cast On
Cast on 30–40 stitches, depending on:
-
Yarn thickness
-
Desired snood width
💡 Tip: For a thicker, extra-warm snood, cast on more stitches.
Step 2: Choose Your Stitch Pattern
Here are two easy and beautiful options:
Option 1: Garter Stitch (Easiest)
-
Knit every row
-
Creates a stretchy, cozy texture
-
Perfect for beginners
Option 2: Rib Stitch (Classic & Elastic)
-
Row pattern: Knit 2, Purl 2 (K2, P2)
-
Gives a professional, store-bought look
-
Extra snug around the neck
Repeat your chosen pattern until the scarf reaches your desired length.
Step 3: Knit Until Desired Length
-
Keep knitting until your scarf is long enough to wrap comfortably around your neck
-
This usually takes 2–4 hours with chunky yarn
-
Try wrapping it around your neck to test the size
Step 4: Bind Off
-
Bind off loosely to keep the edge stretchy
-
Cut the yarn, leaving a 15–20 cm tail
-
Pull the yarn through the final loop
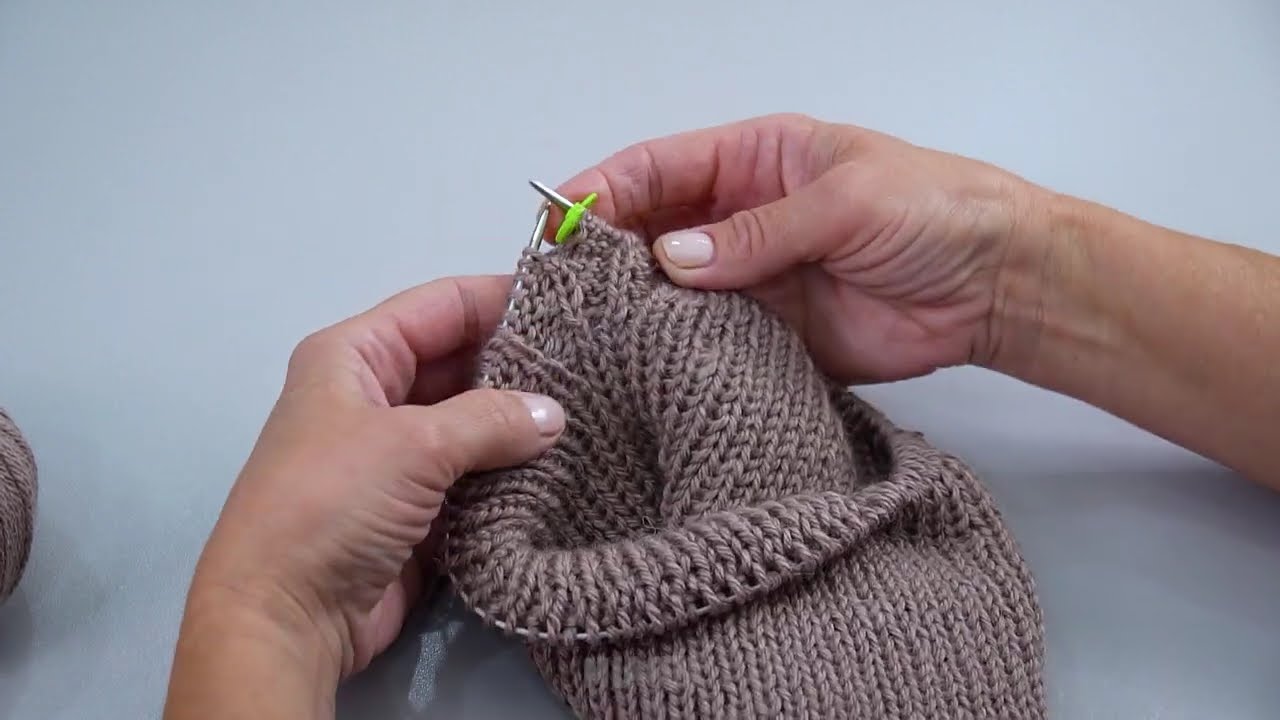
Step 5: Turn It Into a Snood
You have two options:
Option A: Sew the Ends Together
-
Lay the scarf flat
-
Match the cast-on edge with the bind-off edge
-
Use a tapestry needle to stitch them together
-
Weave in all loose ends
Option B: Knit in the Round
-
Join stitches at the beginning
-
Knit continuously in rounds
-
No sewing required!
Step 6: Final Touches
-
Weave in all yarn ends neatly
-
Lightly stretch the snood to shape it
-
Optional: add buttons, a label, or a decorative stitch
Tips for a Perfect Snood
-
🧶 Use light-colored yarn to see stitches clearly
-
🧶 Avoid knitting too tightly
-
🧶 Chunky yarn = faster results
-
🧶 Circular needles reduce hand strain
Customization Ideas
-
Add stripes using two yarn colors
-
Use seed stitch for texture
-
Make it extra wide for a cowl-style snood
-
Try soft alpaca or fleece-blend yarn for extra comfort
Final Result
In just a few hours, you’ll have a warm, soft, and stylish knitted snood that’s perfect for cold weather. Whether you keep it for yourself or gift it to someone special, this project is quick, relaxing, and very rewarding.
Watch video: