 by
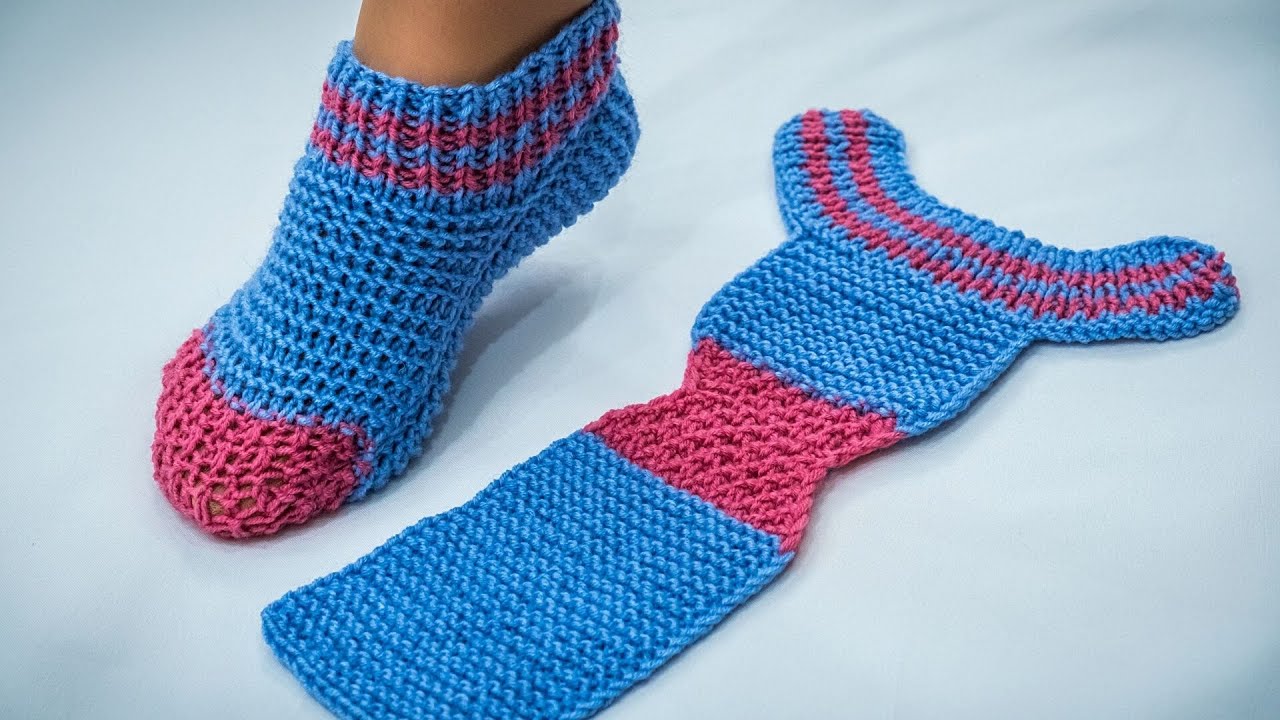
by Absolutely! I can guide you step by step on how to make easy, simple knit socks using just one swatch. This method is beginner-friendly and doesn’t require complicated patterns. I’ll break it down clearly.

Materials You’ll Need
-
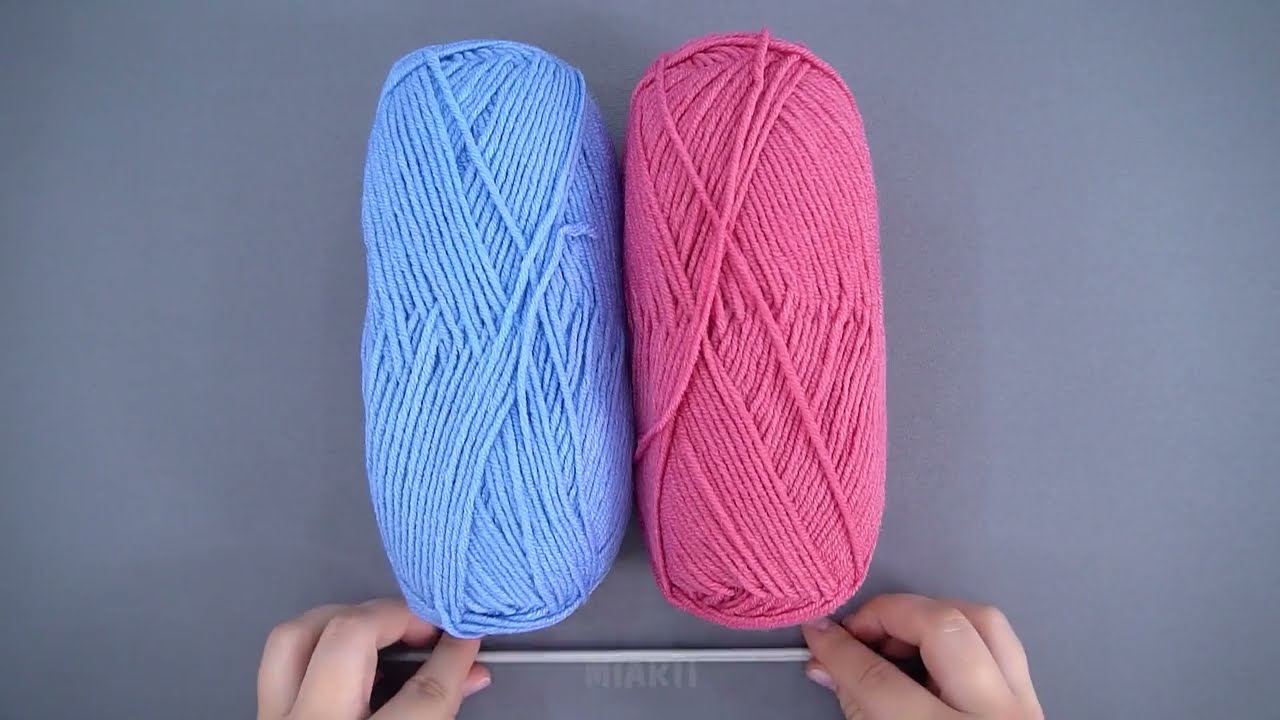
Yarn: Fingering or sock-weight yarn (about 100g for a pair)
-
Needles: Double-pointed needles (DPNs) or circular needles (size appropriate for your yarn, usually US 1-3 / 2.25-3.25 mm)
-
Scissors
-
Tapestry needle for weaving in ends
-
Measuring tape
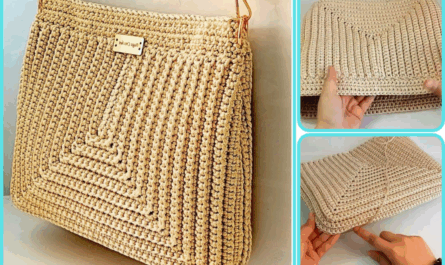
Step 1: Make a Swatch
Instead of measuring your foot for every part, you can knit a swatch to get the size right.
-
Cast on 20-30 stitches (depending on your yarn and gauge).
-
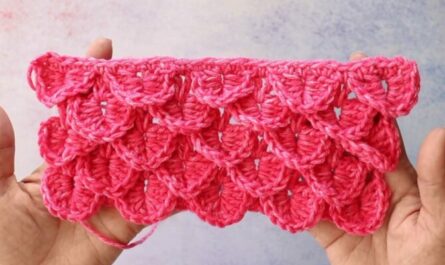
Knit in stockinette stitch (knit one row, purl the next) for a small square, about 2 inches.
-
Measure your swatch: count how many stitches per inch.
-
Example: if your swatch is 2 inches wide and you have 20 stitches, your gauge is 10 stitches per inch.
-
This swatch helps you calculate the number of stitches to cast on for your sock.
Step 2: Measure Your Foot
-
Measure the circumference of your foot (around the widest part).
-
Multiply the inches by your stitch gauge.
-
Example: Foot circumference = 8 inches × 10 stitches per inch = 80 stitches to cast on.
-
Step 3: Cast On
-
Cast on the number of stitches you calculated.
-
Join in the round, being careful not to twist stitches.
-
Place a stitch marker to mark the beginning of the round.
Step 4: Knit the Cuff
-
Knit the cuff in ribbing (K1, P1 or K2, P2) for 1–2 inches.
-
This keeps the sock snug at the ankle.
Step 5: Knit the Leg
-
Switch to stockinette stitch (knit every round).
-
Knit until the sock reaches the desired length before the heel (usually 6–8 inches for adults).

Step 6: Knit the Heel (Short-Row Heel)
Here’s a simple method using short rows:
-
Divide your stitches in half (e.g., 80 ÷ 2 = 40 stitches for heel).
-
Work back-and-forth rows on these stitches:
-
Row 1: Knit across 20 stitches, turn.
-
Row 2: Purl across 20 stitches, turn.
-
Continue, leaving 1 stitch more each turn, until all heel stitches are worked.
-
This creates a cup shape for your heel.
Step 7: Knit the Foot
-
Pick up stitches along the sides of the heel.
-
Continue knitting in the round until the foot is about 1–2 inches shorter than your total foot length (to leave room for the toe).
Step 8: Knit the Toe
-
For a simple toe:
-
Knit until 2 stitches remain before the end of each needle.
-
Knit 2 together across the round.
-
Repeat every other round until 8–10 stitches remain.
-
-
Graft the toe using the Kitchener stitch, or just pull yarn through remaining stitches and tighten.
Step 9: Finish
-
Weave in ends with a tapestry needle.
-
Turn socks inside out to check the heel and toe.
Tips for Success
-
Always make a swatch: sock fit depends on gauge.
-
Try the sock on as you go if possible.
-
Use markers to keep track of decreases for heel and toe.
-
Practice short-row heels; they are easier than traditional heel flaps.
If you want, I can make a super-simple “one-swath sock formula” where all calculations are already included for different foot sizes. It’s basically a template you can reuse to knit socks over and over without a detailed pattern.
Do you want me to do that next?
Watch video: