 by
by Absolutely! Let’s create a detailed, beginner-friendly tutorial on making simple knitted slippers. I’ll break it down step by step with tips, techniques, and illustrations in words so even a complete beginner can follow along.
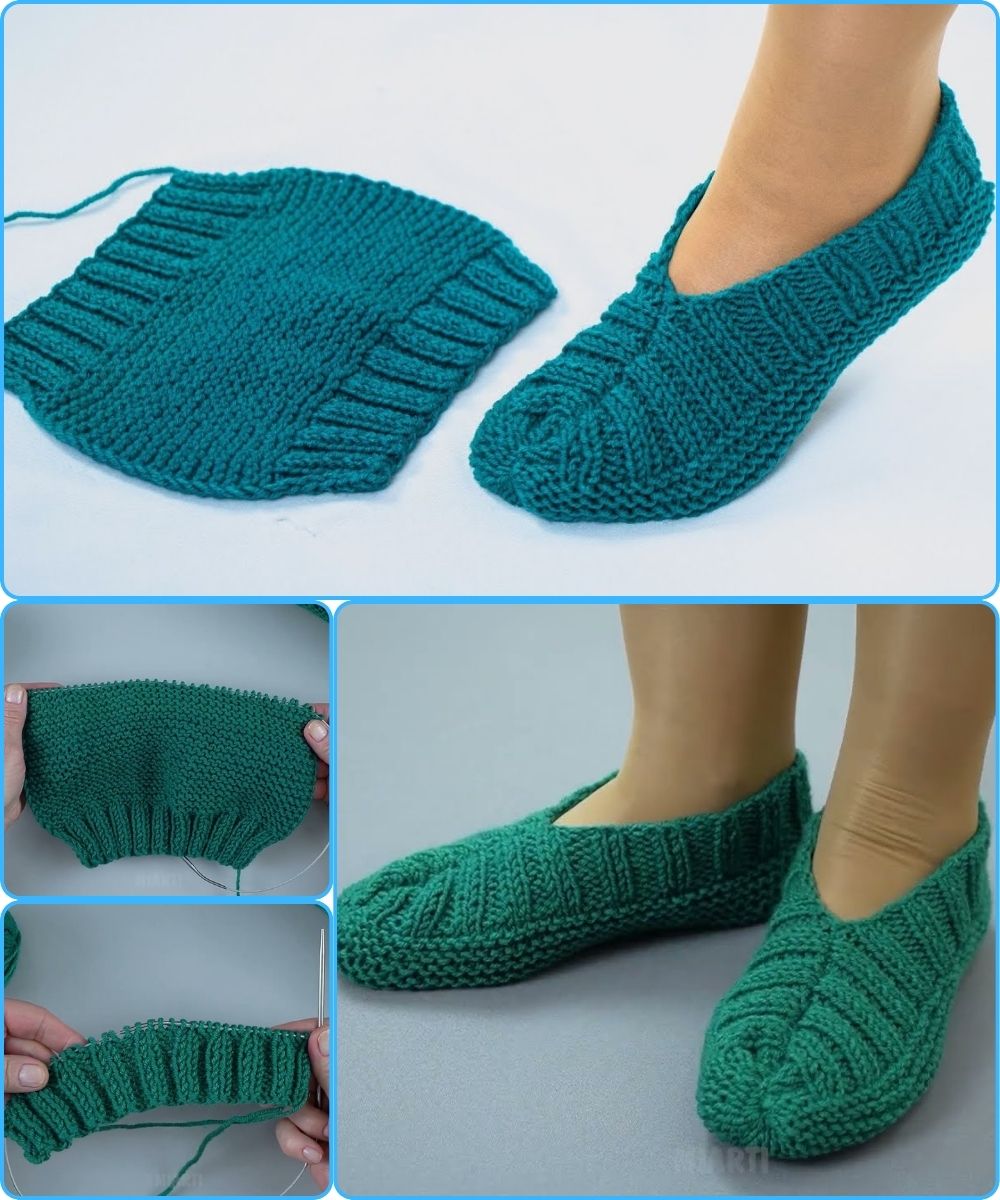
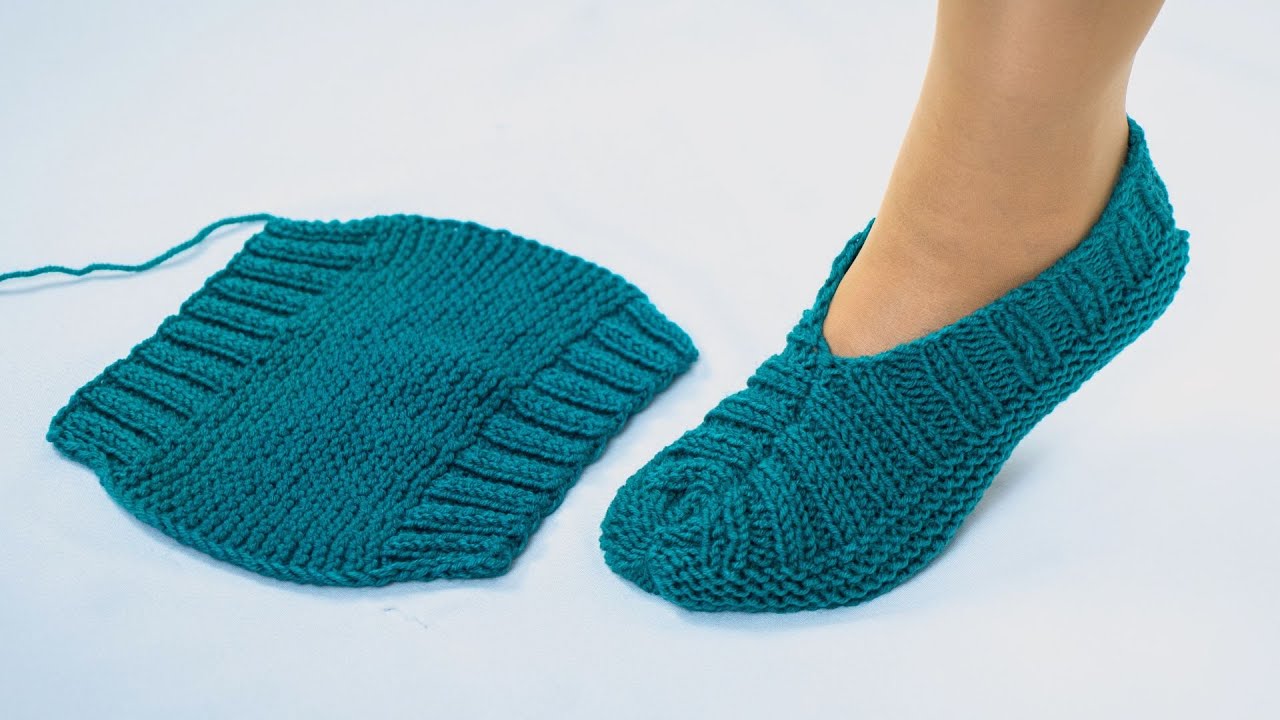
How to Make Simple Knitted Slippers for Beginners – A Step-by-Step Guide
Skill level: Beginner
Materials needed:
-
Medium weight yarn (worsted weight works well)
-
Knitting needles (size recommended for your yarn, usually US 8/5mm)
-
Tapestry needle for weaving in ends
-
Scissors
-
Stitch markers (optional)
-
Measuring tape or ruler
Finished Size: One size fits most (adjustable by adding or subtracting stitches/rows)
Step 1: Choose Your Yarn and Needles
For beginners, it’s best to choose a smooth, medium-weight yarn because it’s easier to see stitches. Avoid fancy textured or very slippery yarns for your first attempt. Use needles compatible with your yarn (check the yarn label).
Step 2: Take Foot Measurements
-
Measure the length of your foot from heel to toe.
-
Measure the width of the widest part of your foot.
-
These measurements will help you determine how many stitches to cast on.
Beginner tip: For worsted weight yarn, most adult slippers are around 30–40 stitches for width (depending on gauge) and 30–40 rows for the foot length.
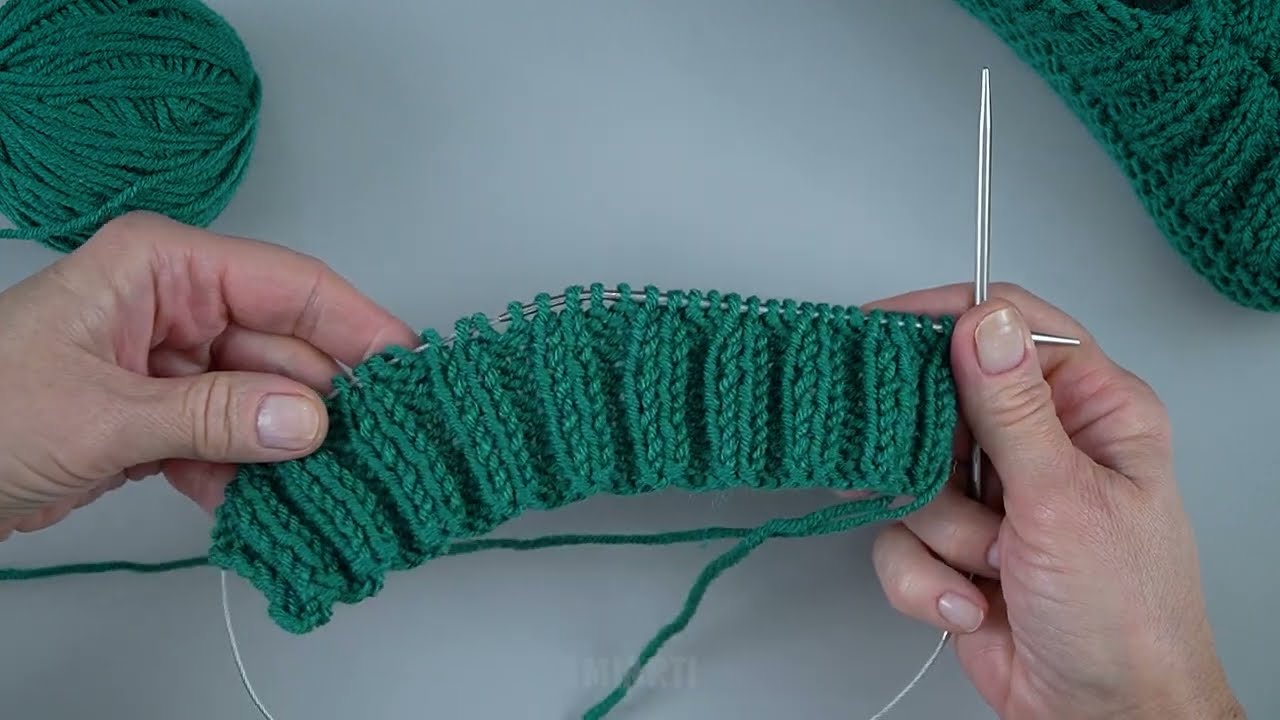
Step 3: Cast On
-
Using the long-tail cast-on method, cast on the number of stitches for your slipper’s width.
-
Make sure your cast-on edge is neither too tight nor too loose—comfort is key.
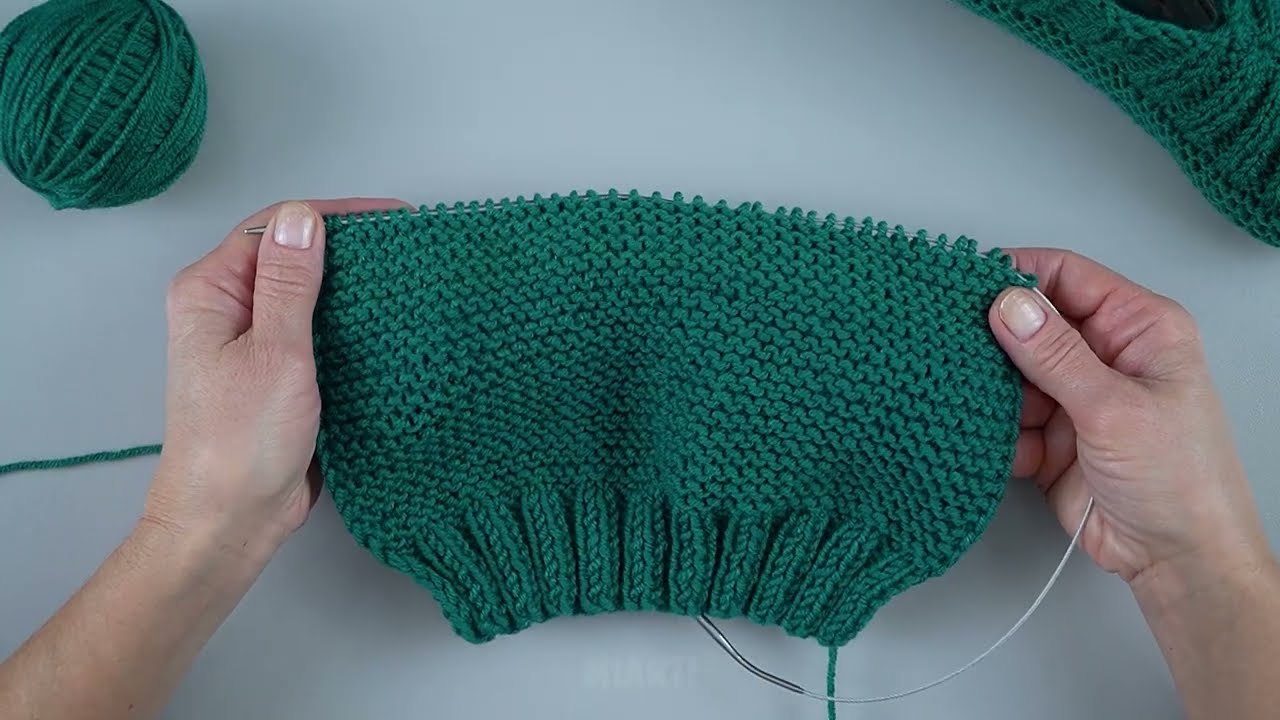
Step 4: Knit the Sole
The sole is the bottom part of the slipper. For beginners, a simple garter stitch (knit every row) is easiest.
-
Knit every row until the piece is the length of your foot.
-
Check often by placing your foot on the knitting to see if it’s long enough.
Optional: You can knit in stockinette (knit one row, purl one row) for a smoother texture.
Step 5: Knit the Upper
Once the sole is done, you’ll knit the upper part of the slipper:
-
Pick up stitches along the edges of the sole (if knitting flat) or continue in the round if using circular needles.
-
Knit in stockinette or garter stitch until the upper covers the top of your foot.
-
For the toe area, you can decrease gradually to shape the slipper:
-
Decrease 1 stitch at each end of the row every 2 rows until you have around 6–8 stitches left.
-
Step 6: Knit the Heel/Back
There are different ways to do the heel:
-
Flat heel (simplest for beginners):
-
Knit back and forth to create a rectangle that will wrap around your heel.
-
Seam it later with a tapestry needle.
-
-
Short-row heel (more advanced):
-
This method gives a more contoured fit, but beginners can skip it initially.
-
Step 7: Bind Off
Once the upper and heel are the right size, bind off loosely. You don’t want the edge to be tight and uncomfortable.
Step 8: Assembly
-
Fold your slipper in half so the sole aligns with the top.
-
Using a tapestry needle, sew the back seam (heel) and optionally the sides.
-
Weave in all loose ends neatly.
Step 9: Optional Embellishments
-
Add a pom-pom, button, or simple embroidery.
-
You can also knit a ribbed cuff at the ankle for extra comfort.
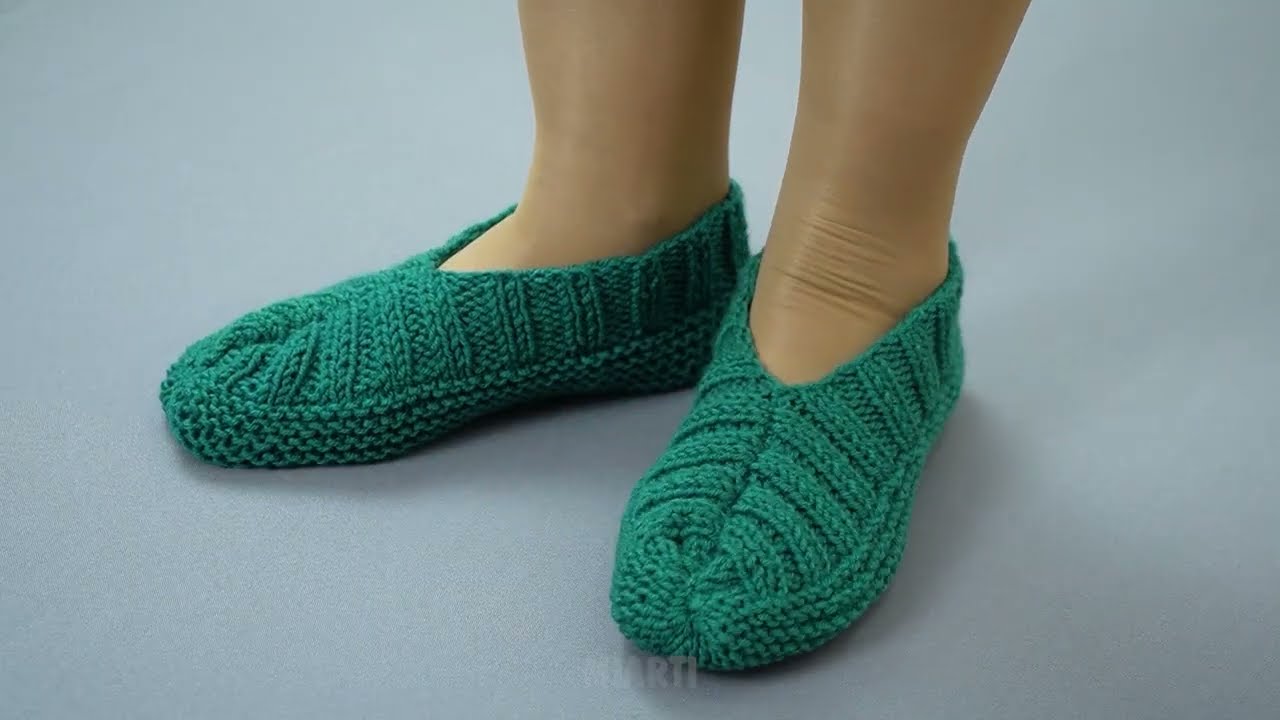
Step 10: Try Them On
-
Slide your foot in to make sure the slipper fits comfortably.
-
Adjust if needed for tighter or looser fit by adding rows or stitches next time.
Tips for Beginners
-
Check your gauge: Knit a small swatch first to see how many stitches per inch.
-
Keep tension consistent: Not too tight, not too loose.
-
Practice small pieces first: Try knitting a small square or rectangle to get comfortable with knit and purl stitches.
-
Patience: The first slipper may take a bit longer—practice makes perfect!
Optional Beginner-Friendly Pattern (Flat Knitting)
-
Cast on 36 stitches
-
Knit 30 rows (sole)
-
Pick up 36 stitches along one side
-
Knit 20 rows (upper)
-
Decrease 1 stitch each side every 2 rows until 6 stitches remain
-
Bind off
-
Repeat for the second slipper
If you want, I can also create a visual diagram with stitch placement and shaping so it’s super easy to follow without confusion.
Do you want me to do that?
Watch video: