 by
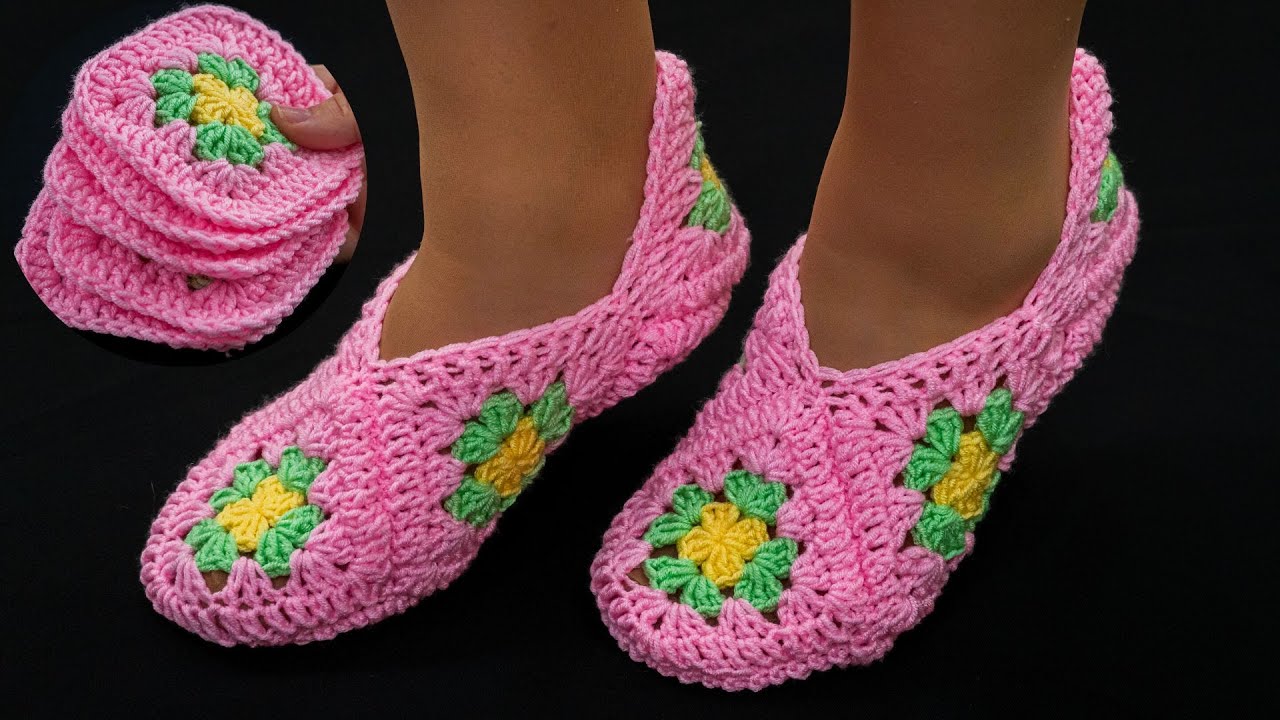
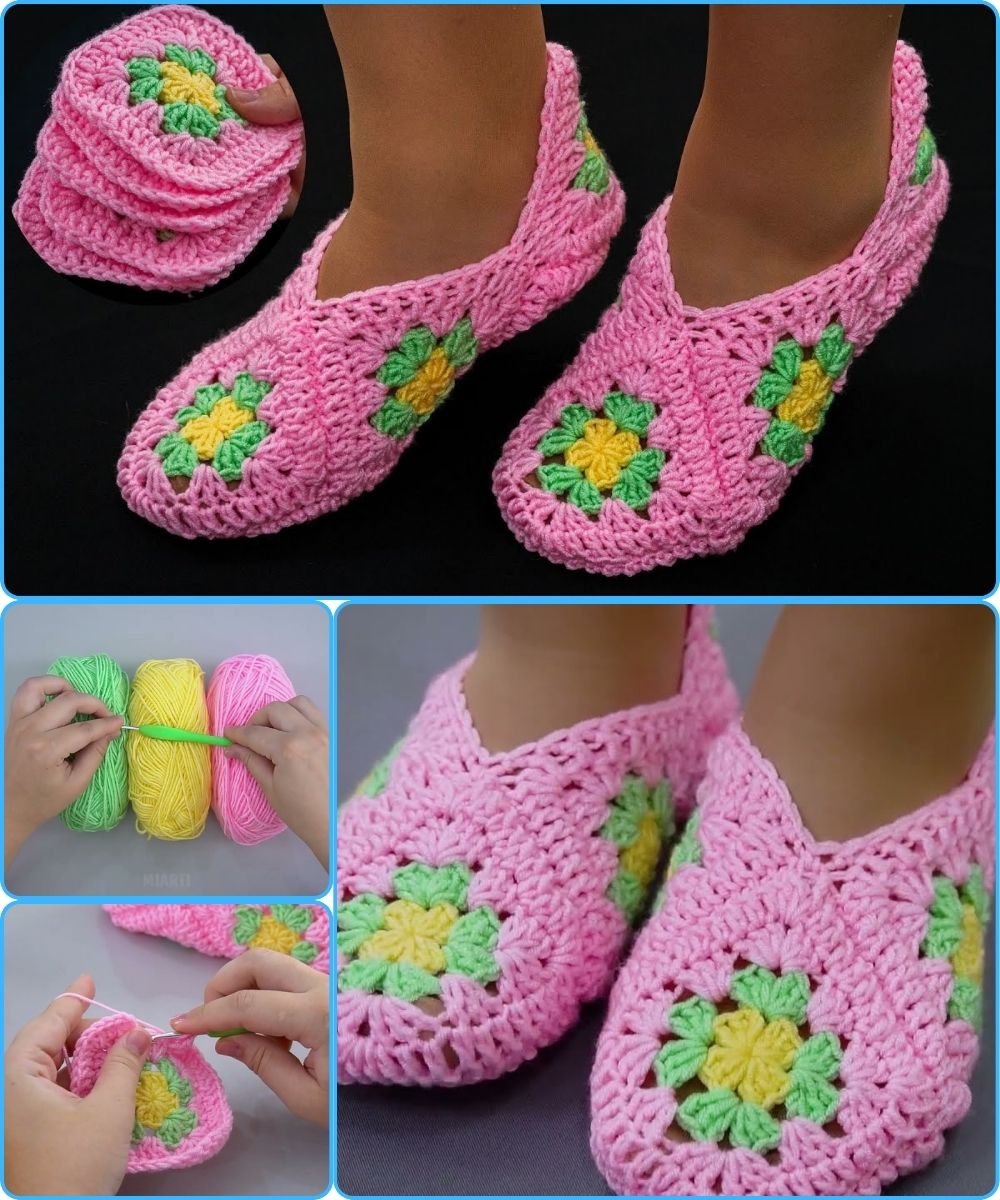
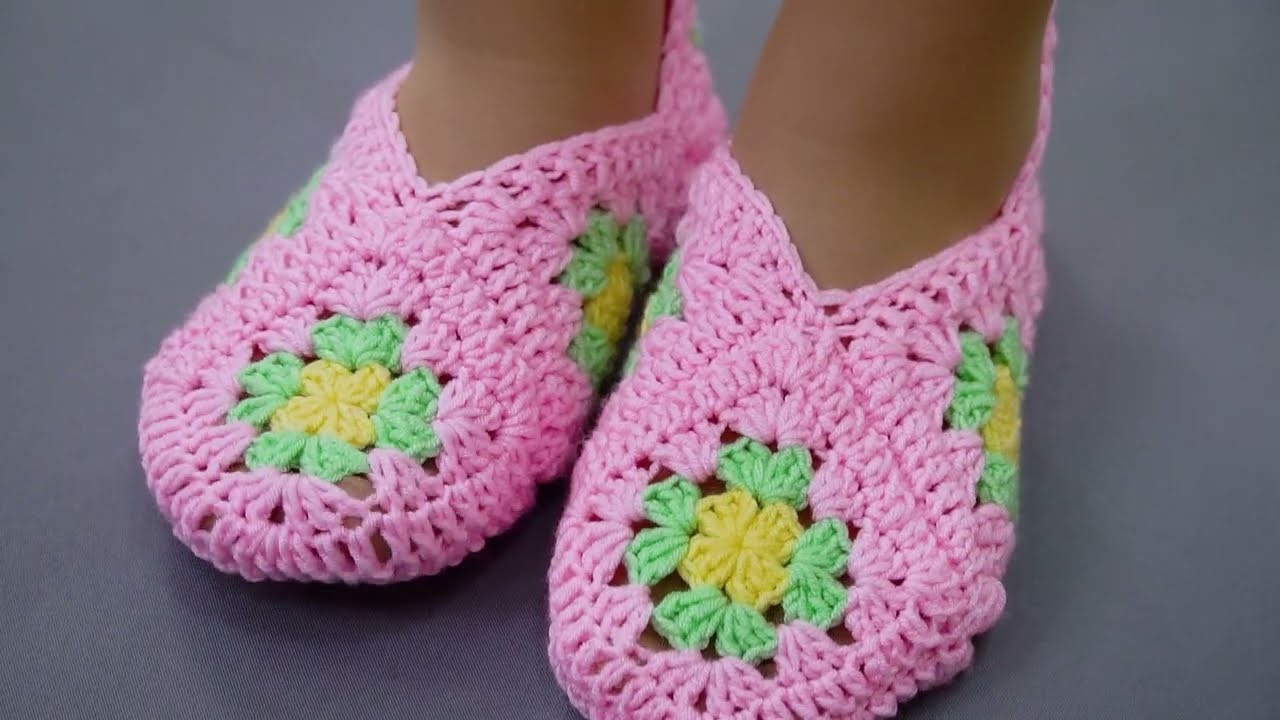
by Absolutely! I can guide you step by step on how to make crochet slippers out of squares, which is a fun and customizable way to create cozy footwear. I’ll break it down from start to finish, including materials, techniques, and assembly tips.
Materials Needed
-
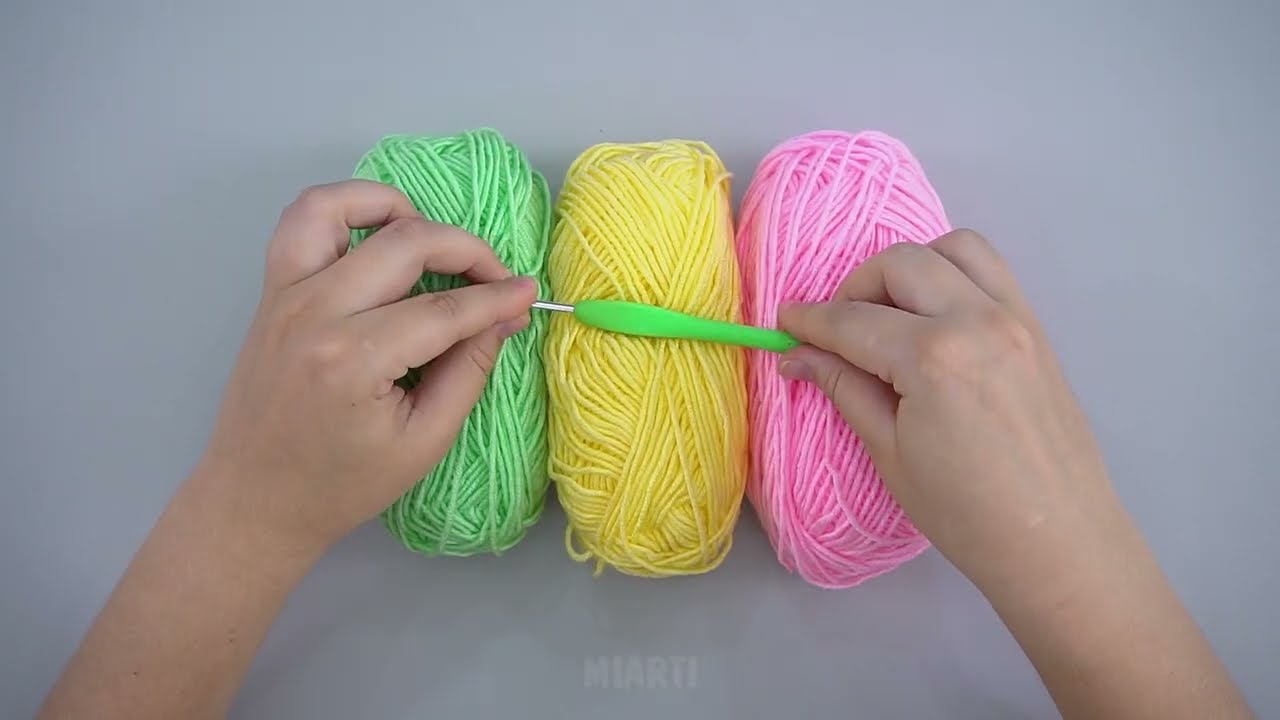
Yarn:
-
Worsted weight yarn (medium weight) works well.
-
You can choose acrylic, wool, or a blend depending on warmth and softness.
-
-
Crochet Hook:
-
Typically, a size H/8 (5 mm) hook works for worsted weight yarn.
-
Use the hook size recommended on your yarn label.
-
-
Scissors
-
Yarn Needle:
-
For sewing squares together.
-
-
Measuring Tape:
-
To measure foot size for a perfect fit.
-
Optional: Non-slip sole pads if you want grip on smooth floors.
Step 1: Make the Crochet Squares
-
Decide on the size of the squares:
-
Measure the width of your foot and divide it by the number of squares you want across.
-
Example: If your foot width is 4 inches and you want 2 squares across, each square should be 2 inches wide.
-
-
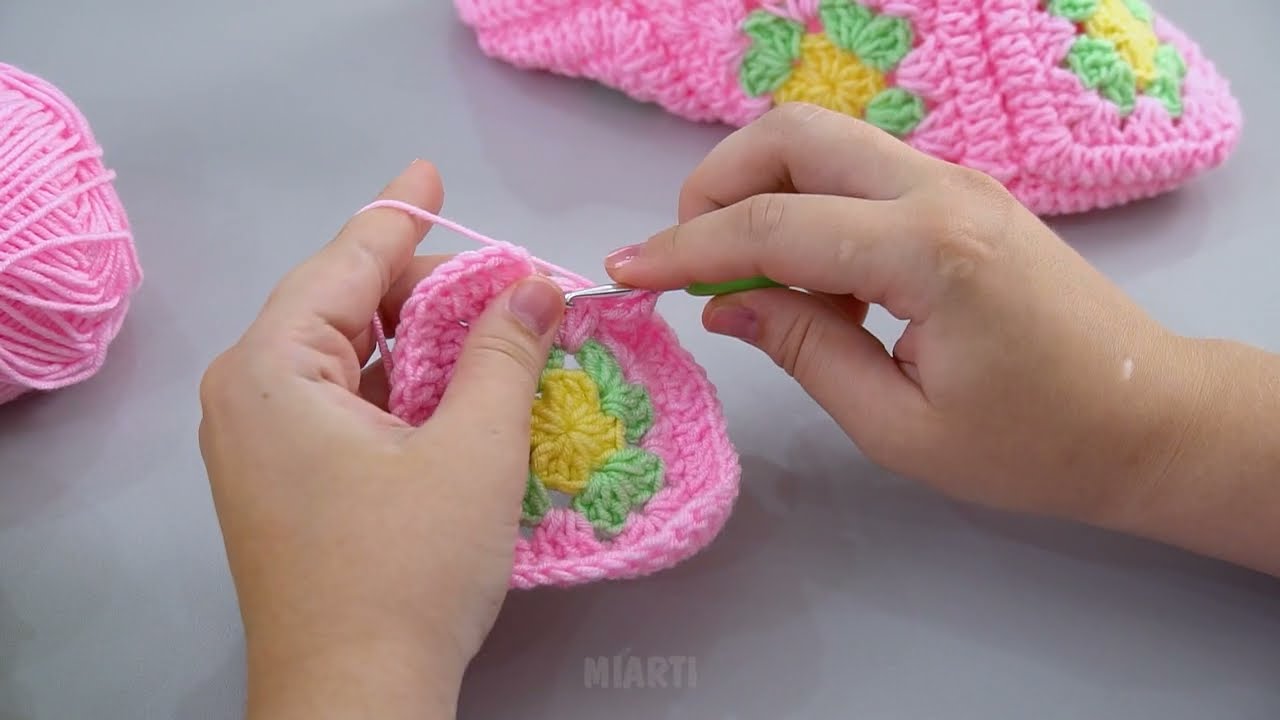
Choose a stitch:
-
A simple granny square or basic double crochet square works perfectly.
-
Basic granny square pattern:
-
Chain 4, slip stitch to form a ring.
-
Chain 3 (counts as first double crochet).
-
Work 2 double crochets, chain 2, 3 double crochets, chain 2 2 more times.
-
Slip stitch to join corners.
-
Continue rounds until desired square size is reached.
-
-
-
Make enough squares:
-
You typically need:
-
4–6 squares for the top of the foot
-
2–4 squares for the sides/back of the slipper
-
1–2 squares for the sole if you want a patchwork sole
-
-
Total squares depend on the size of your foot and your design.
-
Step 2: Arrange Your Squares
-
Lay out the squares in the shape of a slipper:
-
Top layer: Squares for the top of the foot.
-
Side layer: Squares for the sides.
-
Bottom layer: Optional sole squares.
-
-
Adjust the layout for comfort and aesthetic. You can also mix colors or patterns.
Step 3: Join the Squares
There are several methods to join squares:
-
Whip Stitch (Sewing):
-
Use a yarn needle and matching yarn.
-
Place squares with right sides together and whip stitch along edges.
-
-
Slip Stitch Join:
-
Place squares flat with right sides facing up.
-
Crochet through edges with slip stitches to join.
-
-
Single Crochet Join:
-
Place squares right sides together.
-
Single crochet through both edges for a decorative seam.
-
Tip: Make sure to leave the opening for your foot before joining the top completely.
Step 4: Shape the Slipper
-
After joining the top and side squares, fold the piece to form a slipper shape.
-
Join the bottom squares if using, or crochet a simple chain row along the bottom edges to form the sole.
-
Make sure the slipper fits comfortably around your foot.
Step 5: Add Finishing Touches
-
Edges:
-
Crochet around the slipper opening with single crochet or half-double crochet for a neat finish.
-
-
Optional Toe Decoration:
-
Add a small crochet flower or pom-pom to the top.
-
-
Non-slip sole:
-
Apply fabric glue and sprinkle grip dots or buy non-slip pads to attach to the sole.
-
Step 6: Try On and Adjust
-
Slip your foot in and check for comfort.
-
Adjust the size by adding or removing squares or rows if necessary.
Tips for Success
-
Use soft but durable yarn to prevent stretching out.
-
Make one slipper first as a prototype; adjust sizing before making the second.
-
Experiment with color patterns—stripes or patchwork can look amazing.
-
Washable yarn is ideal since slippers tend to get dirty.
If you want, I can make a diagram showing exactly how to arrange the squares and stitch them together to make the slipper. It’ll make it much easier to visualize.
Do you want me to make that diagram?
Watch video: