 by
by Below is a clear, detailed, step-by-step guide on How to Make Crochet Granny Square Slippers — perfect for beginners or experienced crocheters. I’ll include materials, sizing tips, assembly diagrams (text-based), and optional design variations.
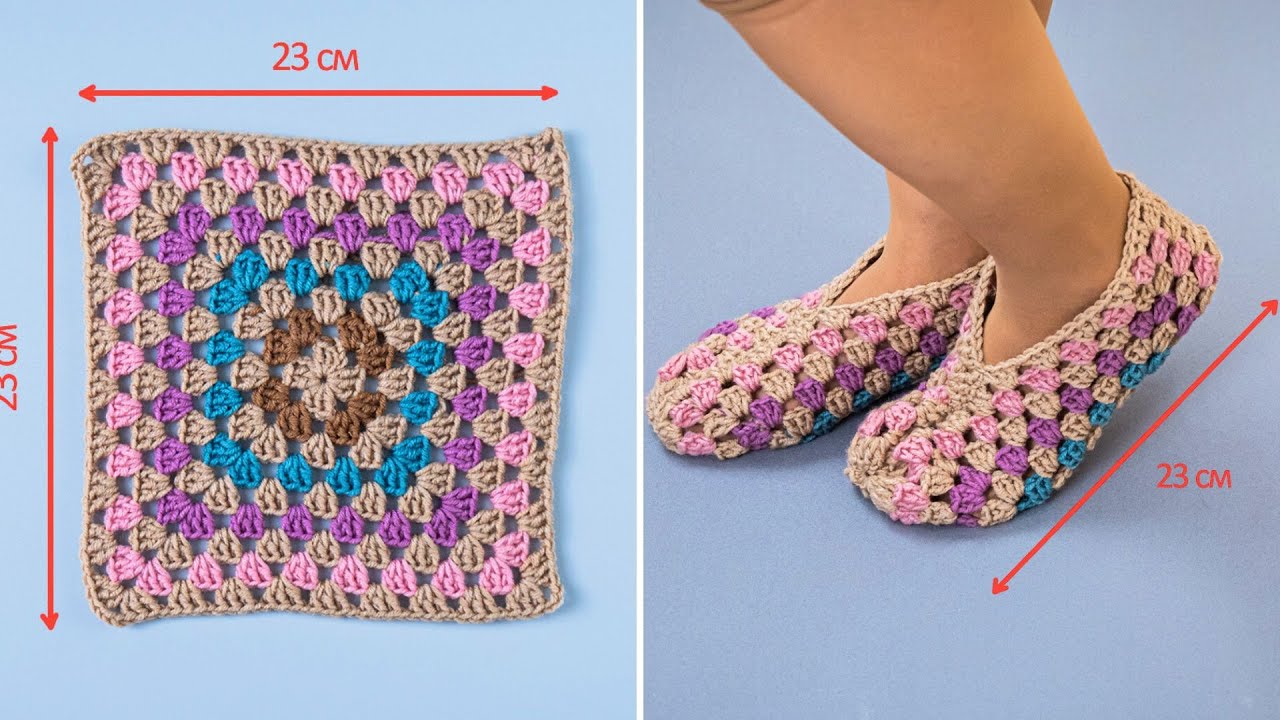
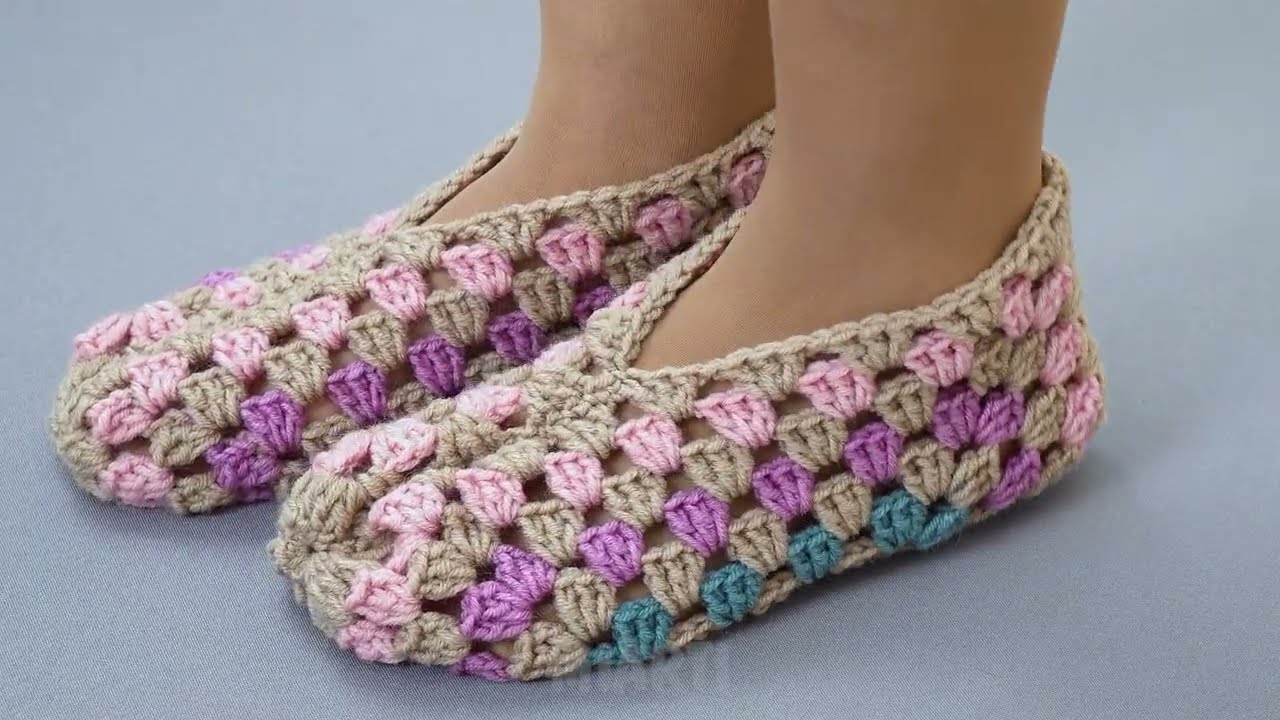
🧶 How to Crochet Granny Square Slippers (Step-by-Step Guide)
Granny square slippers are simple, quick, and customizable. They’re created from several classic granny squares stitched together in a strategic pattern to form comfy, cozy slippers.
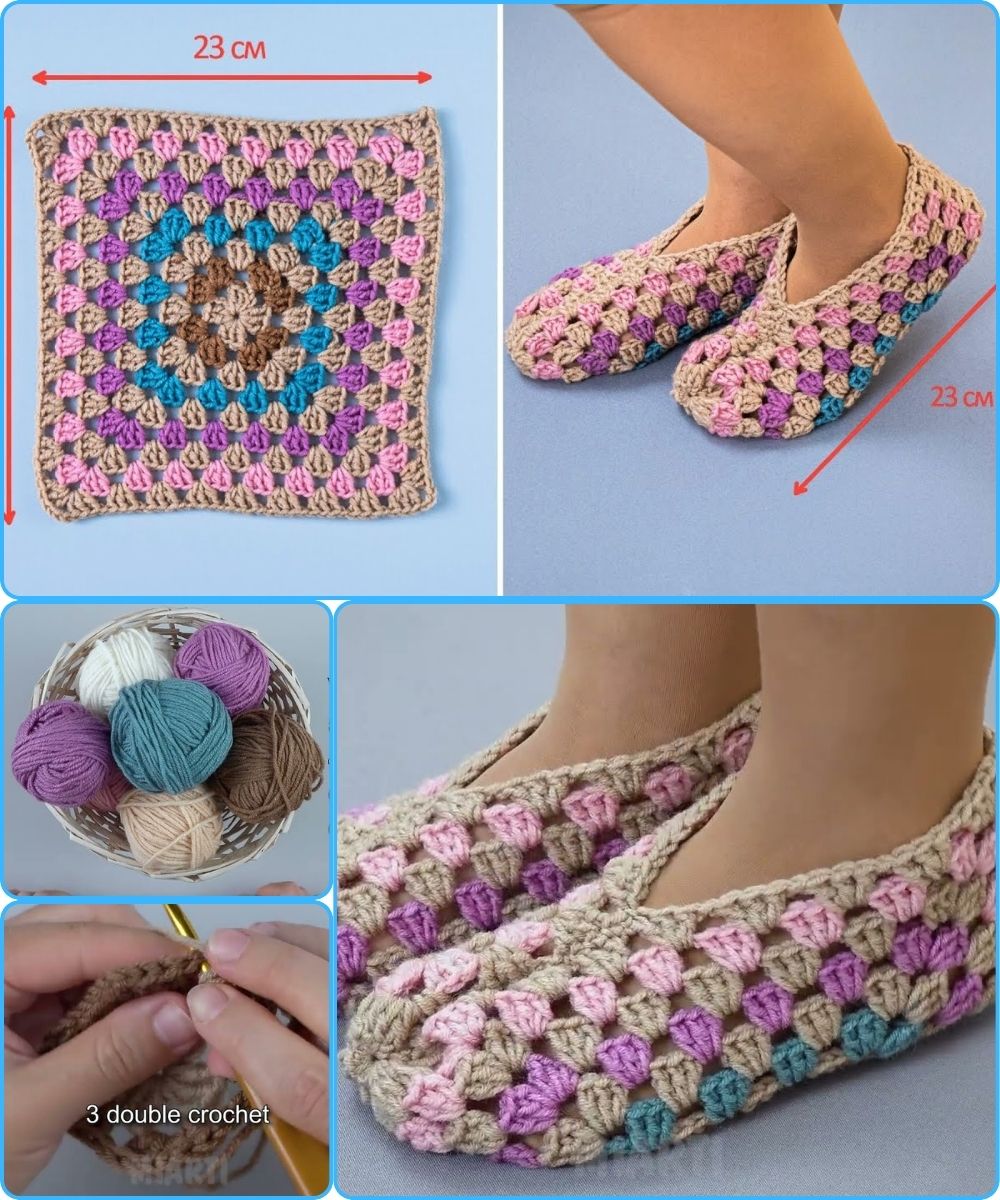
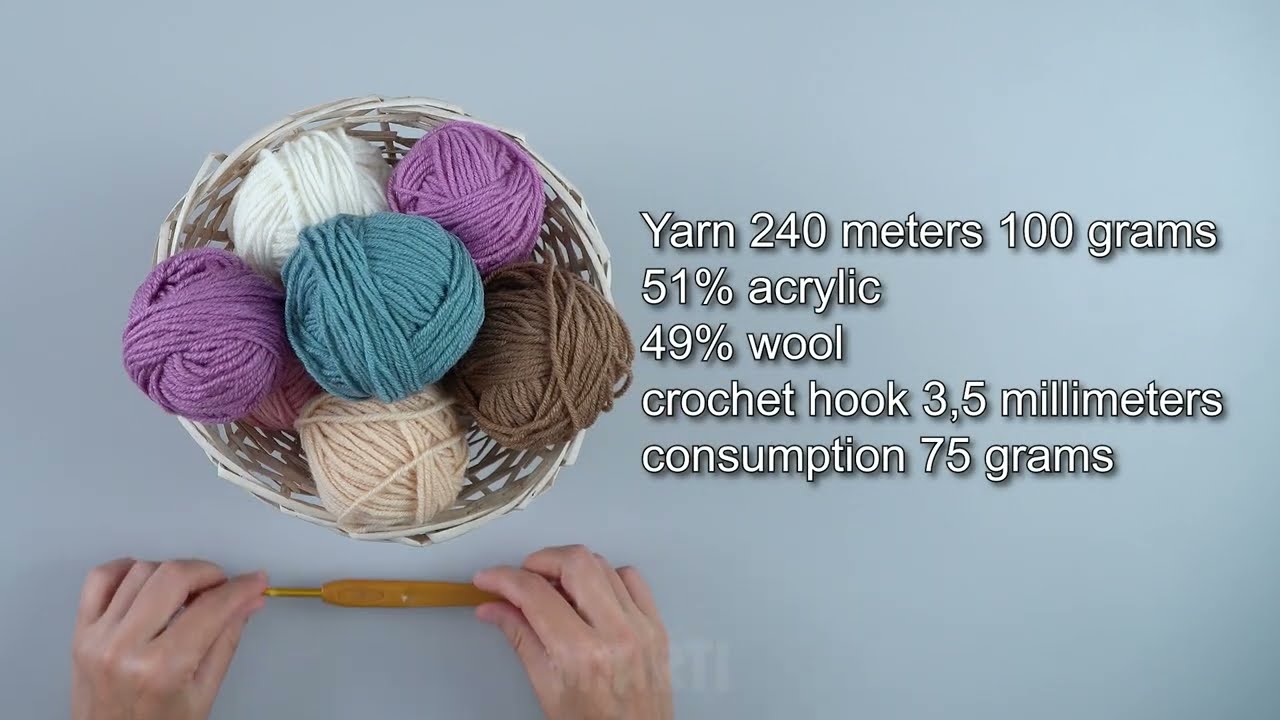
⭐ Materials Needed
-
Yarn: Worsted weight (medium #4) acrylic or cotton yarn
(use 1–2 colors or multiple for a patchwork look) -
Crochet hook: Size H/5.0 mm or size recommended for your yarn
-
Yarn needle for sewing squares together
-
Scissors
📏 Sizing Guide
You can adjust slipper size by:
-
Using bigger or smaller hook/yarn
-
Making larger or smaller granny squares
-
Adding or removing border rounds
Typical square size:
-
Adult Small: 4.5″ squares
-
Adult Medium: 5″ squares
-
Adult Large: 5.5″ squares
-
Child sizes: 3.5–4″ squares
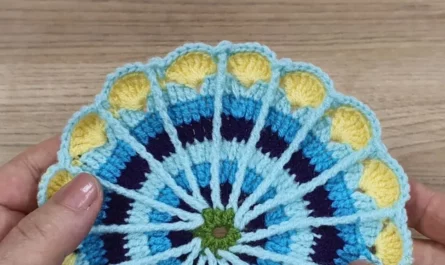
🟦 Step 1: Crochet the Basic Granny Square
You need 3 granny squares per slipper, 6 total for a pair.
Classic Granny Square Instructions
Round 1
-
Ch 4, slip stitch to form ring.
-
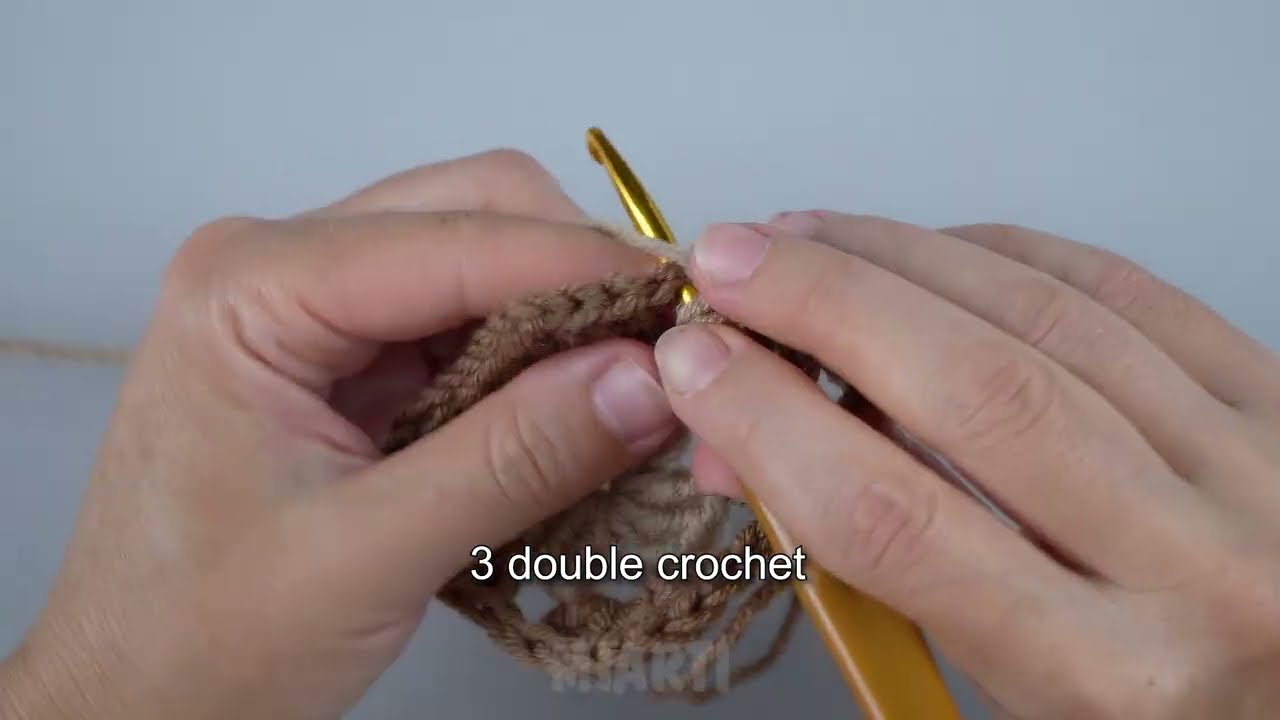
Ch 3 (counts as dc), work 2 dc into ring.
-
Ch 2, 3 dc into ring — repeat 3 times.
-
Ch 2, join with sl st to top of beginning ch-3.
(You now have 4 clusters forming a square.)
Round 2
-
Sl st to first ch-2 corner space.
-
Ch 3 (counts as dc), 2 dc, ch 2, 3 dc in the same corner (corner made).
-
In next corner space: 3 dc, ch 2, 3 dc.
-
Repeat for remaining corners.
-
Join with sl st to top of ch-3.
Round 3 (and beyond if needed)
-
In each corner: 3 dc, ch 2, 3 dc.
-
In each side space: 3 dc.
-
Continue until square is your desired size.
Make all 6 squares equal in size.
🧩 Step 2: Arrange the Squares
Each slipper is assembled from three squares:
Layout Diagram (top view)
[A]

[B] [C]-
A = toe square
-
B = side square
-
C = heel square
🪡 Step 3: Sewing the Slipper Together
Use whip stitch or slip stitch join.
🥿 Slipper Assembly Instructions
1️⃣ Join A and B
-
Fold Square B so one edge aligns with the side of Square A.
-
Sew along one edge (half of square A’s side).
2️⃣ Join A and C
-
Fold Square C to align with the opposite side of Square A.
-
Sew along one edge.
You now have 3 squares forming an open “T” shape.
3️⃣ Join the Back of the Slipper
-
Fold B and C toward each other so their free edges meet.
-
Stitch B to C along the back seam (this forms the heel).
4️⃣ Form the Toe
-
Fold Square A slightly around the toes and sew its remaining edges to B and C.
🧦 Shape Diagram (Side View After Folding)
   Toe (A)

  ________

 /        \

|   ____   | ← B (side)

|  |    |  |

 \_|____|_/ ← C (heel)
🎀 Step 4: Add Edging (Optional)
Work 1–2 rounds of sc around the slipper opening for structure.
-
Round 1: sc evenly around
-
Round 2 (optional): crab stitch or sl st for a decorative edge
🌈 Step 5: Customizations
-
Use variegated yarn for colorful squares
-
Add pom-poms at the toe
-
Add soles using felting sheets or suede patches for grip
-
Make flower appliqués and sew onto Square A
-
Use 3 different colors—one per square—for a playful look
🧼 Care Instructions
-
Machine wash gentle or hand wash
-
Lay flat to dry to maintain shape