 by
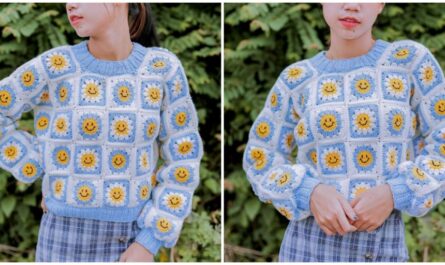
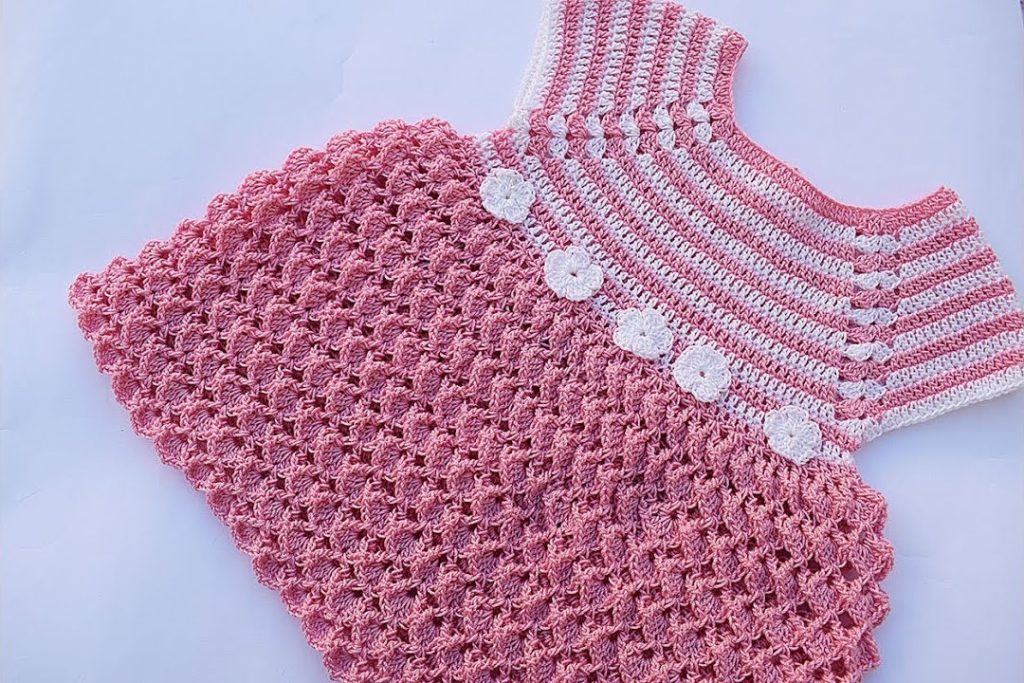
by This dress is a gorgeous study in texture and contrast! Featuring a bold striped yoke in half double crochet and a stunning, dense textured skirt in a beautiful puff-stitch pattern, this garment has a wonderful handmade elegance. The row of small flower appliqués adds the perfect final touch.
This pattern is designed for the 6-12 Month size and is perfect for the Intermediate crocheter ready to master quick color changes and a fun repeating textured stitch.
Materials Needed 
- Yarn: Approximately 400-450 yards of DK Weight (Light Worsted / #3) or soft Worsted Weight (#4) yarn.
- Main Color (MC): Approx. 350 yards (Dusty Rose/Pink)
- Contrast Color (CC): Approx. 100 yards (Snow White)
- Small scraps of CC2 (Yellow/Pearl color) for flower centers.
- Crochet Hook: 4.0 mm (US G-6), or the size needed to obtain gauge.
- Buttons/Pearls: 5-6 small flat-backed pearls or beads for the flower centers.
- Tapestry Needle: For weaving ends and seaming.
Skill Level & Notes 
- Skill Level: Intermediate. You must be comfortable with top-down raglan shaping, changing colors every round, and executing a slightly complex puff stitch repeat.
- Construction: The entire dress is worked seamlessly from the top-down, joining at the end of each round. The yarn is carried up the seam line for color changes.
- Color Change: To achieve neat stripes, change to the new color on the final yarn over of the last stitch of the previous round.
- Chains: The starting chain (ch 2) at the beginning of HDC rounds always counts as the first HDC unless noted otherwise.
Gauge 
In Half Double Crochet (HDC) (Yoke section) using a 4.0 mm hook: 14 HDC stitches and 10 rounds = 4 inches (10 cm) square.
Abbreviations 
| Abbreviation | Description |
| ch | chain |
| sl st | slip stitch |
| sc | single crochet |
| hdc | half double crochet |
| dc | double crochet |
| st(s) | stitch(es) |
| rep | repeat |
| PM | Place Marker |
| sk | skip |
Export to Sheets
Special Stitches 
Textured Puff V-Stitch (TPV)
- Puff Stitch (PS): [YO, insert hook into st, YO, pull up a loop] 3 times in the same st (7 loops on hook). YO, pull through all 7 loops.
- TPV: (PS, ch 1, PS) all worked into the same stitch or space.
Small Flower Appliqué
- Petal: (Ch 3, dc, ch 3, sl st) all worked into the same space.
Part 1: The Yoke (Stripes – MC & CC) 
Start (MC – Pink): Ch 72. Sl st to the first ch, being careful not to twist.
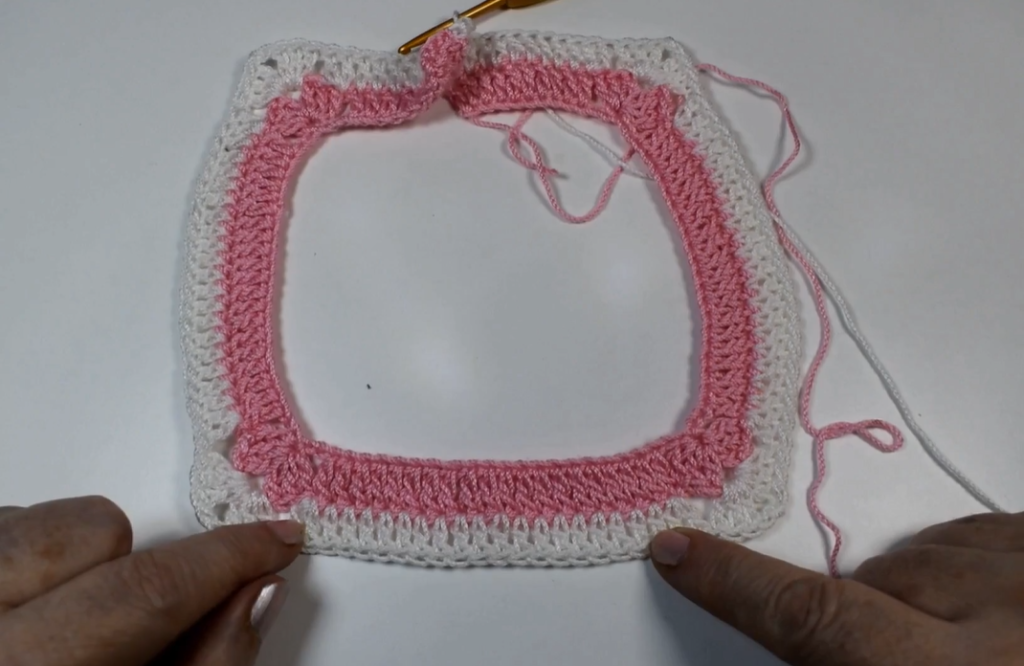
Round 1 (MC): Ch 2 (counts as hdc). Hdc in the next 11 ch. [Hdc, ch 2, hdc] in the next ch (PM in ch-2 sp). Hdc in the next 12 ch (Shoulder). [Hdc, ch 2, hdc] in the next ch (PM). Hdc in the next 18 ch (Front). [Hdc, ch 2, hdc] in the next ch (PM). Hdc in the next 12 ch (Shoulder). [Hdc, ch 2, hdc] in the next ch (PM). Hdc in the last 6 ch. Sl st to the top of the beg ch-2, changing to CC (White) on the final YO. (76 hdc, 4 ch-2 sps)
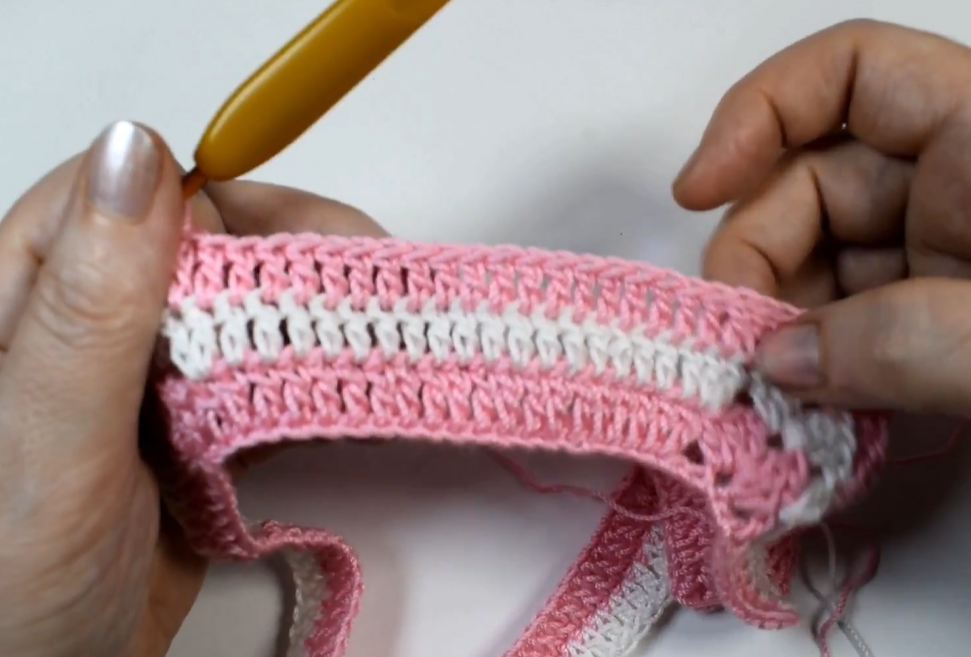
Rounds 2-10 (Striped Increases):
- Round A (CC): Ch 2. Hdc in each st until the first ch-2 sp. [Hdc, ch 2, hdc] in the ch-2 sp. Rep increase sequence 3 more times. Hdc in remaining sts. Sl st to join, changing to MC on final YO.
- Round B (MC): Repeat Round A, changing to CC on final YO.
- Alternate Rounds A (CC) and B (MC) for 5 rounds of each color.
- End of Round 10 Stitch Count: 156 hdc, 4 ch-2 sps.
Part 2: Body Separation and Transition 
Round 11 (MC – Separation): Ch 2. Hdc in each st until the first ch-2 sp. Hdc in the ch-2 sp. Ch 4 (skips the sleeve stitches/PMs). Hdc in the second ch-2 sp. Hdc in each st until the third ch-2 sp. Hdc in the ch-2 sp. Ch 4 (skips the second sleeve stitches). Hdc in the fourth ch-2 sp. Hdc in each remaining st. Sl st to join. (84 hdc, 8 ch = 92 sts)
Round 12 (MC – Solid Prep): Ch 2. Work 4 hdc into each ch-4 sp. Hdc in each hdc around. Sl st to join. (100 hdc)
Round 13 (MC – TPV Foundation): Ch 1. Sc in each st around. Sl st to join. (100 sc)
- Note: 100 is a multiple of 4 + 2 (for the stitch repeat).
Part 3: The Textured Skirt (MC – Pink) 
We switch entirely to MC (Pink) for the skirt body.
Round 14 (TPV Shell Row): Ch 3 (counts as dc). Dc in the same st. [Sk 3 sc, TPV (PS, ch 1, PS) in the next sc, sk 3 sc, 3 dc in the next sc] rep around. Sl st to the top of the beg ch-3 to join. (25 TPV Shells)
Round 15 (TPV Connector Row): Ch 1. Sc in the first dc. [Ch 3, sc in the ch-1 sp of the next TPV shell] rep around. Sl st to the beg sc. (25 sc, 25 ch-3 sps)
Round 16 (TPV Shell Row): Sl st into the first ch-3 sp. Ch 3, 2 dc in the same sp. [Sc in the next sc, 3 dc in the next ch-3 sp] rep around. Sl st to the top of the beg ch-3 to join.
Rounds 17-26: Repeat Rounds 14-16, adjusting the shell placement and starting the shell row (Rnd 14) in the center dc of the 3-dc group.
- Work one additional TPV shell every 5-6 rounds by working an extra TPV shell into a stitch instead of a sc, to maintain a gentle flare.

Part 4: The Skirt Hem 
After completing the desired length of the textured section (around 26 rounds total), transition to the open lace hem.
Round 27 (Open Shell Foundation): Ch 3. Dc in the next 2 sts. [Ch 1, sk 1 st, dc in the next 3 sts] rep around. Sl st to join.
Round 28 (Large Scallops): Ch 1. Sc in the first st. [Sk 1 st, 7 dc in the next st (Large Shell), sk 1 st, sc in the next ch-1 sp] rep around, adjusting the skip count slightly to end neatly. Sl st to join.
Fasten off MC.
Part 5: Finishing & Embellishment 
A. Neckline and Armhole Edging (CC – White)

- Neckline: Attach CC at the back of the neck. Work 1 round of sc evenly around the neck opening. Sl st to join and fasten off.
- Armholes (Make 2): Attach CC at the underarm. Work 1 round of sc evenly around the armhole opening. Sl st to join and fasten off.
B. Small Flower Appliqués (CC – White) Make 5-6 small flowers for the diagonal line.
- Start (CC2): Make a MR. Ch 1, 5 sc into the ring. Sl st to join. (5 sc)
- Petals (CC): Join CC in any sc. Work [Petal: (Ch 3, dc, ch 3, sl st)] all into the next st. Sl st to the next st. Repeat 4 more times. (5 petals total).
- Fasten off, leaving a tail. Sew a flat-backed pearl or bead to the center of each flower.